
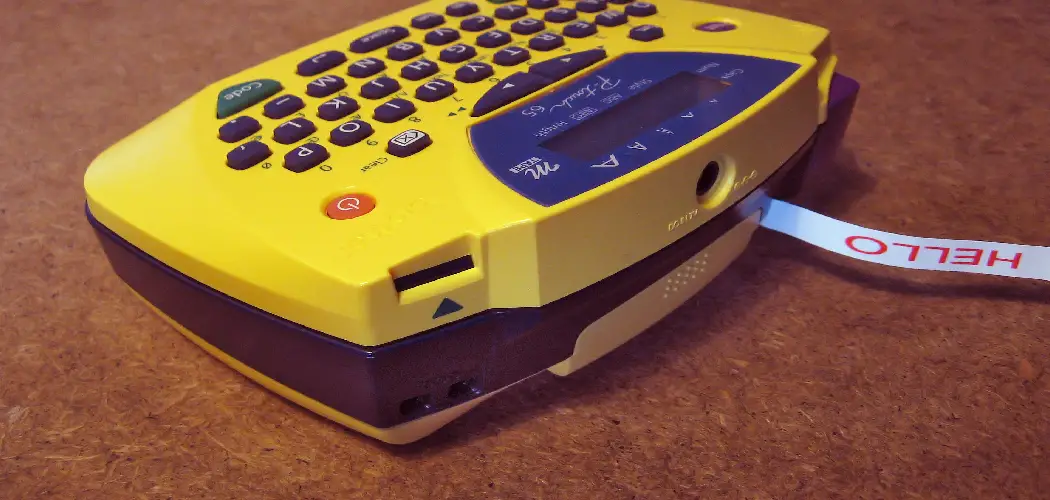
A cluttered office isn’t just an eyesore — it slows you down. When files are mislabeled, shelves are disorganized, or cable management is a mystery, productivity takes a real hit. That’s where a label maker comes in.
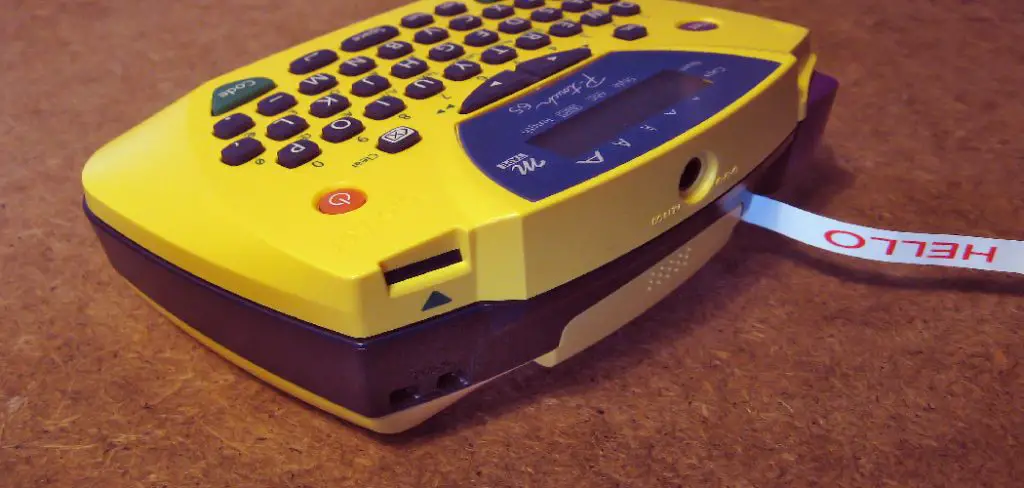
Knowing how to use an office label maker gives you the power to bring order to any workspace, quickly and professionally. Whether you’re organizing a filing cabinet, labeling storage bins, or marking equipment, the process is simpler than most people expect.
This guide walks you through every step — from loading your tape to printing your first label — so you can get up and running without frustration. No technical experience needed. By the end, you’ll have the confidence and know-how to keep your office neat, consistent, and easy to navigate for everyone who works in it.
Why Office Label Makers Matter
A well-labeled workspace saves time every single day. Instead of digging through drawers or asking colleagues where things are kept, clear labels give instant answers. That might seem minor, but those small moments of friction add up across a whole team over weeks and months.
Label makers also create consistency. When everyone in an office uses the same labeling system, handoff processes become smoother, new employees onboard faster, and shared spaces stay organized even during busy periods.
Beyond organization, professional-looking labels send a subtle but real signal about how a workspace is managed. Neat, typed labels on folders, shelves, and equipment look polished compared to handwritten notes that fade, smudge, or vary in style. For client-facing spaces especially, that attention to detail matters. A label maker is a small investment that delivers outsized returns in clarity and efficiency.
Step-By-Step Guide To How To Use An Office Label Maker
Step 1: Choose The Right Label Maker For Your Needs
Not all label makers are built for the same purpose. Basic handheld models are great for quick, everyday tasks like labeling folders and bins. More advanced desktop models offer wider tape options, PC connectivity, and barcode printing for environments with more complex needs.
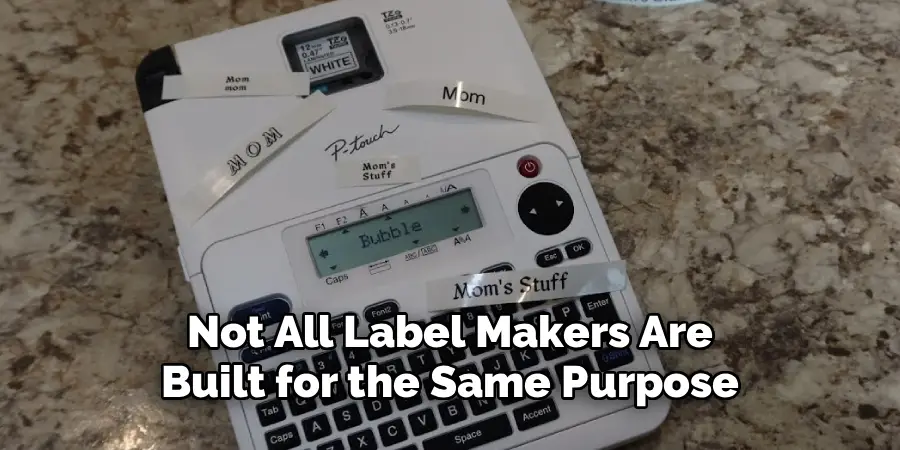
Before you buy or start using a device, consider what you’ll be labeling most often — files, shelves, cables, or equipment — and how frequently you’ll need labels. A simple model handles most office tasks perfectly well. If your workplace requires durable labels that resist heat, moisture, or chemicals, look for a model that supports laminated or industrial tape cartridges.
Step 2: Install The Tape Cartridge Correctly
Loading the tape cartridge is the first hands-on step, and it’s straightforward once you know what to look for. Open the cartridge compartment on the back or bottom of the device, align the cartridge so the tape feeds toward the print head, and press it firmly until it clicks into place.
Always check that the cartridge is seated securely before closing the cover. A loose cartridge causes feed errors, smeared text, or wasted tape. Also confirm that the tape width matches what your model supports — most standard label makers use 12mm or 18mm tape, but some models have a narrower or wider range of compatible sizes.
Step 3: Power On And Navigate The Settings
Once the cartridge is loaded, turn the device on. Most handheld models have a simple LCD screen showing a text entry field and basic menu options. Spend a couple of minutes exploring the settings before you start typing — you’ll usually find options for font size, text alignment, label length, and border style.
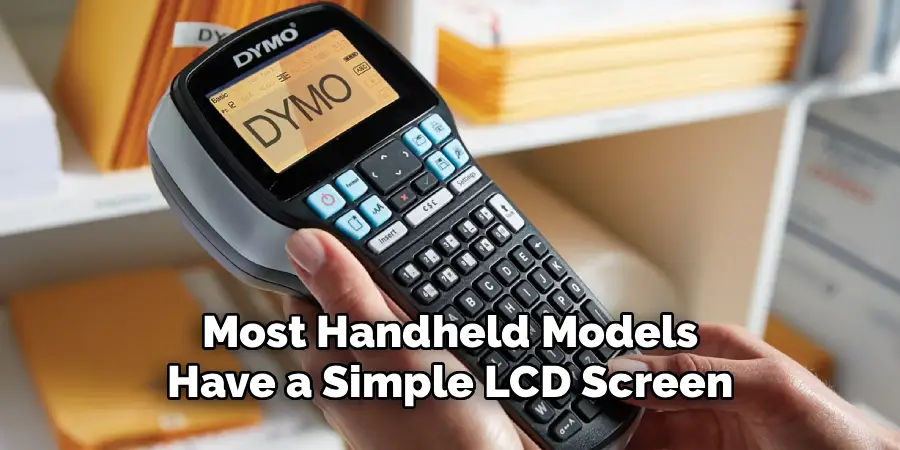
Setting the correct label length from the start prevents wasted tape. If your model has an auto-length feature, it will size the label to fit your text automatically. For fixed-length labels — such as those used on file tabs — manually set the length first so every label in a series comes out uniform and consistent.
Step 4: Type And Format Your Label Text
Now you’re ready to enter your text. Keep labels short and clear — the best labels communicate at a glance. Abbreviations are fine when they’re universally understood by everyone who uses the space, but avoid anything ambiguous.
Use the formatting options on your device to adjust the appearance. Larger font sizes work well for shelf labels or storage bins that need to be read from a distance. Smaller sizes are better suited for file folders or cable tags where space is tight. Most models also let you add simple symbols or frames, which can help differentiate categories in a shared labeling system without adding extra words.
Step 5: Preview Before You Print
Many label makers include a preview function that shows how your label will look before the tape feeds out. Use it. It takes only a second and can save you from printing a label with a typo, awkward spacing, or text that’s too small to read clearly at the distance you need.
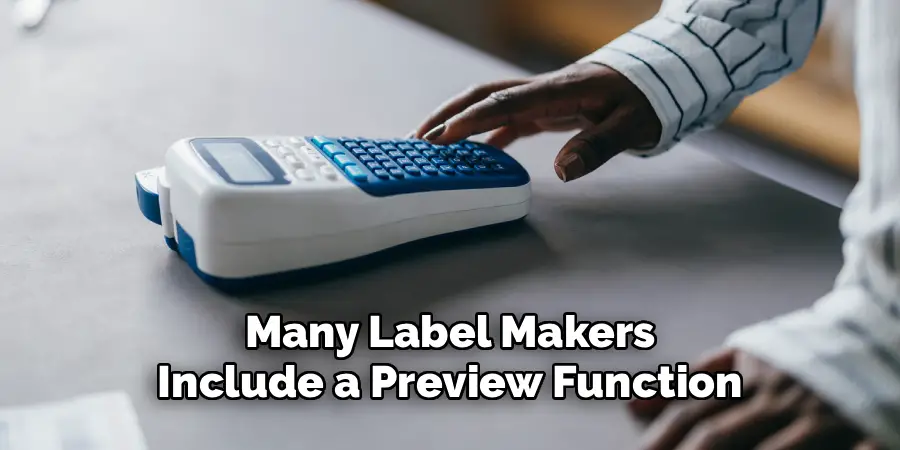
If your model doesn’t have a preview screen, type a test label first and print it on a short piece of tape before committing to a full batch. This is especially worth doing when you’re learning how to use an office label maker for the first time, since it helps you get a feel for how different font sizes and lengths translate to the physical output.
Step 6: Print, Cut, And Apply The Label
Press the print button and let the tape feed out fully before cutting. Most models have a built-in cutter button or a manual cutter lever — press or slide it firmly and cleanly to avoid ragged edges. Give the adhesive side a moment to set after cutting, particularly in a cool environment, as cold temperatures can temporarily reduce stickiness.
When applying the label, make sure the surface is clean and dry. Oil, dust, or moisture on the surface will cause labels to peel away quickly. For curved surfaces like cables or cylindrical containers, use a wrap-around label if your tape type supports it, or press the label flat across the curve and smooth out any air pockets from the center outward.
Step 7: Organize Labels Into A Consistent System
Printing individual labels is easy — building a system that stays organized over time takes a little more thought. Decide on consistent conventions before labeling in bulk: whether to use all caps or title case, how to abbreviate categories, and what font size to use for different label types across the office.
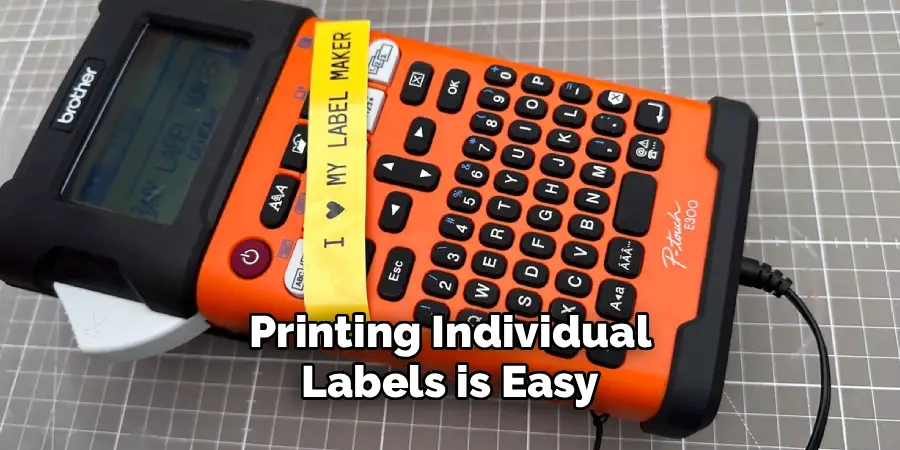
This is where understanding how to use an office label maker strategically pays off beyond the individual label. A consistent system means anyone can add new labels that match the existing ones, reducing the visual clutter of mismatched styles. Keep a simple reference note — even a sticky note near the device — with your chosen settings so colleagues can maintain the same format without guessing.
Frequently Asked Questions
What Type Of Tape Should I Use For Different Surfaces?
Standard laminated tape works well for most indoor office surfaces including paper folders, plastic bins, and smooth shelves. For cables and rounded surfaces, flexible tape provides a better fit and longer-lasting adhesion. High-bond tape is designed for rougher or textured surfaces. Always check the tape specifications for the recommended surface types before applying labels in bulk.
How Do I Fix A Label Maker That Won’t Feed Tape Correctly?
Start by removing the tape cartridge and reseating it firmly to make sure it’s properly aligned with the print head. Clear any visible paper fragments or debris from the feed slot. If the tape still won’t feed, try a fresh cartridge to rule out a damaged spool. For persistent issues, a soft reset by removing the batteries for 30 seconds often resolves minor feed errors.
Can I Connect My Label Maker To A Computer?
Many mid-range and higher-end label makers support PC or Mac connectivity through USB or wireless connections, along with dedicated label design software. This is useful when printing large batches or designing more complex labels with logos or barcodes. Check your model’s specifications or the manufacturer’s website for compatible software. Basic handheld models typically don’t offer computer connectivity.
How Long Do Printed Labels Last?
Durability depends on the tape type and environment. Standard laminated labels used indoors typically last several years without fading or peeling. Labels exposed to sunlight, moisture, or chemicals will degrade faster unless you use a tape specifically rated for those conditions. For outdoor or industrial use, always choose UV-resistant or waterproof tape designed for harsher environments.
How Do I Remove Old Labels Without Leaving Residue?
Gently peel the label from one corner at a low angle rather than pulling straight up. If adhesive residue remains, apply a small amount of isopropyl alcohol to a cloth and rub gently in a circular motion until the residue lifts. Avoid using harsh solvents on painted or plastic surfaces, as they may cause discoloration. A specialized adhesive remover spray works well on stubborn residue.
Conclusion
Label makers are one of the most underrated tools in any well-run office. When used consistently, they eliminate confusion, speed up daily tasks, and give shared spaces a professional, organized look that benefits everyone.
You now have everything you need to get started — from choosing the right device and loading the cartridge to building a labeling system your whole team can follow. Start with one area of your workspace, whether that’s a filing cabinet, a storage shelf, or a cable bundle, and work outward from there.
Once you’ve applied these steps, knowing how to use an office label maker becomes second nature. The organization you create today keeps working for you every day after — and that’s exactly the kind of quiet efficiency that makes a real difference over time.
