
Whether you’ve just picked up a new Dell wireless mouse or you’re finally switching away from your laptop’s trackpad, getting your mouse connected and working smoothly is one of those tasks that should take a few minutes — but can feel frustrating if you don’t know where to start. Dell mice come in two main connection types: wireless models that use a small USB receiver, and Bluetooth models that pair directly with your laptop without any dongle at all.
Knowing which type you have changes everything about the setup process. This guide on how to connect Dell mouse to laptop walks you through both methods in clear, practical steps designed for complete beginners. You won’t need any special technical knowledge, just your laptop, your Dell mouse, and a couple of spare minutes. By the end of this guide, your mouse will be connected, responsive, and ready to use — and you’ll understand exactly what each step accomplishes so you can troubleshoot confidently if anything doesn’t go as expected the first time.
Why Connecting A Dell Mouse To A Laptop Matters
A good mouse makes a real difference in how comfortable and productive you are when using a laptop. The built-in trackpad works fine for quick tasks, but for longer work sessions, photo editing, spreadsheet navigation, or gaming, a physical mouse gives you far more precision and control with much less hand fatigue.
Dell mice are designed to work seamlessly with Windows laptops, and their plug-and-play USB receiver option means many users can be up and running in under a minute. Bluetooth models go one step further by eliminating even the USB dongle, which frees up a port and reduces desk clutter.
Step-by-Step Guide to How to Connect Dell Mouse to Laptop
Step 1: Identify Your Dell Mouse Connection Type
Before doing anything else, take a moment to look at your Dell mouse and figure out whether it’s a USB receiver model or a Bluetooth model. USB receiver mice — sometimes called RF wireless mice — come with a small USB dongle, usually about the size of a fingernail, that plugs into one of your laptop’s USB ports. Bluetooth mice, on the other hand, don’t include a separate dongle and instead pair directly with your laptop’s built-in Bluetooth radio.
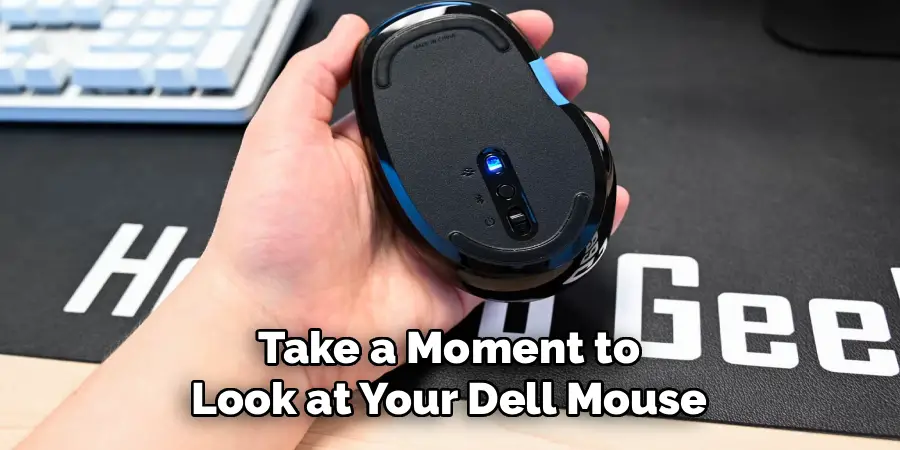
You can usually tell the difference by checking the underside of the mouse for any pairing or connection buttons, and by looking at the packaging or model number.
Step 2: Check the Battery and Power Switch
This step sounds obvious, but a surprising number of connection problems come down to a dead battery or a power switch that’s accidentally in the off position. Open the battery compartment on the underside of your Dell mouse — most models use one or two AA or AAA batteries — and check that the batteries are installed correctly with the positive and negative ends aligned with the markings inside the compartment.
Once the batteries are confirmed to be in place, look for the physical power switch on the bottom of the mouse and slide it to the “On” position. Many Dell mice have a small LED indicator near the scroll wheel or on the underside that lights up briefly when the mouse powers on, giving you a quick visual confirmation that the mouse has power.
Step 3: Plug In the USB Receiver for Wireless Models
If your Dell mouse uses a USB receiver, locate the small dongle that came in the box with the mouse. Some Dell models store the receiver inside the battery compartment to keep it safe during storage and transport, so check there if you can’t find it separately. Once you have the dongle, plug it into any available USB-A port on your laptop — this is the standard rectangular USB port you likely use for flash drives and charging cables.
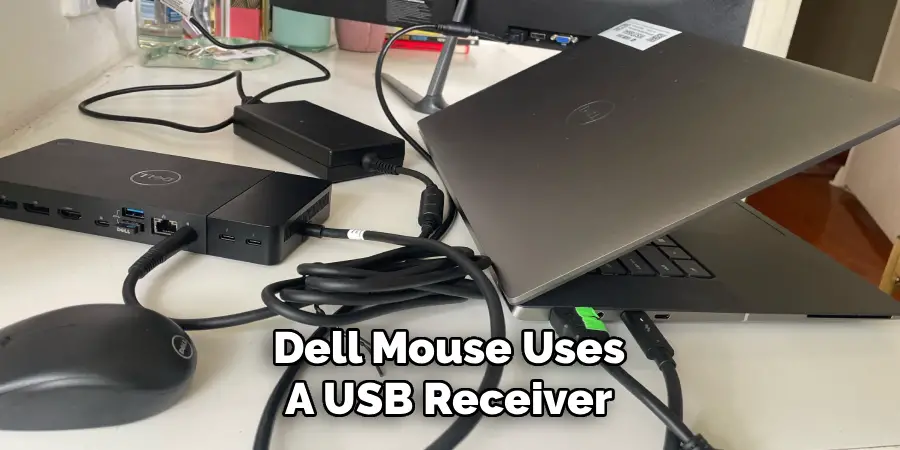
Windows will detect the receiver automatically and install any necessary drivers in the background without requiring you to do anything manually. Within a few seconds, you should see a notification or hear the familiar USB connection sound, and your cursor will begin responding to mouse movement.
Step 4: Enable Bluetooth on Your Laptop for Bluetooth Models
If your Dell mouse is a Bluetooth model, the first thing you need to do on your laptop is make sure Bluetooth is switched on. Click the Start menu and go to Settings, then navigate to “Devices” on Windows 10 or “Bluetooth & devices” on Windows 11. At the top of that page, you’ll find a toggle switch for Bluetooth — make sure it’s turned on. You can also access Bluetooth quickly through the Action Center by clicking the notification icon in the bottom-right corner of your taskbar and toggling Bluetooth from there.
Once Bluetooth is active on your laptop, leave the Bluetooth settings page open because you’ll need it in the next step to complete the pairing process. If you don’t see a Bluetooth option in your settings at all, it may mean your laptop doesn’t have a built-in Bluetooth adapter, or the driver for it needs to be reinstalled — but this is uncommon on modern laptops, especially those running Windows 10 or Windows 11.
Step 5: Put the Dell Mouse Into Pairing Mode
With your laptop’s Bluetooth enabled, you now need to put your Dell mouse into pairing mode so your laptop can find and recognize it. On most Dell Bluetooth mice, there’s a dedicated pairing button on the underside of the mouse, often labeled with a Bluetooth symbol. Press and hold this button for three to five seconds until the LED on the mouse begins flashing rapidly, which indicates the mouse is actively broadcasting its presence and waiting for a device to pair with it.
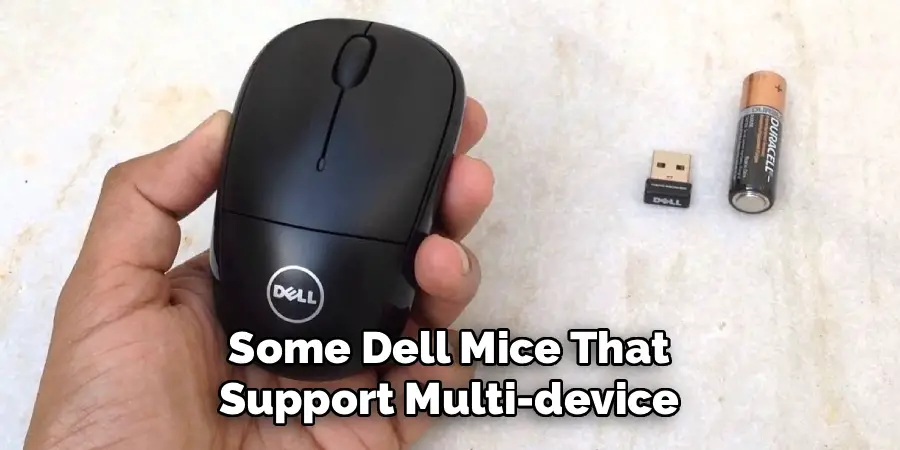
Some Dell mice that support multi-device pairing — like those in the Dell Premier series — have multiple connection slots, and you may need to select the correct channel before pressing the pairing button. Check the underside of the mouse for a channel selection button if your model supports it.
Step 6: Complete the Pairing on Windows Bluetooth Settings
With your mouse in pairing mode, return to the Bluetooth settings page on your laptop and click “Add device” or “Add Bluetooth or other device.” A window will appear asking what type of device you want to add — select “Bluetooth” from the options. Windows will then scan for nearby Bluetooth devices and display a list of what it finds. Your Dell mouse should appear in the list by its model name within a few seconds.
Click on the mouse name in the list to begin pairing. Windows will confirm the connection, and the LED on the mouse will typically stop flashing and either turn solid or switch off entirely, signaling that pairing was successful. Move your mouse around and check that the cursor responds on screen.
Step 7: Test the Connection and Troubleshoot If Needed
Once your Dell mouse is connected — whether through the USB receiver or Bluetooth — move it around on a flat surface and confirm that the cursor tracks smoothly and all buttons respond as expected. Test the left click, right click, and scroll wheel to make sure everything functions correctly. If the mouse feels laggy or the cursor jumps erratically, try moving closer to your laptop, removing other wireless devices from the area, or changing the surface you’re using the mouse on, since highly reflective or glass surfaces can interfere with the optical sensor.
If the connection drops after a few minutes or the mouse disconnects on its own, check your laptop’s power management settings — Windows sometimes cuts power to Bluetooth or USB devices to save battery. Go to Device Manager, locate the mouse or Bluetooth adapter, right-click and select “Properties,” then go to the Power Management tab and uncheck “Allow the computer to turn off this device to save power.”
Frequently Asked Questions
Why Is My Dell Mouse Not Being Detected by My Laptop?
If your laptop isn’t detecting your Dell mouse, start with the basics — check that the mouse is powered on and has fresh batteries. For USB receiver models, try plugging the dongle into a different USB port. For Bluetooth models, confirm that Bluetooth is enabled on your laptop and that the mouse is actively in pairing mode with the LED flashing. Restarting your laptop can also clear connection conflicts that prevent new devices from being recognized.
Can I Connect a Dell Mouse to a Laptop That Doesn’t Have a USB Port?
Yes, if your laptop only has USB-C ports but your Dell mouse uses a USB-A receiver, you can use a USB-A to USB-C adapter to plug the dongle in. Alternatively, if your Dell mouse supports Bluetooth, you can skip the dongle entirely and pair directly over Bluetooth, which doesn’t require any port at all. Bluetooth pairing is often the more practical choice for thin laptops with limited port options.
How Do I Reconnect My Dell Mouse After It Disconnects?
For USB receiver models, simply turn the mouse off and back on using the power switch — it should reconnect to the dongle within a few seconds. For Bluetooth models, turning the mouse off and on again usually triggers automatic reconnection if the laptop remembers the device from a previous pairing session. If it doesn’t reconnect automatically, go to Bluetooth settings, find the mouse in your paired devices list, and click “Connect.”
Can I Use One Dell USB Receiver for Multiple Dell Devices?
Dell’s Unified Pairing (UP) receivers support multiple Dell devices on a single dongle — typically up to six devices. If your Dell mouse came with a receiver labeled with the Dell logo and a small wireless icon, it may support this feature. You can manage paired devices using Dell’s Peripheral Manager software, which is available for free on Dell’s official website. Standard receivers that came with older models typically support only the mouse they were originally paired with.
Does a Dell Bluetooth Mouse Work With Non-Dell Laptops?
Yes. Dell Bluetooth mice use standard Bluetooth protocols and are compatible with any Windows laptop that has Bluetooth built in, regardless of the laptop brand. The pairing process is identical — enable Bluetooth on the laptop, put the mouse into pairing mode, and select it from the available devices list. There are no Dell-specific drivers required for basic functionality, though Dell’s Peripheral Manager software can unlock additional customization options if you choose to install it.
Conclusion
Connecting a Dell mouse to your laptop is a genuinely straightforward process once you know the two main methods and understand the small details that can trip you up — like checking the power switch, replacing batteries before troubleshooting further, or knowing where to find the pairing button on a Bluetooth model. Whether you’re plugging in a USB receiver or pairing over Bluetooth, Windows handles most of the work automatically once you’ve set things up correctly on both the mouse and the laptop side.
Now that you have a clear picture of every step involved, go ahead and try it. Knowing how to connect Dell mouse to laptop not only gets your current setup working but also gives you the confidence to reconnect quickly after a battery swap, set up a new device, or help someone else troubleshoot their mouse. Take it one step at a time, keep the power management fix in mind if disconnections happen, and enjoy the comfort and precision a good mouse brings to your daily laptop use.
