Giving your chairs a makeover doesn’t have to involve buying a whole new set. Sometimes, all it takes is a fresh cover on the cushions to completely transform the look of a room.
How to cover chair cushions is a simple, cost-effective, and rewarding DIY project that allows you to customize your furniture to perfectly match your style. Whether you’re looking to update an outdated pattern, hide a stubborn stain, or simply try something new, this guide will walk you through the process from start to finish.
You’ll be surprised at how easily you can breathe new life into your dining room, kitchen, or office chairs with just a few basic tools and a bit of creativity.

What Will You Need?
Before you begin, gather all your materials and tools. Having everything ready will make the process smooth and efficient.
Materials:
- Upholstery fabric (enough to cover all your cushions, with extra for adjustments)
- New cushion foam or batting (optional, if you want to replace the old padding)
- Plywood or dust cover fabric for the bottom (optional)
Tools:
- Heavy-duty staple gun
- Staples (1/4″ or 3/8″ are usually suitable)
- Screwdriver (Phillips or flathead, depending on your chairs)
- Pliers (needle-nose work well)
- A staple remover or a flathead screwdriver
- Fabric scissors or a rotary cutter
- Measuring tape
- Marker or fabric chalk
10 Easy Steps on How to Cover Chair Cushions
This detailed guide will take you through every step of the process. With a little patience, you’ll have beautifully updated chair cushions in no time.
Step 1: Remove the Cushion from the Chair
First, you need to detach the seat cushion from the chair frame. Flip the chair upside down to locate the screws holding the cushion in place. There are typically four screws, one near each corner.
Using the appropriate screwdriver, carefully remove them and set them aside in a safe place, like a small bowl or magnetic tray, so you don’t lose them. Once all the screws are out, the cushion should lift away from the frame easily. If the cushion seems stuck, a gentle wiggle should free it.
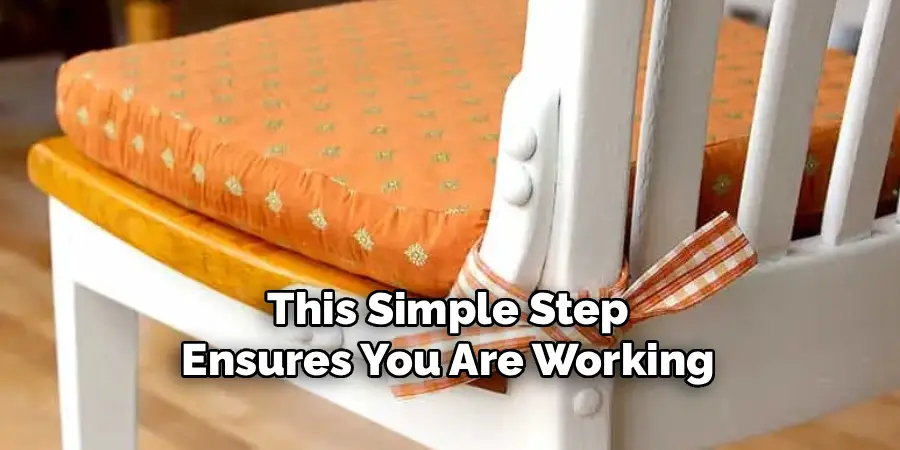
Take this opportunity to wipe down the chair frame and clean any dust or grime that has collected underneath the seat. This simple step ensures you are working with a clean base and prevents dirt from getting trapped under your newly upholstered cushion when you reassemble it.
Step 2: Remove the Old Cover and Staples
With the cushion detached, it’s time to remove the old fabric. Place the cushion face down on your work surface. You will see a line of staples holding the fabric to the wooden base. Using a staple remover or a flathead screwdriver, carefully pry up each staple.
This is often the most time-consuming part of the project, so be patient. Wedge the tool under the staple and gently lever it up. Once it’s partially lifted, use pliers to pull it out completely. Be thorough and try to remove every staple to create a smooth surface for the new cover.
If a staple breaks, use your pliers to pull out the remaining pieces. Removing the old fabric allows you to inspect the foam and batting underneath and decide if it needs replacing. It also prevents adding unnecessary bulk, ensuring a cleaner, more professional finish for your new cover.
Step 3: Inspect the Foam and Batting
Once the old cover is off, take a moment to assess the condition of the foam cushion and any batting. Is the foam flattened, crumbly, or smelly? If so, now is the perfect time to replace it. A fresh piece of high-density foam will make your chair much more comfortable and help the new cover look its best. You can buy foam from a fabric or craft store, where it can often be cut to size for you.
If the foam is still in good shape, you might consider adding a new layer of polyester batting. Batting softens the sharp edges of the cushion base, provides a bit of extra padding, and gives the finished seat a smooth, rounded appearance. If you decide to replace the foam, use the wooden base as a template to trace and cut the new piece.
Step 4: Measure and Cut Your New Fabric
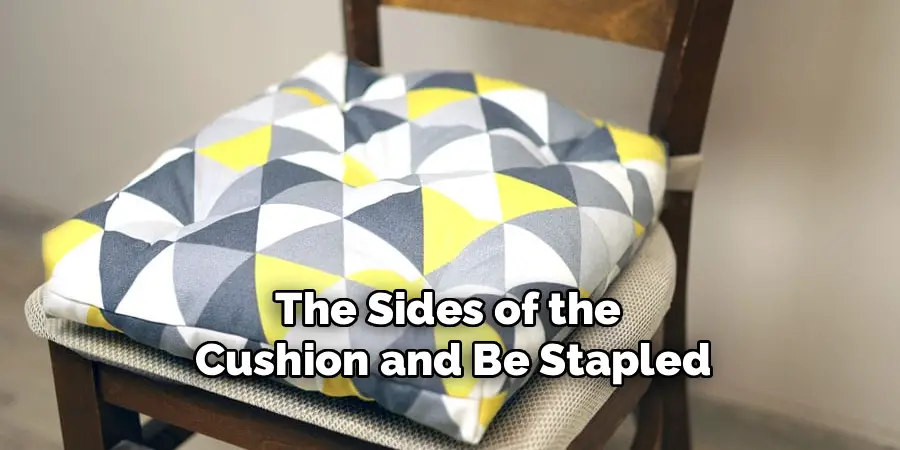
Now for the fun part: preparing your new fabric. Lay your chosen fabric face down on a large, flat surface. Place the cushion base (with foam and batting, if you’re using them) upside down in the center of the fabric. You need enough fabric to wrap around the sides of the cushion and be stapled to the underside of the base.
A good rule of thumb is to allow for at least 3 to 4 inches of excess fabric on all four sides. Use your measuring tape to confirm this. For a 16×16 inch cushion that is 2 inches thick, you would need a piece of fabric that is at least 24×24 inches (16 + 2 + 2 + 4 inches of overlap). Once you’ve measured, use fabric chalk to mark your cutting lines and carefully cut the fabric with sharp scissors or a rotary cutter.
Step 5: Position the Fabric and Cushion
With your fabric cut to size, place it wrong-side-up on your work surface. Smooth out any wrinkles. Next, if you’re using new batting, lay it down on top of the fabric. Finally, place the wooden cushion base upside down on top of the fabric and batting.
Ensure the cushion is perfectly centered on the fabric. Double-check that you have an even amount of excess fabric on all sides. If your fabric has a pattern, this is a critical step. Take a moment to adjust the position of the cushion to ensure the pattern is straight and centered from the top view. You can temporarily flip it over to check the alignment before you start stapling.
Step 6: Begin Stapling the First Side
You’re now ready to secure the new cover. Start on one of the four sides. Pull the fabric taut, but not so tight that it distorts the pattern or strains the fibers. Fold the raw edge of the fabric over by about half an inch to create a clean, finished hem that will prevent fraying.
Pull this folded edge up and over the side of the wooden base. Place one staple in the center of that side, about an inch from the edge of the wood. This first staple acts as an anchor. Add two more staples, one on each side of the center staple, about two inches apart. Do not staple all the way to the corners yet; leave about 3-4 inches unstapled on each end.
Step 7: Staple the Opposite Side
Move directly to the side opposite the one you just stapled. This technique helps ensure the fabric stays even and wrinkle-free. Pull the fabric firmly, making sure it’s smooth across the top of the cushion. Just like before, fold the raw edge over for a clean finish. While maintaining tension, place a staple directly in the center of this second side.
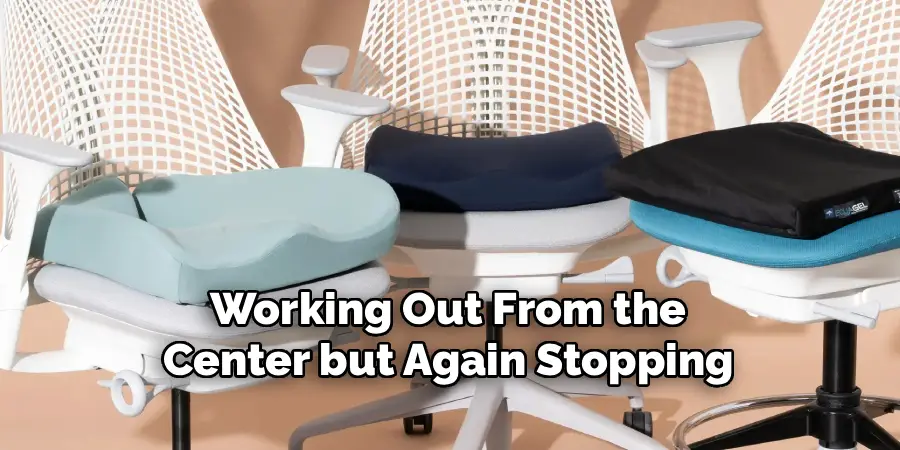
Now, check the top of the cushion to make sure the fabric is smooth and the pattern (if any) is still aligned correctly. If everything looks good, add a few more staples on this side, working out from the center but again stopping a few inches from the corners.
Step 8: Staple the Remaining Two Sides
With the first two sides anchored, it’s time to secure the remaining two. Move to one of the unstapled sides. Pull the fabric taut, smoothing it from the center of the cushion outwards to remove any slack. Fold the edge and place a staple in the center.
Then, move to the final side and repeat the process, pulling the fabric taut and placing a staple in the center. At this point, you should have staples in the center of all four sides. Continue adding staples along each side, working from the center out towards the corners, stopping about 3-4 inches from each corner. Keep the fabric tension consistent to avoid puckers.
Step 9: Neatly Fold and Secure the Corners
The corners are the trickiest part, but with a neat fold, they’ll look professional. There are a few ways to do this, but a simple pleat works well. Pull the fabric at the very tip of the corner straight towards the center of the cushion base and secure it with a staple.
This will create two “wings” or “ears” of fabric on either side. Take one of the wings, pull it neatly towards the center, and fold it down flat against the base. It should create a clean, angled pleat. Staple it securely in place. Repeat this with the other wing, folding it over the first one.
Add several staples to ensure the corner is held down firmly. Do this for all four corners, taking your time to make the folds as neat and uniform as possible.
Step 10: Trim Excess Fabric and Reattach the Cushion
Once all sides and corners are stapled, your cushion is almost done. Use your fabric scissors to trim away any excess fabric that extends past your staple lines. This creates a tidy underside and ensures the cushion will sit flat on the chair frame.
If you want an even more professional finish, you can cut a piece of dust cover fabric (or even simple black felt) to the size of the base and staple it over the raw edges to hide them completely.
Finally, place your newly covered cushion back onto the chair frame, aligning it with the screw holes. From underneath, insert and tighten the screws you set aside earlier. Flip your chair upright and admire your work!

5 Things You Should Avoid
- Not Buying Enough Fabric: Always buy more fabric than you think you need. This gives you a buffer for mistakes and ensures you can properly align patterns.
- Pulling the Fabric Too Tight: While the fabric should be taut, overstretching can distort patterns, create stress on the seams, and make the cushion look misshapen.
- Using the Wrong Staples: Ensure your staples are the correct length. If they are too long, they can poke through the wooden base; if too short, they won’t hold the fabric securely.
- Skipping the Corner Prep: Rushing the corners and simply bunching the fabric will result in a bulky, unprofessional finish. Take your time to create neat, clean pleats.
- Ignoring Fabric Type: Avoid very thin or stretchy fabrics, as they can be difficult to work with and may not be durable enough for seating. Choose a medium-to-heavy weight upholstery fabric for the best results.
Conclusion
How to cover chair cushions is a simple yet transformative project that anyone can tackle.
With just a few hours and some basic supplies, you can completely refresh your furniture, express your personal style, and extend the life of your chairs. By following these steps and avoiding common pitfalls, you’ll achieve a professional-looking result that you can be proud of.
So go ahead, pick out that fabric you love and give your chairs the beautiful and budget-friendly update they deserve.