Getting the right measurements for your furniture is a simple step that can save you a lot of trouble.
Whether you’re buying a new seat cushion, ordering a custom slipcover, or planning the layout of a room, knowing the precise diameter of your chair is essential.
This guide on how to measure chairs diameter will walk you through everything you need to know to get an accurate measurement every time, ensuring your projects turn out just the way you imagined.
What Will You Need?
Before you start, gather a few simple tools. Having these on hand will make the process smooth and your results accurate.
- A flexible measuring tape (like one used for sewing)
- A pencil or a non-permanent marker
- A notepad or your phone to record the measurements
- Optional: A long, straight object like a ruler or yardstick for certain chair types
10 Easy Steps on How to Measure Chairs Diameter
Measuring the diameter of a chair, especially a round one, might seem tricky, but it’s a straightforward process when broken down into simple steps. This detailed guide will help you get an accurate measurement for any circular or rounded chair seat.
Step 1: Prepare the Chair
Before you begin measuring, make sure the chair seat is completely clear. Remove any cushions, pillows, or covers that might be on it. You need to measure the actual surface of the chair’s seat to get a true dimension. If there is any debris or dust, give it a quick wipe down. This ensures that your measuring tape can lie flat against the surface, which is crucial for accuracy. Placing the chair in a well-lit area will also help you see the measuring tape’s markings clearly and find the center of the seat more easily.
Step 2: Identify the Widest Point
The diameter is the straight line that passes from one side of a circle to the other, through its center. For a chair seat, you need to find this line at its widest point. Stand back and look at the chair seat from above. Visually identify the longest possible straight line you could draw across the surface. On a perfectly round chair, any line that passes through the center will be the same length. However, some chairs are more oval or irregularly shaped, so finding this widest point is a key first step.

Step 3: Find the Center of the Seat
Finding the center is the most important part of measuring the diameter. An easy way to approximate the center is to use your measuring tape. Run the tape from the front edge to the back edge of the seat. Note the total length and divide it by two. For example, if the seat is 20 inches deep, the halfway point is at 10 inches. Make a small, light mark with your pencil at this point. Now, do the same thing from the left side to the right side. Where your two halfway marks intersect is the approximate center of the seat.
Step 4: First Measurement (Left to Right)
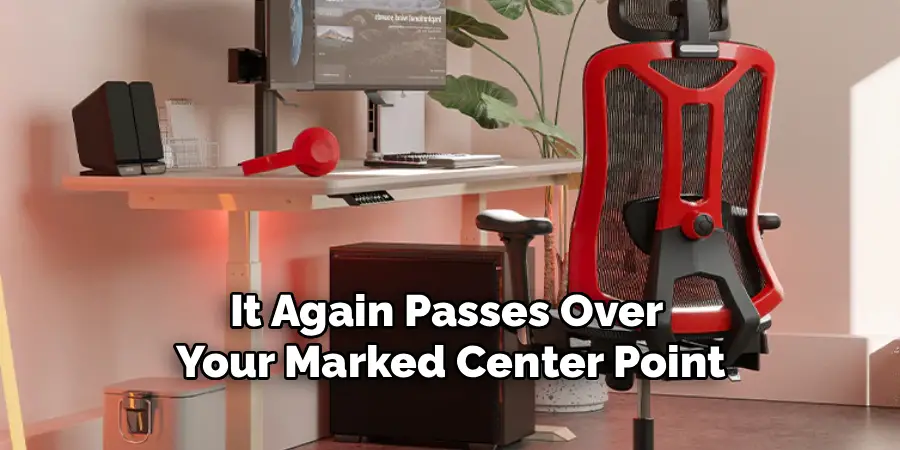
With the center point identified, you can now take your primary measurement. Place the end of your flexible measuring tape on the far-left edge of the chair seat. Carefully extend the tape across the surface, ensuring it passes directly over the center point you marked. Continue pulling the tape until it reaches the far-right edge of the seat. Keep the tape taut and straight, avoiding any slack or sagging. Read the measurement on the tape where it meets the right edge. Write this number down.
Step 5: Second Measurement (Front to Back)
To ensure your chair is truly circular and to double-check your work, take a second measurement. This time, place the end of the measuring tape on the front edge of the seat. Pull it straight back across the seat, making sure it again passes over your marked center point. Extend it all the way to the back edge of the seat. Read the measurement and write it down. For a perfectly round chair, this measurement should be identical or very close to your first one. If it’s different, your chair might be oval.
Step 6: The Diagonal Check
For added accuracy, especially on chairs that aren’t perfectly round, a diagonal check is helpful. This involves taking two more measurements. Start by placing the tape at what you might consider the “10 o’clock” position on the edge of the seat. Stretch it across the center point to the “4 o’clock” position on the opposite edge and record the measurement. Then, repeat this process from the “2 o’clock” to the “8 o’clock” position. These diagonal measurements help confirm the overall dimensions and find the true widest point if the shape is irregular.
Step 7: Record All Your Measurements
Consistency is key. As you take each measurement—left-to-right, front-to-back, and your two diagonals—write them down clearly. Label each one so you don’t get them confused. For example, write “L-R: 18 inches,” “F-B: 18.5 inches.” This record is invaluable, especially if you get interrupted or need to refer back to the numbers later. Having all the measurements allows you to analyze them and determine the most accurate diameter, or understand if your chair has an oval shape.
Step 8: Analyze Your Results
Look at the numbers you’ve written down. If all the measurements are the same or within a very small fraction of an inch of each other, you can be confident that you have a round chair. You can use that consistent number as your official diameter. If the front-to-back measurement is different from the left-to-right one, your chair is oval. In this case, you have two diameters to consider. The larger number is the major diameter, and the smaller one is the minor diameter. Both are important for ordering custom cushions or covers.
Step 9: Round to the Nearest Fraction
When purchasing items like cushions, they often come in standard sizes (e.g., 18 inches, 18.5 inches). After you have determined your final measurement, it’s often practical to round it to the nearest standard fraction, like a half-inch or quarter-inch. For example, if your measurement is 17 and 7/8 inches, you might round up to 18 inches for a cushion to ensure a snug fit. If you’re ordering something custom, providing the exact measurement is best. For general purposes, rounding makes shopping easier.

Step 10: Double-Check Everything
The old rule “measure twice, cut once” applies here. Before you finalize your numbers and place an order or cut fabric, take a moment to re-measure. Go through the steps one more time, starting from finding the center to taking the left-to-right and front-to-back measurements. This quick double-check can catch any small errors you might have made the first time. It only takes a few extra minutes, but it can save you from the cost and frustration of buying an item that doesn’t fit.
5 Things You Should Avoid
- Using a Rigid Ruler: A metal or wooden ruler won’t bend to the natural curve of some chair seats, leading to inaccurate readings. Always use a flexible sewing tape.
- Measuring Over Cushions: Never measure with a cushion or cover on the chair. You need the bare dimensions of the seat frame itself for a proper fit.
- Guessing the Center: Don’t just eyeball the center of the seat. Taking a moment to measure and mark the central point is crucial for an accurate diameter reading.
- Letting the Tape Sag: A loose or sagging measuring tape will add extra length to your measurement. Always pull the tape taut and straight across the surface.
- Taking Only One Measurement: A single measurement isn’t enough, as many chairs that appear round are actually slightly oval. Take at least two perpendicular measurements to be sure.
Frequently Asked Questions
- What if My Chair Seat is Not a Perfect Circle?
If your front-to-back and side-to-side measurements are different, your chair is oval. You should record both measurements. When buying a cushion, you may need a custom one, or you can choose a size that is a compromise between the two dimensions, depending on the look you want. - Should I Round My Measurements Up or Down?
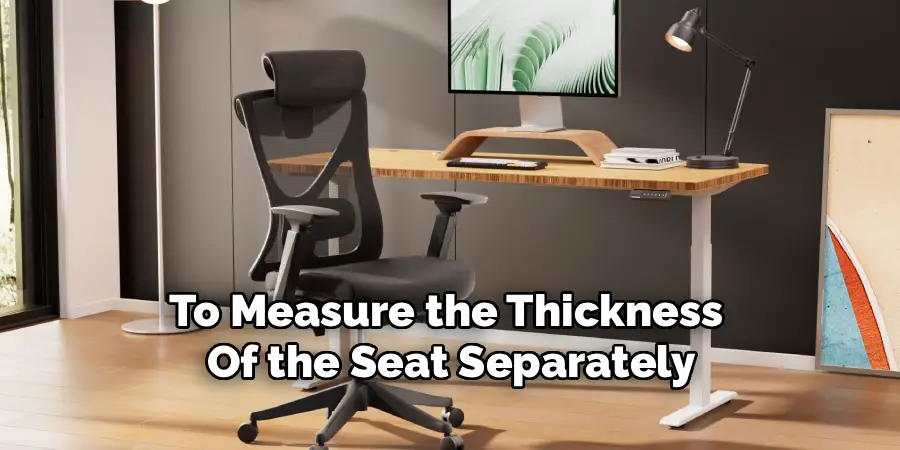
For cushions, it’s often better to round up to the nearest half-inch to ensure a full, snug fit. A slightly larger cushion looks better than one that’s too small. For slipcovers or other precise fits, it’s best to use the exact measurement or follow the manufacturer’s specific guidelines. - Does the Thickness of the Seat Matter for the Diameter?
The thickness (or depth) of the seat frame itself does not affect the diameter measurement, which is a two-dimensional measure of the surface. However, if you are buying a full-wrap slipcover, you will need to measure the thickness of the seat separately to ensure the cover fits over the edge properly.
Conclusion
How to measure chairs diameter is a simple skill that empowers you to make smarter choices for your home decor.
By following these steps and avoiding common mistakes, you can ensure that every cushion, cover, and piece of furniture fits perfectly. Taking the time to get accurate measurements will save you from returns, extra costs, and the disappointment of a project that doesn’t quite work.
Now you have the confidence to measure any chair with precision.