Shelving is a cornerstone of home organization. From pantries and closets to garages and living rooms, shelves provide essential storage space, keeping our belongings tidy and accessible.

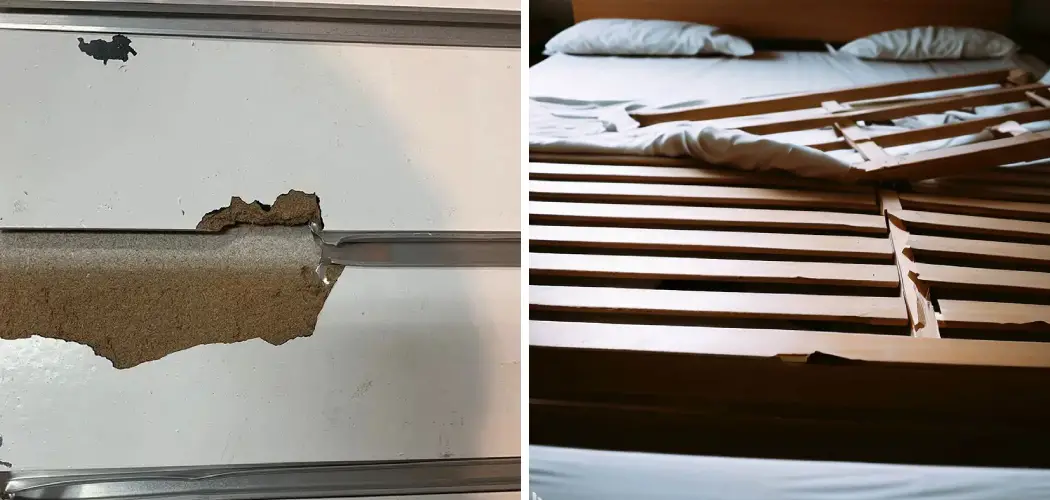
However, a broken shelf slat can disrupt this harmony, turning a functional storage solution into a frustrating problem. A single cracked or split slat not only looks bad but can also compromise the structural integrity of the entire unit.
Learning how to fix a broken shelf slat is a valuable skill that saves you money on costly replacements and restores order to your space.
What are the Causes?
Understanding why a shelf slat breaks is the first step toward preventing future damage. Several common factors can lead to this issue.
- Overloading: The most frequent cause is simply putting too much weight on the shelf. Every shelf has a weight limit, and exceeding it puts immense stress on individual slats, causing them to bend, crack, or snap.
- Poor Material Quality: Shelves made from particleboard, MDF, or low-quality wood are more susceptible to breaking under pressure. These materials lack the strength and durability of solid wood.
- Improper Installation: If the shelf unit was not assembled correctly, the weight distribution might be uneven. This can concentrate pressure on a single slat or connection point, leading to failure.
- Age and Wear: Over time, wood can dry out and become brittle. Exposure to fluctuations in temperature and humidity can also weaken the material, making it more prone to damage.
- Accidental Impact: A sharp blow from a heavy object can easily crack or split a slat, especially if the wood is already weakened by age or stress.
What Will You Need?
Before you begin the repair, gather the necessary tools and materials. Having everything on hand will make the process smoother and more efficient.
- Replacement wood slat (if the original is beyond repair)
- Wood glue
- Wood filler
- Tape measure
- Pencil
- Saw (hand saw or circular saw)
- Sandpaper (medium and fine grit)
- Clamps (C-clamps or spring clamps)
- Screwdriver or drill
- Wood screws
- Safety glasses
- Clean rags or paper towels
10 Easy Steps on How to Fix a Broken Shelf Slat
Fixing a broken shelf slat is a manageable DIY project that can be completed in an afternoon. Follow these detailed steps to ensure a strong, lasting repair that restores your shelf to its former glory.
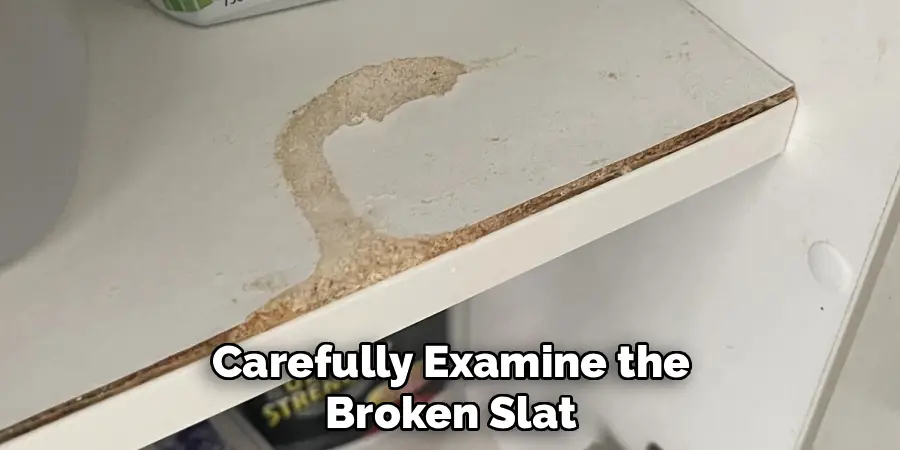
Step 1: Assess the Damage
Your first task is to carefully examine the broken slat and the surrounding shelf structure. Determine if the slat is simply cracked or completely broken in two. If it’s a clean split, you can likely glue it back together. However, if the wood is splintered, shattered, or has missing pieces, you will need to create a replacement slat.
Also, check the support brackets and the points where the slat connects to the shelf frame. Look for any other signs of stress or weakness that may need addressing. A thorough assessment ensures you choose the right repair method and don’t miss any underlying issues that could cause problems later.
Step 2: Remove the Broken Slat
Gently remove the damaged slat from the shelf frame. Depending on how it was installed, you might need to unscrew it, pry it loose, or carefully tap it out with a rubber mallet. Be cautious during this step to avoid causing further damage to the frame or adjacent slats. If the slate is glued in place, you may need to use a putty knife to carefully break the adhesive seal.
If the slat is part of a larger, fixed unit, you will have to work on it in place. Take your time and work methodically. If you plan to repair the existing slat, handle the broken pieces with care to ensure they fit back together perfectly.
Step 3: Prepare the Replacement Slat
If you’ve determined that the original slat is beyond repair, you will need a new one. Measure the dimensions of an intact slat from the same shelf—length, width, and thickness—with a tape measure. Use these exact measurements to cut a new piece from a matching type of wood.
For a stronger, more durable shelf, consider using a higher-quality wood than the original. After marking your measurements with a pencil, use a saw to make precise cuts. Accuracy is key here; a slat that is too short will be loose, while one that is too long won’t fit into the frame at all.
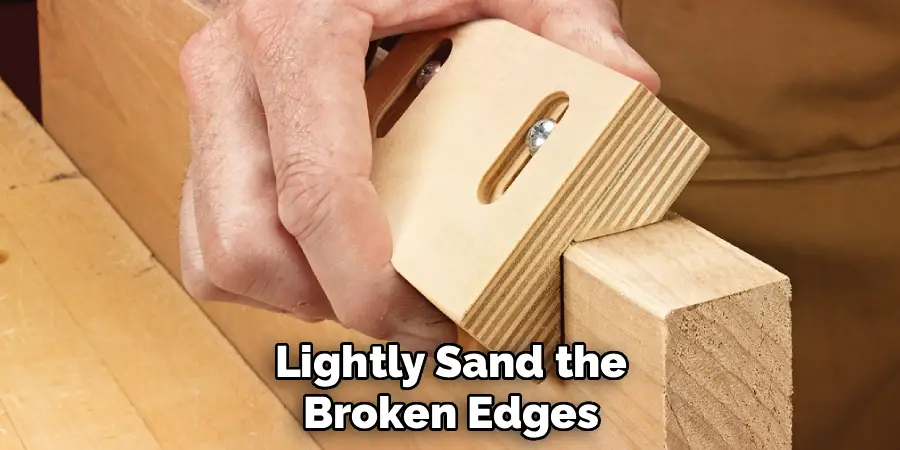
Step 4: Sand the Edges
Whether you are repairing the old slat or using a new one, sanding is a critical step. For a repaired slat, lightly sand the broken edges to remove any splinters or rough spots that could prevent a tight bond. For a new slate, sand the cut edges and surfaces to make them smooth and remove any saw marks.
Start with medium-grit sandpaper to smooth out imperfections and finish with fine-grit sandpaper for a polished feel. This not only improves the appearance but also helps the glue adhere more effectively and ensures the slat fits snugly into the shelf frame.
Step 5: Apply Wood Glue
Wood glue creates a bond that is often stronger than the wood itself. If you are repairing the original slat, apply a generous, even layer of high-quality wood glue to one of the broken edges.
Press the two pieces together firmly, ensuring they are perfectly aligned. Wipe away any excess glue that squeezes out with a damp cloth immediately. If you are installing a new slat, apply glue to the ends where it will connect with the shelf frame. This adds an extra layer of security beyond just screws or nails.
Step 6: Secure with Clamps
Once the glue is applied, you need to hold the pieces together tightly while the glue dries. This is where clamps are essential. For a repaired slat, place clamps across the glued seam to apply firm, even pressure. Use a piece of scrap wood between the clamp and the slat to prevent the clamp from denting the surface.
If you are installing a new slat, use clamps to hold it securely against the shelf frame. Ensure the slat is flush and level before tightening the clamps completely. Proper clamping is crucial for creating a strong, seamless bond.
Step 7: Reinforce with Screws
For added strength, especially on shelves that will hold significant weight, reinforcing the repair with screws is a good idea. If you repaired a slat, you can drive small wood screws through a support piece placed underneath the mended crack.
If you installed a new slat, drive wood screws through the shelf frame and into the ends of the slat. It’s a good practice to drill pilot holes first to prevent the wood from splitting. This mechanical fastening, combined with the chemical bond of the glue, creates a robust and reliable repair that will stand the test of time.
Step 8: Allow to Dry
Patience is a virtue, especially when working with wood glue. Refer to the manufacturer’s instructions for the recommended drying time. Most wood glues need to be clamped for at least an hour, but they require 24 hours to cure fully and reach maximum strength. Rushing this step is a common mistake that can compromise the entire repair.
Find a safe place for the shelf or slat to rest undisturbed while it cures completely. Resisting the urge to test its strength prematurely will pay off in the long run.
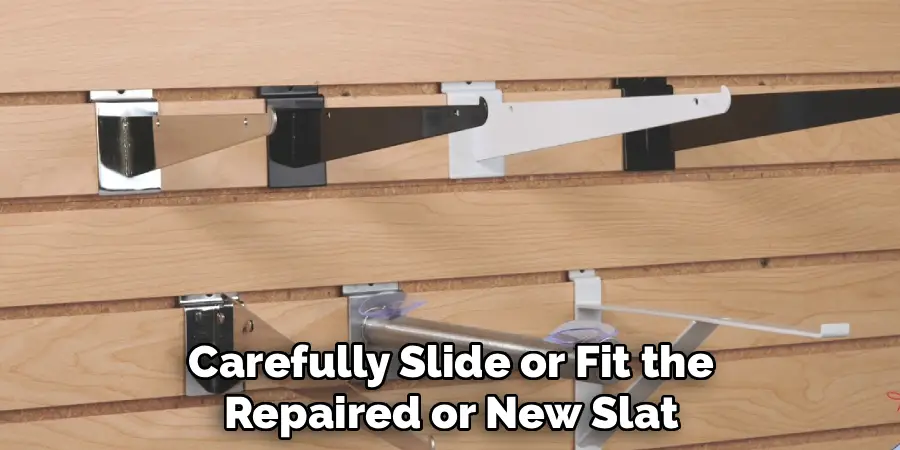
Step 9: Reinstall the Slat
After the glue has fully cured, you can remove the clamps and reinstall the slat. Carefully slide or fit the repaired or new slat back into its position on the shelf frame. If you used screws for reinforcement, ensure they are tight.
If the slat fits snugly and is level with the others, your repair is nearly complete. Take a moment to inspect the finished work, making sure everything looks straight and secure. If the slat feels loose, you may need to add shims or additional fasteners to secure it properly.
Step 10: Test the Shelf
The final step is to test the shelf’s strength. Before loading it up with your belongings, apply gentle, gradual pressure to the repaired slat with your hands. If it feels solid and doesn’t flex or creak, you can proceed with confidence.
Start by placing a few light items on the shelf and gradually increase the weight. This final check ensures that your repair is successful and that the shelf is once again ready for reliable, everyday use. Congratulations, you have successfully restored your shelf!
5 Things You Should Avoid
- Using the Wrong Glue: Avoid using all-purpose craft glue or super glue. Always use a high-quality wood glue, as it’s designed to create a strong bond between wood fibers.
- Skipping the Sanding: Failing to sand the edges can result in a poor fit and a weak glue bond. Always take the time to smooth out rough spots and splinters.
- Not Clamping Properly: Insufficient or uneven pressure from clamps can lead to a weak joint. Ensure your clamps are tight and distribute pressure evenly across the glued area.
- Rushing the Drying Time: Removing clamps or using the shelf before the glue has fully cured is a recipe for failure. Be patient and wait the recommended 24 hours for maximum strength.
- Ignoring Pilot Holes: Driving screws directly into hardwood or near the end of a slat can cause the wood to split. Always drill pilot holes that are slightly smaller than the screw’s diameter.
Conclusion
A broken shelf slat doesn’t have to mean the end of your storage unit. With the right tools, a bit of patience, and the steps outlined above, you can perform a durable repair that restores both function and appearance to your shelf.
By understanding the causes of breakage and avoiding common pitfalls, you are also better equipped to care for your shelves and prevent future issues.
Hopefully, the article on how to fix a broken shelf slat has provided you with the knowledge and confidence to tackle this DIY project. So go ahead, grab your tools, and get started on fixing those shelves!