

When you unbox a new monitor, powering it up is the first milestone on your path to enjoying a sharper, more vibrant workspace or gaming experience. It sounds simple, but if you’re not familiar with the controls or encounter a hiccup, it can quickly become an exercise in frustration. Whether you’re setting up your Scepter monitor for the first time or facing unexpected power issues, knowing exactly how to turn on Sceptre monitor hardware is key to a smooth start. This guide covers everything from locating the right button to resolving stubborn “no signal” problems, ensuring you can take full advantage of your monitor right away.

Locating the Power Button or Joystick
Before you can turn on your Sceptre monitor, you’ll need to find its main control. Sceptre uses a couple of typical power-on interfaces depending on the model, and a quick inspection will tell you which you have.
Finding the Traditional Power Button
On many Sceptre models, the power button is a dedicated and often backlit control. Look for it on the lower right-hand corner of the front bezel, or feel along the underside of the frame. The button usually carries the “|” power symbol and, when pressed, should turn on the monitor or wake it from sleep mode.
Identifying Models with a Joystick/OSD Control Stick
Some newer Sceptre monitors come with a multi-directional control stick, often referred to as an OSD (On-Screen Display) joystick. You’ll typically find this small stick on the rear of the monitor, along the lower right or center area. Pressing the joystick inward acts as the power command, while moving it in other directions opens menus or navigates settings.
Understanding which interface your monitor uses will streamline the power-on process and help you navigate troubleshooting more efficiently.
The Essential Connection: Power Cable and Outlet Check
Even with the right button, your monitor won’t turn on without the correct electrical connection. Before you press anything, double-check the basics to ensure your Sceptre monitor has access to power.
Verifying the Power Cable Connection
Examine the back of the monitor and make sure the power cord is securely seated in the port. Then follow the cable to the wall outlet or power strip. If you’re using a multi-outlet extension, confirm that the main switch is set to “on.” An unseated plug or accidentally switched-off power strip is one of the most common causes for a monitor failing to start.
Testing the Power Outlet
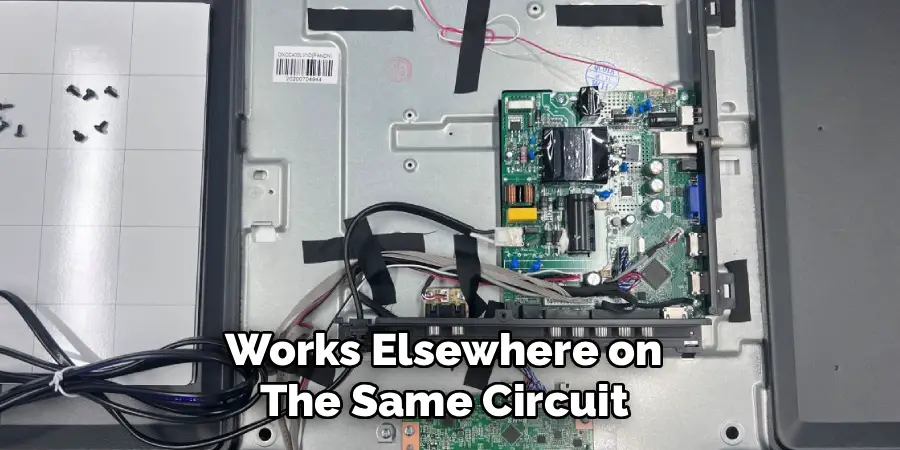
It’s easy to overlook a faulty outlet. To rule this out, unplug the monitor and plug in a lamp or phone charger that you know works. If the second device fails to power up, switch to a different outlet or check if another device works elsewhere on the same circuit. Only proceed once you’re positive your monitor is receiving reliable power.
How to Turn on Sceptre Monitor: The Full Power-On Sequence
To ensure a smooth setup for your Sceptre monitor, following the correct order can make all the difference. Small details, like powering up the computer before the monitor, can save time and prevent unnecessary troubleshooting.
Connecting the Video Cable
Before the monitor can display anything, it needs a signal. Start by connecting the HDMI, DisplayPort, or VGA cable from the correct port on your computer or game console to the matching input on your Sceptre monitor. Ensure the connection is tight to avoid a blank screen or input error message.
Securing the Power Connection
Now plug the power cord into the back of the monitor and the chosen outlet. Remember to check that the outlet is working and the cord is firmly attached.
Powering Up the Source Device
For best results, turn on your computer or console before powering the monitor. As the system starts, it will send a signal to the monitor, which helps many Sceptre models automatically detect the active input source.
Turning On the Sceptre Monitor
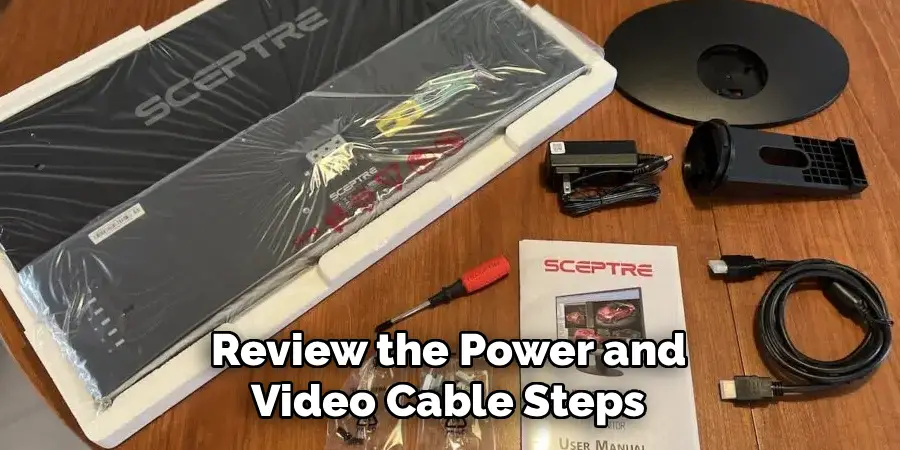
Now, press the power button or joystick to turn on your Sceptre monitor. You should see an LED light indicator (more on this next), and the brand logo may appear before the desktop or home screen loads. If the monitor remains blank, review the power and video cable steps, and proceed to troubleshooting if needed.
Understanding the LED Indicator Light
The small LED indicator on your Sceptre monitor provides critical feedback about what’s happening inside the device.
LED Color Codes and Their Meanings
A solid blue light usually appears when the monitor is on and actively receiving a video signal. This means both the power and video connections are functioning.
If you notice the LED is blinking blue or shows a steady amber or orange color, the monitor is on, but not receiving a signal. This often means your computer is asleep, powered off, or there is a cable issue.
No light at all? The monitor is not getting any power, which usually points to a problem with the wall outlet, power strip, or cable. You’ll need to review the previous steps before continuing.
Troubleshooting: “I Pressed the Button, but Nothing Happened”
Not every Sceptre monitor powers up perfectly on the first try. If you’ve pressed the button and nothing occurs, try these solutions before assuming the hardware has failed.
When There’s No Power and No LED Light
Start with the basics. Unplug and replug the power cord at both the monitor and wall outlet. Try a different outlet, especially if your current one isn’t working with other devices. If the monitor remains dark, substitute a known-good power cord of the same specification—sometimes the cord itself is at fault.
Dealing with a Blinking Light or Standby Mode
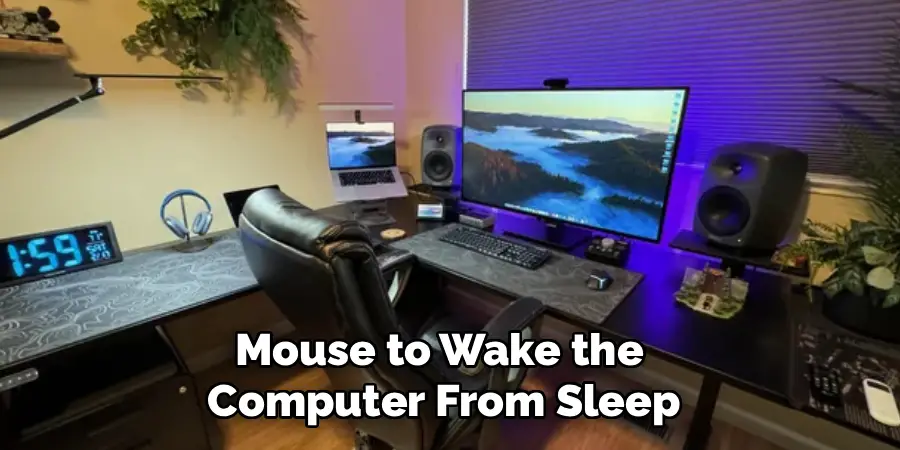
If your monitor’s LED blinks or glows amber/orange, but nothing shows on the screen, it’s likely in standby mode, waiting for a signal. Tap a key on your keyboard or move your mouse to wake the computer from sleep. If nothing happens, check that your computer is actually powered on.
Checking Video Cables and Input
Inspect the video connection—sometimes a loose HDMI or DisplayPort cable is the culprit. Gently push both ends of the cable into place. If you have another cable, consider swapping it to rule out cable failure. It’s also worth disconnecting and reconnecting cables to reset the monitor’s input detection.
The “No Signal” Issue: Selecting the Correct Input Source
A frustrating “No Signal” message or persistently black screen often means the monitor input source is set incorrectly.
Why Input Matters
If your Sceptre monitor is set to HDMI1, but your computer is actually connected to HDMI2 or DisplayPort, it will wait endlessly for a signal that isn’t coming. Many users experience this after unplugging and replugging devices, adding a docking station, or changing cables.
Using On-Screen Display (OSD) Controls to Switch Inputs
Locate the OSD button or joystick—often on the back or bottom edge. Pressing (or moving) this control should bring up an on-screen menu, typically starting with a list of input sources. Use the joystick or navigation buttons to select the matching port (HDMI1, HDMI2, DP, VGA) for your computer or game console. Confirm the selection and give the monitor a moment to display the connected device’s output.
If your monitor still reports “No Signal,” double-check that your source device is powered on and fully booted. Occasionally, restarting the computer with the monitor on will allow automatic source detection to take place.
First-Time Setup and Initial Settings
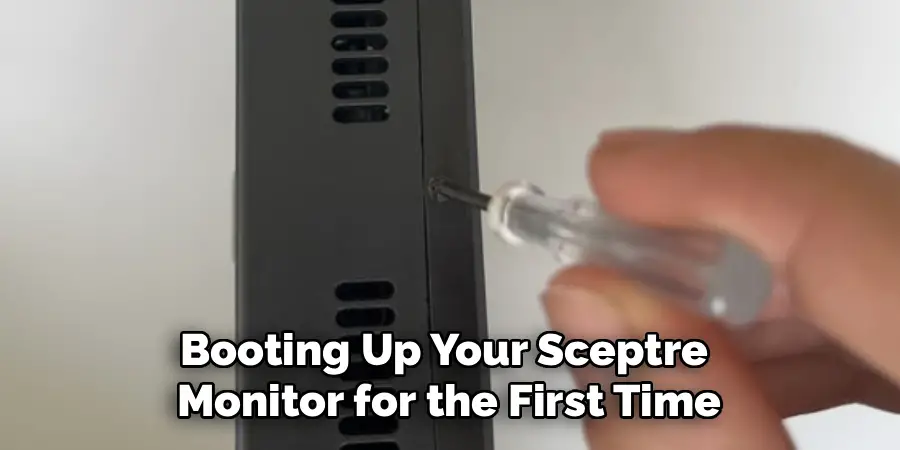
Booting up your Sceptre monitor for the first time may bring up a brief setup wizard or default settings screen. Use this opportunity to optimize your viewing experience.
Navigating the Setup Wizard
Some models prompt you to select a language, set the time, or adjust input settings when powered up for the first time. Follow the on-screen instructions using the control buttons or joystick to make your selections.
Adjusting Brightness and Basic Settings
By default, Sceptre monitors may be set to high brightness or an energy-saving “Eco Mode.” If the display appears too bright or colors are muted, use the OSD controls to locate the brightness and picture mode settings. Adjust them for eye comfort—this will make extended work or play more pleasant.
If you’re unsure where these settings reside, consult your monitor’s manual (often available on Sceptre’s website) or explore the menu, which usually features clear labels for brightness, contrast, and preset viewing modes.
Common Mistakes to Avoid
While learning how to turn on Sceptre monitor models is straightforward, overlooking small details is a frequent cause of frustration. Avoid these missteps to streamline your setup.
Not Powering On the Source Device
One of the most common errors is forgetting to turn on your computer or console. If the monitor is powered but receiving no signal, check that the device you’re connecting to is also switched on and not in sleep mode.
Ignoring the Power Strip or Outlet
There’s a temptation to assume something is wrong with the monitor when the issue is actually a powered-off surge protector or a tripped circuit breaker. Always test outlets and ensure all switches are in the “on” position.
Using the Wrong Input Source
If you’ve recently switched ports or have multiple devices connected (such as a computer and a console), verify the monitor is set to the correct input. Manually selecting the source through the OSD menu eliminates most “No Signal” errors.
Dismissing Cables and Connections
A cable may look fine on the outside and still fail to transmit data. If you’ve tried all software fixes, substitute fresh HDMI, DisplayPort, or VGA cables as needed.
Assuming Hardware Failure Too Soon
Unless you notice obvious physical damage or a complete lack of any indicator lights, exhaust all troubleshooting steps before concluding the monitor itself is broken. The majority of power-on issues are easily resolved by checking basic connections and settings.

Conclusion
Powering up your monitor successfully is the gateway to productive work and immersive entertainment. By following this comprehensive guide on how to turn on Sceptre monitor units, you’ll quickly move past common challenges and enjoy your new display. Remember to go step-by-step: check the power connection, confirm all cables are secure, ensure the right device is on, and select the correct input. With patience and a methodical approach, most setup problems are solved with ease. Should more complex issues arise, Sceptre’s customer support or your device warranty are the next resources to consider. Your Sceptre monitor is now ready to help you see the world a little more clearly.
