
Building or restoring a table is one of the most rewarding DIY projects you can take on — and one of the most practical. Whether you’re assembling a new dining table, refreshing an old one, or building from scratch, the way you secure the legs determines how stable, safe, and long-lasting the final piece will be.
Knowing how to attach table legs with bolts gives you a connection that’s far more secure than nails or simple wood screws. Bolts distribute weight evenly, resist wobble over time, and can be removed and retightened if the table ever needs adjustment. That makes them the right choice for any table that will see regular daily use.
Why Attaching Table Legs With Bolts Matters
The method you use to secure table legs has a direct impact on how the table performs over time. Nails and basic screws can loosen with repeated use, especially on tables that carry heavy loads or get moved frequently. Bolts create a clamping force that holds the joint together under stress rather than simply gripping the wood.
A properly bolted leg connection also makes maintenance straightforward. If a leg develops a slight wobble six months down the line, you can tighten the bolt rather than replacing the hardware entirely. That repairability is a major advantage over permanent adhesives or staple-based assembly methods.
Step-By-Step Guide To How To Attach Table Legs With Bolts
Step 1: Gather Your Tools And Hardware
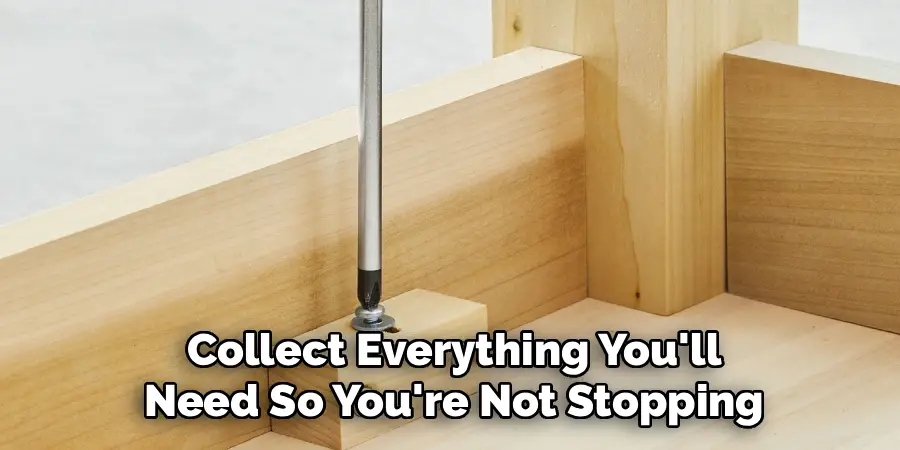
Before you touch the table, collect everything you’ll need so you’re not stopping mid-project to find a missing tool. You’ll need the correct bolts and nuts or threaded inserts, a drill with the appropriate bit, a wrench or socket set, a measuring tape, a square or level, a pencil, and sandpaper if any surfaces need smoothing. Having everything within reach makes the process faster and reduces the chance of misalignment caused by rushing.
Check that the bolts you’ve chosen are the right length and diameter for your table legs and tabletop thickness. A bolt that’s too short won’t grip properly, and one that’s too long can push through the surface or prevent the leg from sitting flush. If your legs came with hardware, follow the manufacturer’s specifications — otherwise, a 5/16-inch or 3/8-inch bolt is common for most standard table builds.
Step 2: Choose The Right Attachment Method
There are two main approaches to bolting table legs: using a mounting plate with bolts that pass through the plate and into the leg, or using threaded inserts embedded in the tabletop that the leg bolts screw directly into. Mounting plates are easier for beginners because they provide a wide base that distributes the load and require fewer precision cuts. Threaded inserts offer a cleaner look but need accurate drilling to work well.
For most DIY table builds, a four-hole metal mounting plate paired with machine bolts or lag bolts is the most reliable and forgiving option. It keeps the leg firmly positioned during tightening and allows you to make small adjustments before fully locking everything down. If your tabletop is at least 1.5 inches thick, mounting plates will give you a solid, dependable connection without overcomplicating the process.
Step 3: Mark Your Leg Positions Accurately
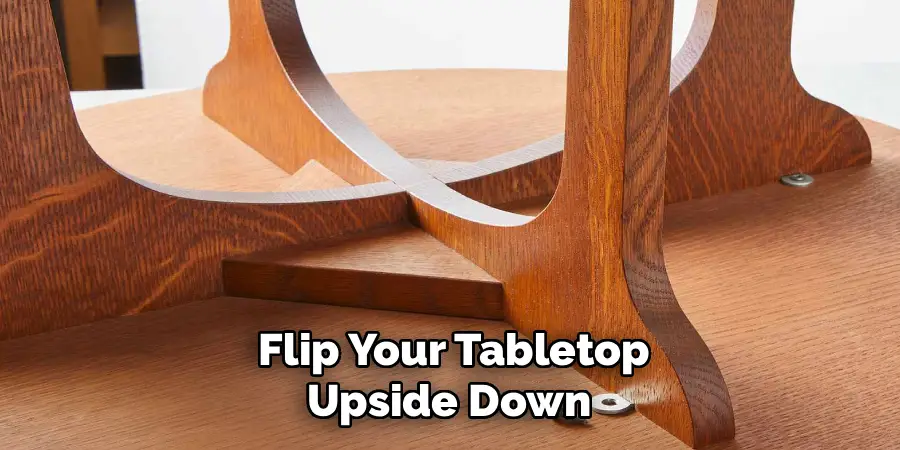
Flip your tabletop upside down on a flat, padded surface — an old blanket on the floor works well — so you’re working on the underside without scratching the finished top. Use a measuring tape to locate where each leg should sit. Most tables position legs inset slightly from the corners by two to four inches to prevent tipping. Mark the center of each leg position clearly with a pencil.
Use a square to confirm that all four leg positions are equally spaced from the edges and from each other. Eyeballing this step is the most common source of a wobbly or lopsided table. Taking three minutes to measure carefully here saves you from re-drilling or shimming after assembly. Mark the screw holes on each mounting plate by holding it in position and tracing through the holes before you start drilling.
Step 4: Drill Pilot Holes To Prevent Splitting
Before driving any bolt into wood, drill a pilot hole at each marked location. A pilot hole slightly smaller than the bolt diameter gives the bolt something to grip without forcing the wood fibers apart. Skipping this step — especially in solid hardwoods — often results in split wood or a bolt that goes in crooked and never sits flush.
Set your drill bit depth so it doesn’t punch through the tabletop. A piece of masking tape wrapped around the bit at the correct depth acts as a simple depth stop. Drill straight and steady, keeping the bit perpendicular to the surface. Clean out any debris from the holes before proceeding so the mounting plate sits flat against the wood and doesn’t rock when tightened.
Step 5: Secure The Mounting Plates Or Inserts
With pilot holes ready, position your mounting plate over the marked location and drive in the bolts or screws by hand first before using a wrench. Starting by hand lets you feel whether the bolt is threading correctly or cross-threading, which can strip the hole and make the connection unreliable. Get all fasteners finger-tight before fully tightening any of them.
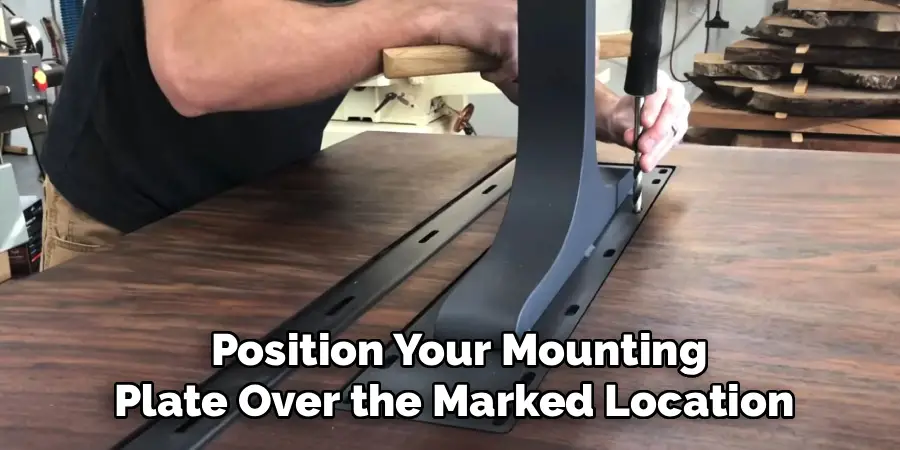
Understanding how to attach table legs with bolts correctly at this stage means resisting the urge to fully tighten one corner before the others are in. Work in a cross pattern — tighten one bolt slightly, then move to the opposite corner, then the remaining two — until all four are snug. This keeps the plate flat and prevents it from pulling unevenly into the wood on one side.
Step 6: Attach And Tighten The Legs
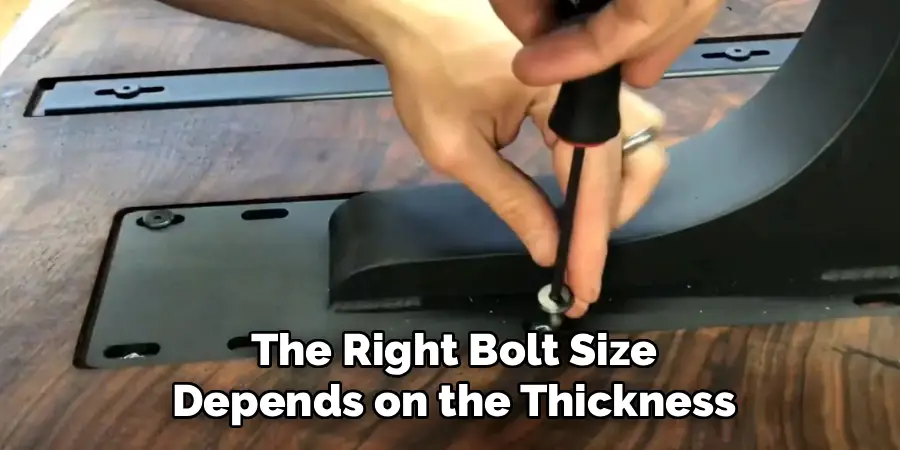
Screw or bolt each leg into its mounting plate according to the hardware design. On most mounting plates, the leg threads directly into a central bolt that runs up through the plate — rotate the leg clockwise until it’s hand-tight, then use a wrench to bring it to firm. On designs where the leg is secured with side bolts through the leg itself, hold the leg straight and tighten both bolts evenly.
Do not over-tighten. The goal is firm resistance, not maximum torque. Over-tightening can crack the wood, strip the threads in the leg or insert, or bow the mounting plate — all of which weaken the connection rather than strengthening it. A well-tightened bolt connection should feel completely solid when you apply moderate hand pressure to the leg from the side. If it moves, snug the bolt a quarter turn and check again.
Frequently Asked Questions
What Size Bolts Should I Use For Table Legs?
The right bolt size depends on the thickness of your tabletop and the design of your legs. For most standard dining or work tables with a tabletop between 1.5 and 2 inches thick, 5/16-inch or 3/8-inch diameter bolts at 2 to 2.5 inches in length are a reliable choice. Always check that the bolt length leaves at least a half inch of wood between the bolt tip and the finished surface to avoid breaking through the top.
Do I Need Threaded Inserts Or Can I Use Wood Screws Instead?
Threaded inserts create a much more durable connection than wood screws because metal threading holds better under repeated stress than wood fibers alone. Wood screws can work for lightweight tables, but they tend to loosen over time with regular use. If you’re building a table that will carry heavy objects or be used daily, threaded inserts paired with machine bolts are worth the small extra effort during installation for the significant improvement in long-term holding power.
How Do I Keep The Legs From Spinning After Tightening?
Leg spinning after tightening is usually caused by threads that aren’t fully engaged or a mounting plate that’s moving slightly during tightening. Make sure the leg is threaded on all the way by hand before applying a wrench. Adding a small amount of thread-locking compound — available at any hardware store — to the bolt threads before final tightening prevents the connection from loosening or rotating under use without making it impossible to remove later if needed.
Can I Attach Legs To A Tabletop Without A Mounting Plate?
Yes, but it requires more precision. Without a mounting plate, the most common method is drilling a centered hole for a hanger bolt — a fastener with wood threads on one end and machine threads on the other. The wood end goes into the leg, and the machine end passes through a washer and nut recessed into the tabletop. This produces a very clean result but demands accurate drilling and leaves less room for adjustment if something isn’t aligned correctly.
How Do I Fix A Wobbly Leg After Assembly?
Start by identifying which leg is the problem — press down on each corner while watching the other three. The leg opposite the one that rocks is usually the short one. Check whether the mounting plate on the wobbly leg is fully seated and all bolts are properly tightened. If the leg itself is slightly shorter than the others, an adhesive furniture pad under that specific leg is the fastest fix. For a larger height difference, a thin furniture leveling glide with an adjustable foot gives you precise control.
Conclusion
Attaching table legs securely is a straightforward process when you work through it step by step. Measure accurately, drill your pilot holes before driving anything in, use a cross-tightening pattern to seat plates evenly, and take the time to check stability before calling the job done. Those four habits are what separate a table that stays solid for years from one that develops problems within months.
The hardware choices matter too — mounting plates for simplicity, threaded inserts for a cleaner finish — but both work reliably when installed with care. Following this guide for how to attach table legs with bolts gives you a result that’s strong, adjustable, and worth the effort every time you sit down at the table you built.
