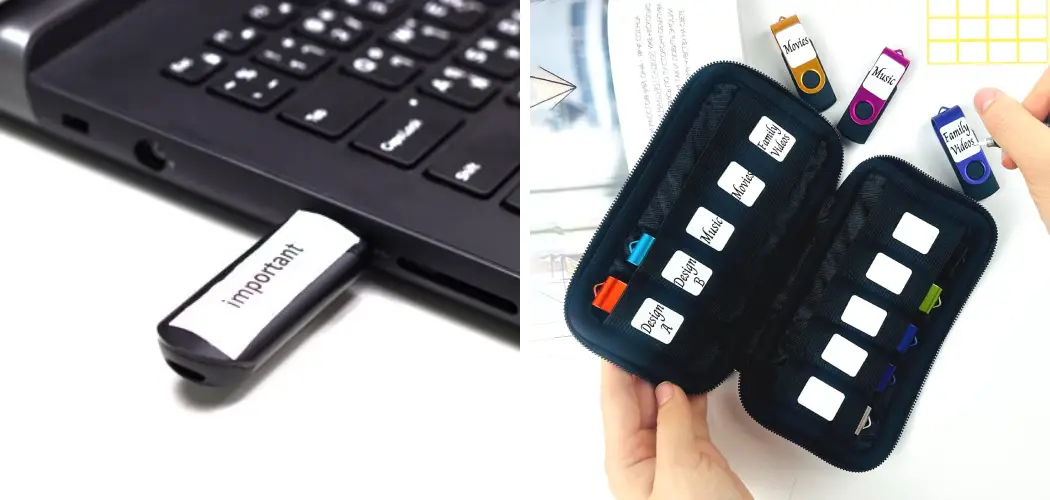
Organizing and labeling thumb drives is a simple yet effective way to streamline your digital life, making it easier to locate and access essential files when needed. With the proliferation of portable storage devices, such as USB thumb drives, maintaining order and clarity becomes paramount. In this guide, we explore the art of how to label thumb drives, offering insights into the various methods and tools available to ensure a systematic and easily navigable storage system.
Whether you use thumb drives for work, education, or personal files, a well-labeled collection not only saves time but also minimizes the frustration of searching through a myriad of unmarked devices. From utilizing labeling software to creating a color-coded system, this article provides practical tips to help you master the art of organizing and labeling your thumb drives effectively.
Importance of Labeling Thumb Drives
The act of labeling thumb drives transcends mere organization; it embodies a critical aspect of digital asset management. In an era where data proliferates at an unprecedented rate, the ability to swiftly identify and access specific files becomes increasingly vital. Labeling aids in mitigating the risk of data loss or misplacement, ensuring that valuable or sensitive information is effectively safeguarded.
Furthermore, for professionals and students alike, a well-organized collection of labeled thumb drives contributes to enhanced productivity and efficiency, reducing downtime spent on unnecessary searches. In essence, the simple practice of labeling serves as a foundational step toward establishing a more disciplined and proficient digital workflow.
Benefits of Organized Storage and Identification
Organized storage and identification of thumb drives bring about a multitude of benefits that extend beyond mere convenience. Firstly, it significantly reduces the likelihood of data duplication. When each drive is clearly labeled with its contents, users are less prone to store the same files on multiple drives, ensuring more efficient use of storage space. Secondly, it enhances data security.
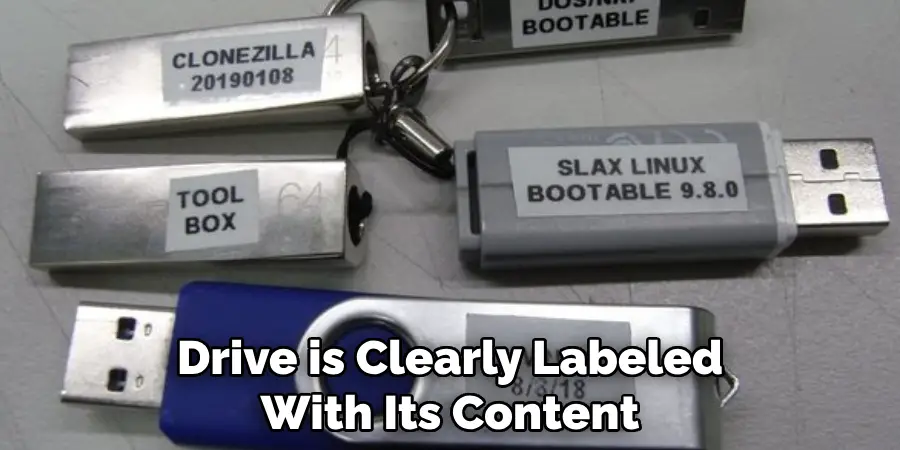
By clearly labeling drives according to their sensitivity level—such as personal, work, or confidential—users can make informed decisions about how to store and transport their drives, reducing the risk of sensitive information falling into the wrong hands. Additionally, an organized system saves valuable time and reduces stress. Searching for files on an unlabeled drive can be like looking for a needle in a haystack; clear labels turn chaos into order, allowing for quick retrieval of information.
Lastly, it facilitates easy sharing and collaboration. When drives are labeled with a clear purpose or project name, it simplifies the process of sharing relevant files with colleagues or classmates, ensuring everyone has access to the correct data.
Types of Labels for Thumb Drives
There are various types of labels that can be utilized to keep your thumb drives organized, each catering to different preferences and needs. Physical labels involve the use of small stickers or tags that can be directly attached to the drives, allowing for handwritten or printed content descriptions.
This method is particularly useful for those who prefer a tactile approach to organization. Digital labeling, on the other hand, involves renaming the thumb drive itself within the computer’s file system, providing a direct and straightforward identification method visible upon connection to a computer. Color-coding is another effective strategy, using colored tapes, stickers, or drive cases to categorize data by type, priority, or owner, making it visually easy to distinguish between different drives.
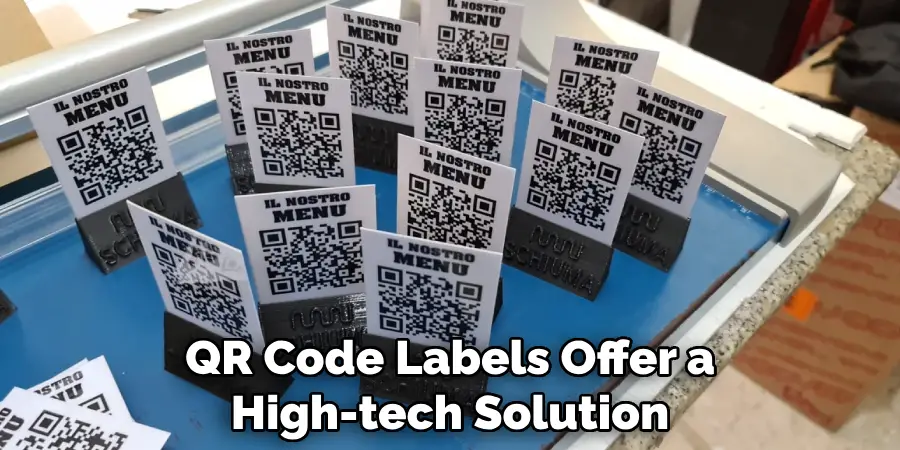
Lastly, barcode or QR code labels offer a high-tech solution, enabling detailed information about the drive’s contents to be stored in a compact, scannable form. This method is ideal for managing large collections of drives, as it allows for quick scanning and access to detailed digital inventories. Each of these labeling methods has its strengths, and choosing the right one depends on the specific requirements and preferences of the user.
Choosing Suitable Labeling Materials
Selecting the right materials for labeling your thumb drives is crucial for creating a durable and effective organizational system. For physical labels, it’s important to choose high-quality, adhesive labels that are resistant to wear and tear. Waterproof and tear-resistant labels are ideal, as they ensure longevity and maintain legibility, even with frequent handling.
Similarly, for those opting for color-coding, selecting vibrant, fade-resistant markers or tapes can help maintain the clarity and visibility of labels over time. When utilizing barcode or QR code labels, investing in a reliable label printer that can produce high-resolution codes is essential, as it ensures each code’s scannability and durability.
For digital labeling, no physical materials are required, but ensuring consistent naming conventions and backup practices is important for maintaining digital order. Ultimately, the choice of labeling materials should reflect the specific needs and environment in which the thumb drives will be used, ensuring that the labeling system remains intact and functional for as long as needed.
10 Methods How to Label Thumb Drives
1. Text Labels with Permanent Marker:
The simplest method involves using a permanent marker to write directly on the thumb drive. Clearly label it with text indicating the drive’s contents or purpose. This method is straightforward but may lack visual appeal. Some people prefer a more organized look, or may want to add additional information beyond a simple label.

To add visual appeal and organization to your thumb drive labels, you can use pre-printed sticker labels or create your own using a label maker. These labels can include graphics, colors, and different fonts to make them stand out and easy to read.
Another option is using colored tape or washi tape to mark your thumb drive. This method is not only visually appealing, but also functional as you can use different colors to differentiate between drives or label categories.
If you are worried about the adhesive damaging your thumb drive, consider using a clear protective sleeve with a label inside. This way, you can easily switch out labels without causing any damage.
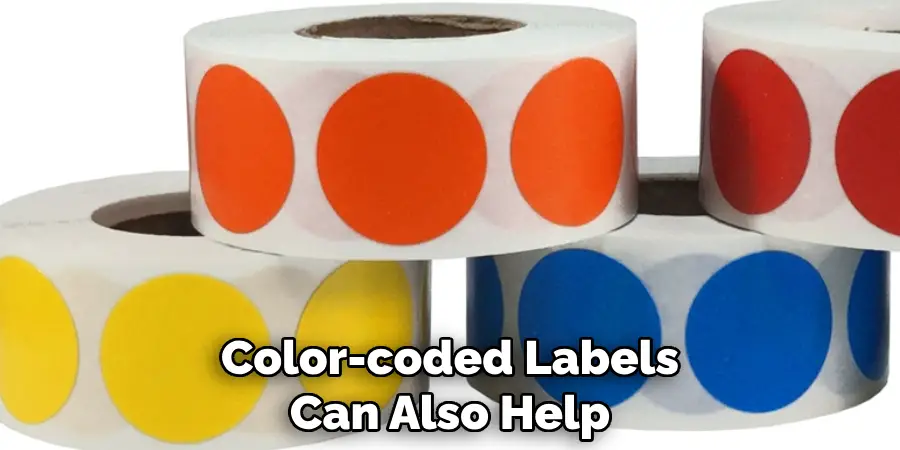
2. Color-Coded Labels:
Employ a color-coding system for your thumb drives. Assign different colors to represent specific categories or types of data. Use colored stickers or adhesive labels to quickly identify the purpose of each drive. For example, red could represent financial information, green for personal documents and blue for photos.
One of the main advantages of color-coded labels is their ability to make your life easier when sorting through large amounts of data. Instead of having to manually check each thumb drive’s contents, you can quickly identify the specific category or type of data by simply looking at the color-coded label. This saves time and reduces the risk of accidentally opening or editing the wrong files.
Additionally, color-coded labels can also help with organization and storage. By assigning specific colors to different categories or types of data, you can easily group and store them together for easy access in the future. This not only makes it easier to find what you are looking for but also helps keep your data organized and clutter-free.
Moreover, color-coded labels can be particularly useful when sharing thumb drives with others. By clearly indicating the purpose or type of data on the label, you can ensure that whoever is using the drive understands its contents and uses it appropriately. This can help prevent any confusion or potential mishandling of sensitive information.
3. Label Maker Usage:
Invest in a label maker for a professional and neat labeling solution. These devices allow you to create custom labels with various fonts and sizes. Include details like project names, dates, or any other relevant information for easy identification. Label makers are especially useful for organizing office supplies, labeling storage containers, and even creating custom labels for gifts or crafts. However, the usage of label makers is not limited to just office or home organization. If you are a business owner, label makers can also be used for branding purposes or creating product labels. With the ability to customize and print labels on demand, label makers provide convenience and versatility in labeling.
4. Printable Labels:
Design and print custom labels for your thumb drives using printable label sheets. Create templates that suit your organizational needs and incorporate relevant details. This method provides a clean and polished look for your drives.

Apart from thumb drives, printable label sheets can also be used for other storage devices such as external hard drives, SD cards, and CDs/DVDs. With the ability to print custom labels on a variety of sizes and shapes, you can easily organize and identify your various storage devices.
Furthermore, printable labels are not limited to just storage devices. They can also be used for labeling other items such as office supplies, pantry items, and personal belongings. This makes them a versatile tool for both personal and professional use.
5. Plastic Sleeves or Cases:
Utilize plastic sleeves or cases that have a transparent window for labeling. Insert a small label or piece of paper with the necessary information into the sleeve. This method not only labels but also protects the thumb drive. This is especially useful when transporting multiple thumb drives together.
Plastic sleeves or cases are a common and convenient way to label and protect thumb drives. They come in various sizes and can hold one or multiple drives at once. The transparent window allows for easy identification of the contents inside, making it easier to keep track of different drives.
In addition to labeling, plastic sleeves or cases also provide protection for the thumb drive. They act as a barrier against potential scratches, dirt, and other physical damage that can occur during transport. This is especially important for drives that contain important or sensitive data.
6. Key Rings and Tags:
Attach key rings to your thumb drives and hang tags with relevant information. This method is particularly useful for those who carry multiple drives on a keychain. Each tag can specify the drive’s contents or purpose. For example, you can have a tag that reads “Work Documents” or “Personal Photos”. This will help you easily identify which drive contains what information.

It’s also important to note that key rings and tags do not have to be used solely for thumb drives. They can also be attached to other storage devices such as external hard drives, SD cards, or even CDs/DVDs.
Additionally, key rings and tags can also be helpful for organization and storage. For example, you can use different colored tags to categorize your drives based on their contents or level of importance. This will make it easier to find the drive you need when you have multiple drives stored together.
7. Braille Labels:
Consider adding Braille labels to your thumb drives, providing accessibility for individuals with visual impairments. Include both Braille and standard text labels to enhance inclusivity in your organizational system.
In addition to supporting individuals with visual impairments, Braille labels can also be useful for those who are illiterate or have difficulty reading. By including both Braille and standard text labels on your thumb drives, you can ensure that everyone is able to access and organize their files independently.
Moreover, adding Braille labels can also serve as a way to promote inclusivity and diversity in your organization. By making small changes like this, you can create a more welcoming and inclusive environment for all individuals.
8. Digital Labels on Desktop Icons:
Utilize digital labels on your computer’s desktop to represent each connected thumb drive. Rename the drive with a clear and concise label, ensuring that it’s easily recognizable when connected to any computer. This will save you the hassle of trying to figure out which drive is which, especially if you have multiple thumb drives connected at once.
Digital labels can also be used for other icons on your desktop. Instead of having generic icons for your frequently used programs or folders, create custom digital labels that represent the content inside. For example, instead of a plain icon for Microsoft Word, use a label that says “Word Documents” or for your photos folder, use a label that says “Memories”. This will not only make your desktop look more organized, but it will also save you time when searching for specific files or folders.
In addition to customizing digital labels on your desktop, you can also utilize color-coding to further categorize and differentiate between icons. Assign a specific color to each type of program or folder and use that color for both the digital label and the icon image. This will make it even easier to quickly identify and access the desired content.
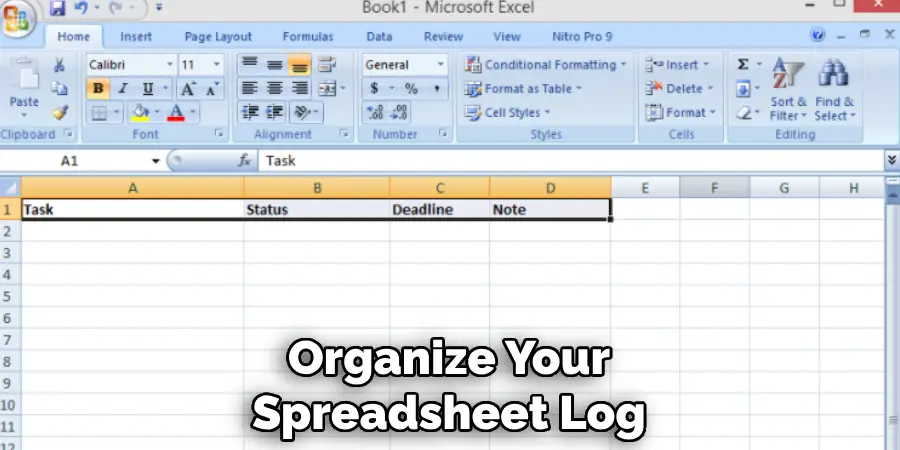
9. Create a Spreadsheet Log:
Maintain a digital log or spreadsheet documenting the details of each thumb drive. Include columns for drive names, contents, and dates. This method allows you to track information without physically labeling the drives.
To further organize your spreadsheet log, you can also add additional columns such as the purpose or usage of each thumb drive. This will help you quickly identify which drive to use for a specific task without having to manually check the contents.
Additionally, if multiple people are using the thumb drives or if they are being used for different projects, you can create separate sheets within the same spreadsheet for each person or project. This will help avoid confusion and ensure that the correct thumb drive is used.
10. QR Code Labels:
Generate QR codes that link to detailed information about each thumb drive. Print and affix these QR codes to the drives, enabling quick access to associated details by scanning the code with a smartphone or QR reader. This can be especially useful if the drive contains sensitive information, such as financial documents or personal data.
Additionally, QR codes can also be used to label and track physical objects. For example, a company can generate unique QR codes for each of their office supplies and equipment. By scanning the code, employees can easily access information about the object, its location, and any relevant instructions or maintenance schedules.
Moreover, QR codes can also serve as a marketing tool. Businesses can use QR codes to link customers to their website, social media pages, or special promotions and discounts. This allows for easy engagement with potential customers and provides a hassle-free way to access information about the business.
Conclusion
In conclusion, effectively labeling thumb drives is a simple yet crucial step in maintaining organization and accessibility of digital data. By employing suitable labeling methods and materials, users can streamline the identification process and prevent confusion or loss of important files. Whether using permanent markers for handwritten labels, adhesive stickers for removable options, or digital labeling techniques for added convenience, the key lies in clarity and consistency.
Clear, legible labels ensure quick recognition of thumb drives, facilitating efficient data management and retrieval. Additionally, embracing digital labeling options offers flexibility and customization to suit individual preferences and organizational needs. By implementing consistent labeling practices and periodically reviewing and updating labels as necessary, users can optimize their thumb drive storage system for enhanced productivity and peace of mind. Thanks for reading, and we hope this has given you some inspiration on how to label thumb drives!