Mounting bar strips for a bulletin board is an essential step in ensuring your display is both functional and visually appealing. Whether for an educational environment, an office space, or your home, a well-mounted bulletin board allows you to showcase important information, creative projects, or personal reminders effectively.

This guide on how to mount bar strips bulletin board will walk you through the necessary tools, techniques, and best practices to properly mount bar strips, ensuring that your bulletin board remains securely in place while providing a professional look.
Why Mount Bar Strips?
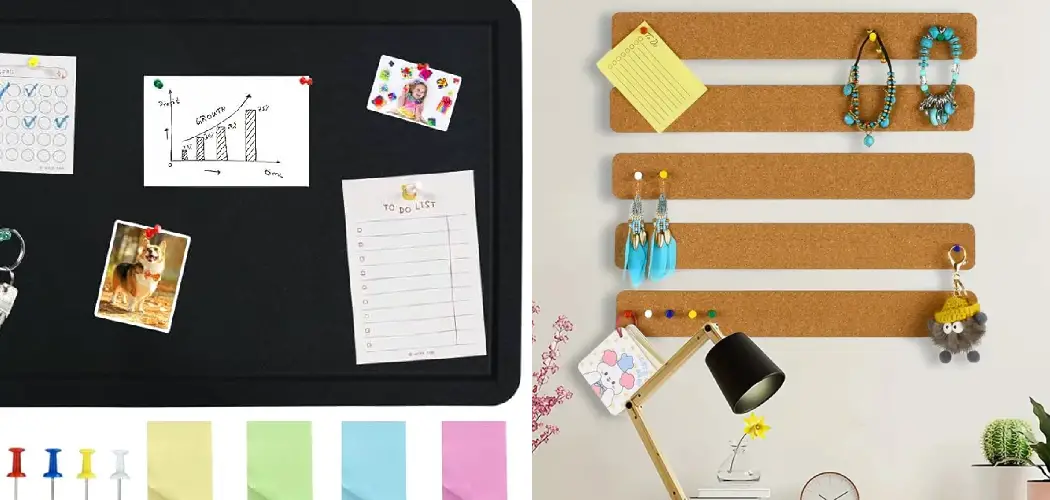
Mounting bar strips serves several important purposes that enhance the functionality and aesthetics of your bulletin board. Firstly, bar strips provide a sturdy base to which various materials can be securely attached, preventing items from slipping or falling. This stability is particularly vital in high-traffic areas where movement may inadvertently jostle materials.
Additionally, bar strips allow for easy rearrangement and replacement of content, enabling users to adapt their displays to suit changing needs or themes without having to remove the entire bulletin board. Lastly, they contribute to a polished and organized appearance, showcasing the displayed items in an orderly manner that draws attention and improves readability.
Tools Needed
Before beginning the mounting process, make sure you have all the necessary tools and materials on hand. These may include:
Measuring Tape or Ruler:
To ensure accuracy and precision in your measurements, a measuring tape or ruler is essential.
Pencil:
A pencil will be used to mark the placement of the bar strips on the wall.
Level:
A level is necessary to ensure that the bar strips are mounted straight and level.
Stud Finder:
Using a stud finder will help you locate studs behind the drywall, providing a secure base for mounting the bar strips.
Drill and Appropriate Drill Bit:
Depending on your wall type, you may need a drill and an appropriate drill bit to create holes for mounting screws.
Screws:
Make sure to have enough screws to securely mount each bar strip. The length of screws needed will depend on the thickness of your bar strips and the depth of the wall.
8 Step-by-step Guidelines on How to Mount Bar Strips Bulletin Board
Step 1: Measure and Mark Placement
Begin by determining the ideal height for your bulletin board, taking into account the user’s accessibility and the overall layout of the space. Using a measuring tape or ruler, measure from the floor to the desired height of the bottom edge of the bar strips. Make a light pencil mark at this height on both ends of where the bar strips will be mounted.
Next, measure the width of the area where the bulletin board will be displayed, and mark the spacing for the bar strips accordingly. Ensure that the marks are level by using a level tool; adjust as necessary to guarantee that the bar strips will be mounted straight. This step is crucial, as accurate measurements will help achieve a professional and visually appealing result.
Step 2: Locate Studs
Once you have marked the placement for your bar strips, the next step is to locate the studs in the wall. Using a stud finder, slowly move the device along the marked area, marking where it indicates the presence of a stud. Studs are typically spaced 16 to 24 inches apart on most walls, so measuring accordingly can help you decide where to anchor your bar strips.
If a stud is not available where you planned to mount your bar strips, consider adjusting the placement to align with available studs for a more secure mount. If you’re using drywall anchors due to a lack of studs, ensure that the anchors are appropriate for the weight of the materials you plan to display.
Step 3: Pre-drill Holes
With the stud locations marked, it’s time to pre-drill holes for your screws. Using a drill and an appropriate drill bit, carefully create pilot holes at each of the marked positions on the wall. If you’re drilling into studs, ensure you select a drill bit that matches the diameter of your screws for a snug fit.
For drywall anchors, choose a bit that corresponds to the anchor size as specified on the packaging. Pre-drilling not only helps to prevent splitting the wood but also makes it easier to insert the screws later. After drilling, clear away any dust from the holes to ensure a clean surface for installation.

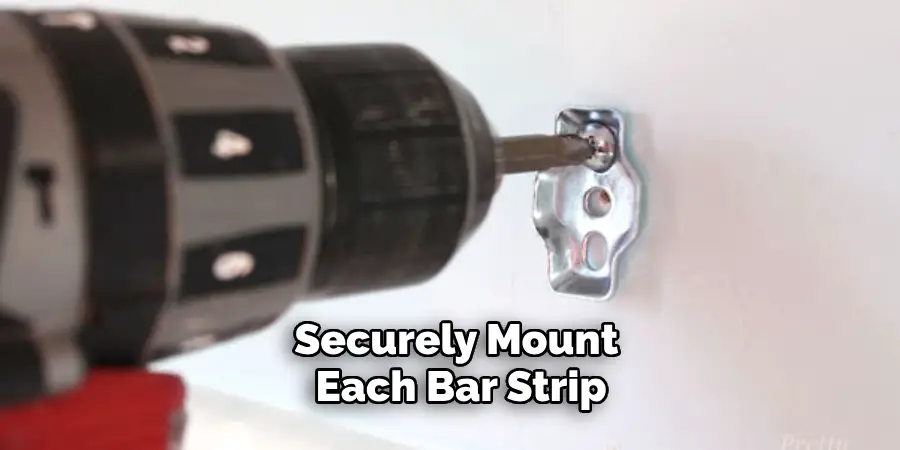
Step 4: Align and Secure Bar Strips
Align the bottom edge of the bar strips with the pencil marks made in step one. Ensure that they are level by using a level tool, adjusting as needed. Once aligned, hold each strip in place and use your drill to secure it with screws into the pre-drilled holes.
If you’re not drilling into studs, make sure to insert drywall anchors before screwing in the bar strips for added support. Repeat this process for each bar strip, making sure they are evenly spaced and securely anchored to the wall.
Step 5: Test Stability
After securing the bar strips to the wall, it’s essential to test their stability to ensure they can support the materials you plan to display. Gently pull on each bar strip to check for any movement or looseness. If you notice any wobbling or shifting, carefully tighten the screws or check that the drywall anchors are properly installed.
It’s crucial to repeat this testing process after mounting your bulletin board items, as the added weight can affect the stability of the strips. Ensuring a snug fit now will help prevent any mishaps later when displaying important information or creative projects.
Step 6: Prepare Materials for Display
Now that your bar strips are securely mounted, you can begin preparing the materials to be displayed. This may include cutting and arranging paper or fabric, creating labels or signs, or organizing other display items. Make sure to plan and arrange everything before attaching them to the bar strips for a neat and organized result.
Otherwise, you may end up with a cluttered and disorganized bulletin board that does not effectively serve its purpose.
Step 7: Attach Materials to Bar Strips
Using push pins or clips, attach your materials to the bar strips. Consider arranging them in an aesthetically pleasing manner and using different colors or textures for visual interest. You can also use dividers or borders between sections of the bulletin board for added organization and design elements.

If you plan to frequently change the displayed materials, consider using adhesive putty instead of push pins or clips for easier replacement without damaging the items or the bar strips.
Step 8: Maintain and Update as Needed
As with any display, regular maintenance and updates are essential to keeping your bulletin board fresh, organized, and effective. Make it a habit to regularly check for loose screws or wobbling strips and adjust as needed. Additionally, updating the materials on display will help keep your bulletin board relevant and engaging.
Be sure to clean the surface of the bar strips periodically, as dust and dirt can accumulate over time. With proper maintenance and updates, your mounted bar strips bulletin board will continue to serve its purpose well into the future.
Following these steps on how to mount bar strips bulletin board will help you successfully mount bar strips for your bulletin board, creating an organized and visually appealing space for displaying information and creative projects.
Remember to take accurate measurements, locate studs, pre-drill holes, and test stability for a professional and stable installation. With proper maintenance and updates, your bulletin board will continue to serve as an effective communication tool in any environment.
Frequently Asked Questions
Q1: What is the Ideal Height for a Bulletin Board?
A: The ideal height will vary depending on the user’s accessibility and the overall layout of the space. It is recommended to measure from the floor to the desired height of the bottom edge of the bar strips. This will ensure that the board is easily accessible and visually appealing.
Q2: Can I Use Drywall Anchors Instead of Mounting to Studs?
A: Yes, drywall anchors can be used if studs are not available or if you prefer not to drill into them. However, it’s essential to select appropriate anchors for the weight of your materials to prevent the bar strips from becoming loose over time.
Q3: How Often Should I Update my Bulletin Board?
A: It’s recommended to update your bulletin board regularly, depending on its use and purpose. For example, a bulletin board in a classroom may need weekly updates, while one in an office space may only require monthly updates. It’s essential to keep the displayed materials relevant and engaging for your intended audience.
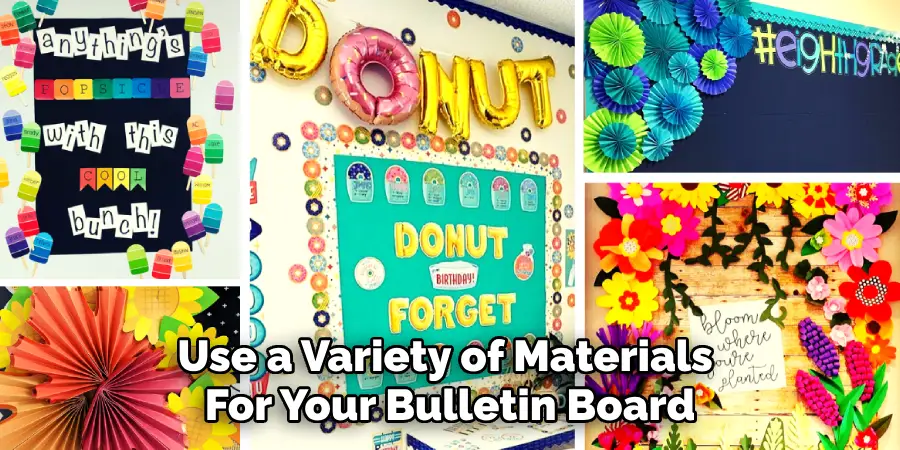
Q4: Can I Use Different Types of Materials on my Bulletin Board?
A: Yes, you can use a variety of materials for your bulletin board, depending on the purpose and design. Paper, fabric, photos, signs, and even 3D objects can be attached using push pins or clips. However, it’s crucial to consider the weight and durability of these materials when selecting appropriate mounting methods.
Conclusion
Successfully mounting bar strips for a bulletin board can greatly enhance the functionality and aesthetic appeal of your space. By following the outlined steps on how to mount bar strips bulletin board—from measuring and marking to securing materials and maintaining the display—you can ensure a reliable and visually pleasing installation.
Regular updates and maintenance will not only keep your bulletin board looking fresh but also allow it to adapt to your evolving needs. With careful planning and attention to detail, your bulletin board will serve as an effective tool for communication and creativity for years to come.