Organizing a storage unit can seem like a daunting task, especially when belongings have piled up over the years or you’re preparing for a big move. Whether you’re a first-time renter or someone with years of experience, a well-organized storage unit can save you time, money, and stress. Not only does it help you keep track of your valuables, but it also reduces the risk of damage and makes future visits much easier.
A well-structured plan is crucial, and the right approach can mean the difference between a cluttered mess and an efficient, accessible space. By using the right tools and following expert guidelines, you’ll transform your storage experience. In this guide on how to organize storage unit, we’ve compiled the essential steps, safety tips, and answers to common questions so you can make the most out of every square foot of your storage unit.
Tools and Materials You’ll Need
Before you start, gather all the tools and supplies that will streamline the organizing process. The right materials not only make the job quicker but also help keep your belongings safe and easily accessible.
- Sturdy plastic or cardboard boxes in various sizes
- Permanent markers and labels for clear identification
- Heavy-duty shelving units
- Bubble wrap, packing paper, and moving blankets
- Zip ties or bungee cords
- Step stool or foldable ladder
- Gloves and dust masks
- Padlocks or security devices
- An inventory notepad or mobile app for tracking
- Trash bags for sorting out unwanted items
8 Simple Step-By-Step Guidelines on How to Organize Storage Unit
Step 1: Plan Your Layout Before Moving In
Before you even begin moving items into your storage unit, take the time to plan the layout. Visualize your space and sketch a simple floor plan to decide where large items, boxes, and access paths will go. Think about which items you’ll need to access most often and position those at the front.
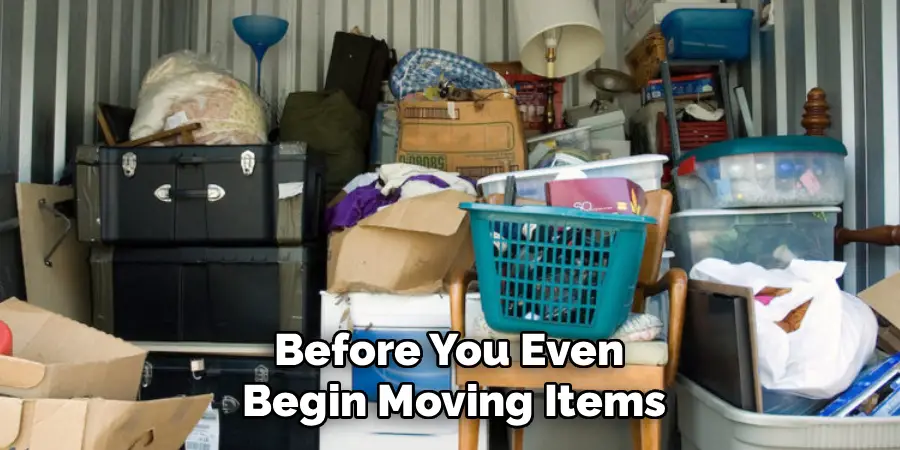
This initial planning reduces the headache of rearranging later. By having a clear layout, you avoid stacking heavy items over fragile ones and ensure efficient use of space. Thoroughly measure bulky furniture and outline zones for different categories, such as seasonal items or important documents.
Step 2: Categorize and Sort Your Belongings
Sorting your belongings before packing will help you stay organized and save time in the long run. Group items into categories such as clothing, kitchenware, books, tools, and décor. This makes it easier to locate specific items when you visit the unit later.
Go through your possessions one at a time and make three distinct piles: keep, donate/sell, and discard. Be honest about what you really need to store versus what can be let go. Down the road, this sorting step will pay off each time you need to retrieve or add something new.
Step 3: Use Quality Packing Materials
When it comes to protecting your items, don’t skimp on packaging. Invest in durable boxes, bubble wrap, and packing paper to shield fragile or valuable items from damage. Use uniform box sizes where possible, as these are easier to stack and maximize vertical space.
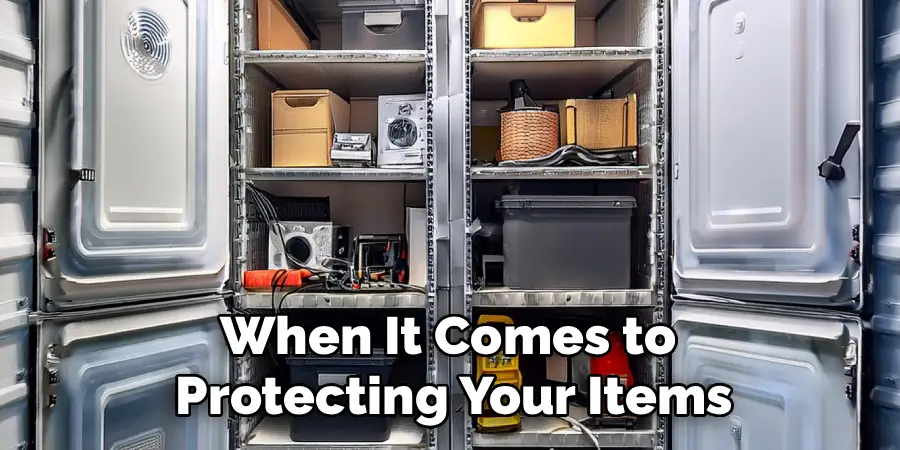
Clearly label every box with its contents and the room it’s associated with. For added security and easier access, consider color-coded labels or numbered boxes. Good packing techniques not only keep your items safe, but they also make unpacking more efficient in the future.
Step 4: Create an Inventory List
It’s easy to lose track of what you’ve stored when units fill up quickly. Keep a detailed inventory as you pack each box and place items in the unit. This can be maintained using a notepad, spreadsheet, or dedicated organizational app.
Update your list every time you add or remove something from the unit. Having an inventory on hand saves you time hunting for specific things and provides a record in case you need to file an insurance claim for any reason.
Step 5: Pack Strategically for Accessibility
When arranging your items within the storage unit, accessibility is key. Place items you’re likely to need soon near the front, such as seasonal clothing, holiday decorations, or important documents. Store less-frequently used belongings toward the back.
Pack heavier, sturdier items on the bottom and lighter, more delicate boxes on top. Be sure to leave narrow walkways so you can reach belongings at the rear without shifting multiple layers of items each visit. A little strategic placement now will save a lot of time later.
Step 6: Maximize Vertical Space
Stacking items wisely is crucial for making the most out of your storage unit. Use shelving units to lift boxes off the floor and stack vertically where possible. Place the heaviest or sturdiest items at the bottom shelves, reserving the top levels for lighter containers.
Avoid over-stacking, which can cause boxes to collapse and make it difficult to reach the items at the bottom. Use clear bins occasionally to quickly identify what’s inside, and keep frequently accessed items on easy-to-reach shelves. Proper use of height can double your storage potential.
Step 7: Protect Your Valuables
Ensure items like electronics, heirlooms, and important papers are packed with extra care. Use bubble wrap, anti-static bags, and sturdy locking boxes to safeguard against dust, pests, and humidity. Elevate valuables above ground level to prevent potential water damage from leaks or condensation.
Don’t forget climate control. If your unit isn’t temperature-regulated and you have sensitive items (like artwork or electronics), consider special packaging or consult professionals about long-term storage conditions. Taking these measures will ensure your valuables remain in pristine condition.

Step 8: Maintain and Update Regularly
Organization doesn’t end once you’ve finished moving everything in. Schedule routine visits to your unit—monthly or seasonally—to keep things tidy and check for signs of damage, moisture, or pests. Rotate items in and out as your needs change.
Refresh your inventory list after each visit and re-label boxes that shift roles or contents. Routine checks help you optimize available space over time and ensure your belongings remain secure, accessible, and in good shape.
Following these steps on how to organize storage unit can help make the most out of your storage space. But beyond these steps, there are also other factors that can affect the organization and maintenance of your storage unit.
Safety Tips
Safety comes first when organizing a storage unit. Always use proper lifting techniques to avoid straining your back, and ask for help with oversized or heavy furniture. Wear gloves and a dust mask, especially if you’re moving items that may be dirty, dusty, or have been stored for a long period.
Be mindful of your surroundings and keep walkways clear to prevent tripping or falling. If you’re using shelving, make certain it’s sturdy and anchored as needed—never overload shelves beyond their weight capacity. Lock your storage unit securely after each visit, and don’t leave ladders or tools behind that could pose a hazard or attract thieves.
Consider installing a battery-powered light inside the unit if visibility is low, but make sure it’s safe and allowed by the facility. Before you leave, double-check that all items and boxes are stable and not prone to toppling if accidentally bumped.
Common Mistakes to Avoid
Many people make the mistake of not labeling boxes, leading to confusion and wasted time. Overpacked boxes and dangerously high loads can increase the risk of damage and injuries. Avoid leaving fragile items unprotected or ignoring climate-sensitive belongings that might get ruined in poor conditions. Don’t forget to keep an up-to-date inventory, and never store hazardous or prohibited materials inside your unit.
Frequently Asked Questions
Q1: What Is The Best Way To Label Boxes In My Storage Unit?
A1: It’s important to clearly label each box with its contents and destination room. Use permanent markers and consider color-coded labels for added organization. Include a number or a brief description on the side facing out. This practice saves time when searching for specific items and helps others understand your organization’s system if they need to help you later.
Q2: How Often Should I Check On My Storage Unit?
A2: Regular checks are a good practice to ensure the safety and condition of your belongings. Aim to visit at least once every month, or seasonally if possible. During these visits, inspect for signs of moisture, pests, or any damage. Updating your inventory during these check-ins makes it easier to maintain organization.
Q3: Can I Store Electronics And Appliances In My Storage Unit?
A3: Yes, electronics and appliances can be stored safely if properly prepared. Always clean and dry them before storage to prevent mold or corrosion. Use anti-static and dust-protective materials, and ideally, keep them elevated off the floor. If you’re storing items long-term, climate control can provide additional protection from temperature fluctuations.
Q4: What Items Are Not Safe Or Allowed In Storage Units?
A4: Most storage facilities prohibit hazardous materials such as flammable liquids, explosives, and toxic chemicals. Avoid storing food items, perishable goods, and living creatures, as these can attract pests or create health hazards. Always review your storage facility’s policy and never keep anything illegal or that could pose a risk to your safety or others.
Conclusion
Organizing your storage unit is more than simply placing boxes on shelves—it’s a thoughtful process that requires planning, attention to detail, and periodic maintenance. By following these strategies on how to organize storage unit, you’ll increase accessibility, protect your valuables, and make the most of your available space. Stay committed to maintaining your organization system and update it as your needs evolve.
Remember, an organized storage unit means less time searching and more time enjoying your belongings. With careful planning and regular care, you can ensure everything stays safe, secure, and readily available whenever you need it.