
Hanging curtains on corner windows can seem like a complex design puzzle, but it’s a fantastic opportunity to create a stunning focal point in any room.

These unique architectural features let in abundant natural light and offer panoramic views, but dressing them correctly is key to maximizing their beauty. With the right approach, you can transform an awkward corner into a cozy, elegant, and unified space.
This comprehensive guide will walk you through the entire process, from planning and measuring to the final installation. We will provide clear, step-by-step instructions on how to hang corner window curtains that demystify the task of hanging corner window curtains.
Whether you’re aiming for a seamless, continuous look or a more defined style, you’ll find all the information you need to achieve a professional and polished result that enhances your home’s decor.
10 Step-by-step Guidelines on How to Hang Corner Window Curtains
Step 1: Decide on Your Desired Look and Curtain Rod Type
Before you purchase any hardware or fabric, the first crucial step is to visualize the final look you want to achieve for your corner windows.
Do you prefer a single, continuous curtain that sweeps across both windows, creating a soft, unified feel? Or would you rather have separate curtains for each window, allowing for more versatile light control? Your decision will directly influence the type of curtain rod you need.
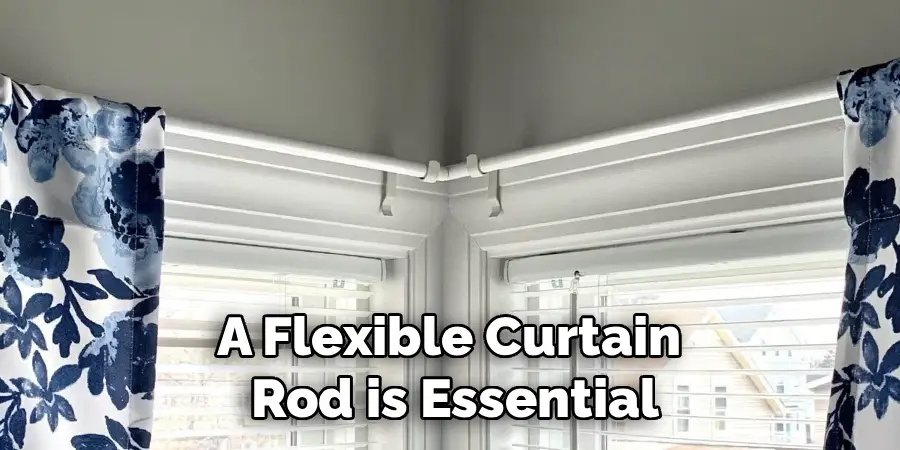
For a continuous look, a specialized corner connector or a flexible curtain rod is essential. These products are designed to navigate the angle of the corner smoothly, allowing drapery to glide uninterrupted from one side to the other.
If you opt for separate panels on each window, you will need two individual curtain rods. This approach can frame each window distinctly and works well if you have limited space in the corner itself. You’ll need to decide how the two rods will meet in the corner—whether they will butt up against each other or if you’ll use a decorative finial on only the outer ends.
Consider the overall style of your room. A modern, minimalist space might benefit from a sleek, continuous rod, while a traditional room might look best with two separate, classic rods. Take time to browse design inspiration to solidify your vision.
Step 2: Measure Your Windows and Wall Space Accurately
Accurate measurements are the foundation of a successful curtain installation. Using a steel tape measure, start by measuring the width of each individual window frame. Then, decide how far past the frame you want the curtains to extend on the outer sides.
A general guideline is to add 4 to 6 inches on each side to make the windows appear larger and to allow the curtains to be pulled back completely, maximizing daylight. This extra space is known as “stack back.” Next, measure the corner space itself.
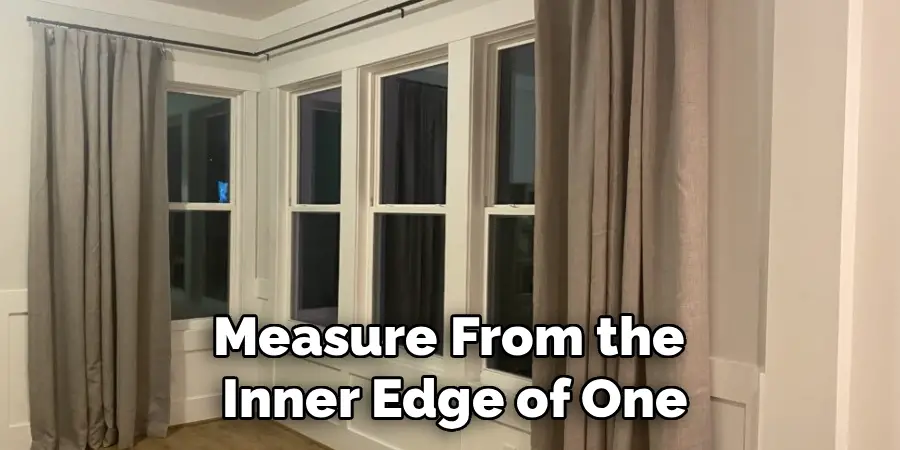
Measure from the inner edge of one window frame to the corner, and then from the corner to the inner edge of the other window frame. These measurements are critical for positioning your brackets correctly and ensuring your chosen rod will fit.
Don’t forget to measure the height. Determine where you want the curtain rod to be mounted. Hanging the rod 4 to 6 inches above the window frame can create an illusion of height, making the room feel more spacious. Once you have the rod position, measure from that point down to where you want the curtains to end.
Do you want them to just touch the windowsill, fall just below it, or pool elegantly on the floor? For a floor-length look, measure from the rod placement to the floor. For a puddled effect, add an extra 2 to 6 inches to the floor-length measurement. Record all these numbers carefully to take with you when shopping.
Step 3: Purchase the Right Curtain Rods and Hardware
With your measurements and design plan in hand, you’re ready to shop for your hardware. If you chose a continuous look, your primary options are a corner curtain rod kit or a flexible track system. Corner rod kits typically come with two straight rods and an angled elbow connector that fits into the corner.
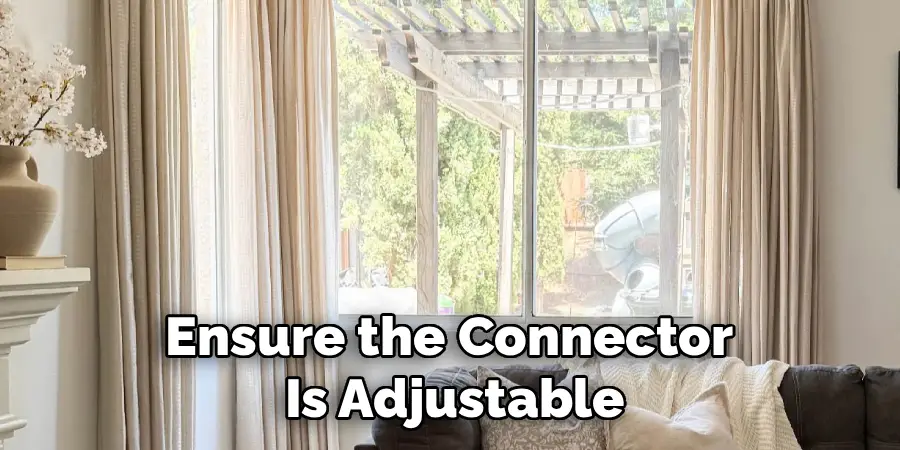
Ensure the connector is adjustable to match the specific angle of your corner, as not all corners are a perfect 90 degrees. A flexible rod or track is another excellent choice, as it can be bent by hand to perfectly follow the contour of your corner, providing a seamless and custom fit.
Regardless of your chosen rod type, you will need brackets to support it. The number of brackets required depends on the total length of the rod and the weight of your curtains. A standard rule is to place a bracket at each end of the rod system and at least one support bracket on each side of the corner connector.
For very long window spans or heavy fabrics like velvet or lined drapes, you should add a center support bracket on each window section to prevent the rod from sagging over time. Also, purchase any necessary finials for the outer ends of the rod to add a decorative finishing touch.
Step 4: Choose Your Curtains
Selecting the right curtains is about balancing aesthetics and function. The fabric, color, and pattern should complement your existing room decor. Lighter fabrics like linen, cotton, or sheers create an airy, casual feel and allow plenty of natural light to filter through, which is often ideal for corner windows.
Heavier materials such as velvet, brocade, or thermal-lined fabrics provide better insulation, privacy, and light-blocking capabilities, making them suitable for bedrooms or media rooms. The weight of the fabric is a crucial consideration; ensure your chosen rod and brackets are strong enough to support it without bowing.
When it comes to size, refer back to your measurements. The total width of your curtain panels should be at least 1.5 to 2 times the total width of your curtain rod. This fullness ensures the curtains look lush and pleated when closed, rather than stretched and flat.
For length, use the height measurement you took earlier, from the planned rod position to your desired hemline. It’s often better to buy curtains that are slightly too long rather than too short, as they can be easily hemmed to the perfect length. If you opted for a continuous rod, you’ll likely need two large panels to cover the entire span.
Step 5: Mark the Bracket Positions on the Wall
This step requires precision to ensure your curtains hang evenly. Using your measurements, decide on the final height for your curtain rod. A common practice is to place it about 4 to 6 inches above the top of the window trim. Use a pencil and a level to draw a faint, straight line across the top of both windows at this desired height.
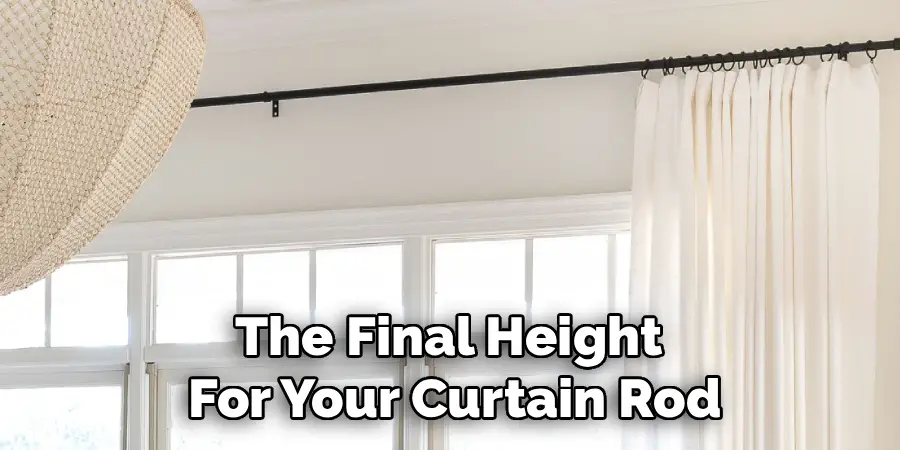
This line will serve as your guide for placing the top of all the brackets, ensuring the rod is perfectly level across the entire corner installation. Without a level line, you risk installing a sloped curtain rod, which will be very noticeable.
Now, mark the specific locations for each bracket along this horizontal line. Start with the outer brackets. These should be positioned 4 to 6 inches beyond the outer edges of each window frame. Next, mark the positions for the inner brackets, which will support the rod near the corner.
These are typically placed a few inches away from where the two walls meet, allowing enough space for the corner connector and for the curtains to move freely. If you are using additional support brackets for a long span, space them evenly between the end and corner brackets to distribute the weight. Double-check all marks before proceeding.
Step 6: Install the Wall Anchors
Before you start drilling, use a stud finder to check if your marked bracket locations align with wall studs. If they do, you’re in luck! Securing the brackets directly into studs provides the strongest possible support. You can simply drill pilot holes and screw the brackets directly into the wood.

However, it’s more likely that at least some of your bracket locations will fall on hollow drywall. In this case, you must use wall anchors to provide a secure hold and prevent the screws from pulling out of the wall under the weight of the curtains.
There are many types of drywall anchors available, so choose one that is rated to hold the combined weight of your rod and curtains. Toggle bolts or self-drilling threaded anchors are excellent, heavy-duty options. To install an anchor, drill a hole at your marked spot that matches the size specified for the anchor.
Gently tap the anchor into the hole with a hammer until it is flush with the wall. For self-drilling types, you can simply screw them into the drywall with a screwdriver or drill. Proper installation of anchors is non-negotiable for a safe and durable curtain setup.
Step 7: Mount the Brackets
With your pilot holes drilled and wall anchors in place, you can now securely attach the brackets to the wall. Position each bracket over its corresponding hole or anchor, ensuring the top of the bracket aligns perfectly with the level pencil line you drew earlier.
Use a screwdriver or a drill set to a low torque setting to drive the screws through the bracket and into the wall stud or anchor. Be careful not to overtighten the screws, as this can damage the drywall or the anchor itself. The goal is to make the bracket snug and firm against the wall.
After installing the first bracket, re-check its alignment with your level line before proceeding to the next one. It’s a good practice to mount one bracket, then use a level to ensure the next marked spot is still perfectly horizontal with it before drilling.
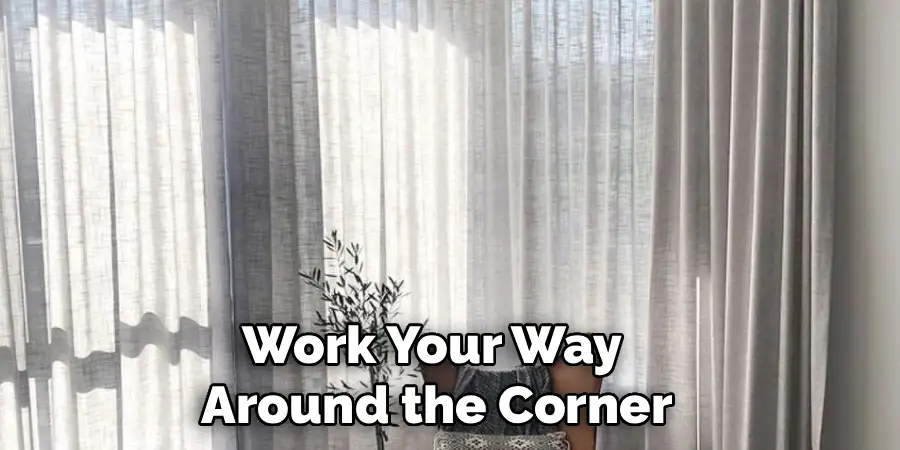
Work your way around the corner, installing all the outer, inner, and any center support brackets. Once all brackets are mounted, give each one a gentle tug to confirm it is secure and can bear weight. This is your final chance to make adjustments before the rod goes up.
Step 8: Assemble and Place the Curtain Rod
Now it’s time to prepare the curtain rod for installation. If you are using a standard corner rod kit, attach the elbow connector to the two straight rod sections. Most connectors have small set screws that you can tighten to lock the rods in place at the desired angle. If you’re using a flexible rod, gently bend it to match the angle of your corner.
Before placing the rod into the brackets, slide your curtain panels onto it. If you have two panels for a continuous look, slide one onto each rod section before joining them at the corner connector.
With the curtains already on the rod, carefully lift the entire assembly and rest it in the mounted brackets. This part can be awkward, so having a second person to help is highly recommended. One person can hold one end of the rod while the other guides the opposite end and the corner section into place.
Once the rod is sitting securely in all the bracket saddles, use the small set screws on the brackets to tighten the rod in place. This prevents it from shifting or rotating, especially when you open and close the curtains.
Step 9: Attach the Finials and Hang the Curtains
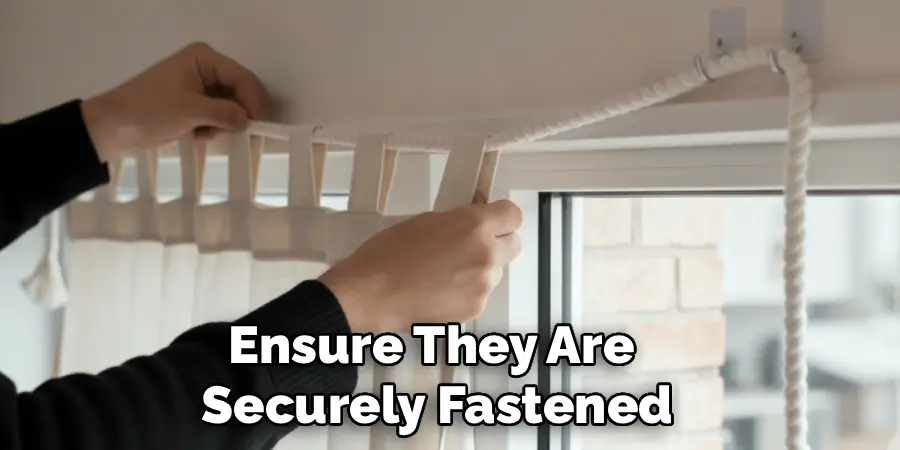
The final hardware step is attaching the decorative finials. These screw or slide onto the outer ends of the curtain rod, providing a finished look and preventing the curtains from sliding off the ends.
Ensure they are securely fastened. With the rod, curtains, and finials all in place, you can now arrange the drapery. Distribute the fabric evenly across the length of the rod to create beautiful, consistent pleats. If you are using two separate panels, arrange them so they meet neatly in the corner when closed.
Pull the curtains open and closed a few times to test their movement. They should glide smoothly along the rod and around the corner connector. Check how the curtains stack back at the sides when open.
They should clear the window glass, allowing maximum light to enter the room. This is the moment to appreciate your work and see how the curtains frame the windows and soften the corner. Make any minor adjustments to the pleats to ensure they hang beautifully.
Step 10: Hem and Steam the Curtains
The last step to achieving a truly professional finish is to address the length and appearance of the curtain fabric. If your curtains are too long, you will need to hem them. The most accurate way to do this is to let them hang for a day or two to allow the fabric to settle.
Then, use fabric pins to mark your desired length while they are on the rod. You can then take them down and sew the hem by machine or by hand, or use iron-on hemming tape for a no-sew solution. For a puddled look, no hemming is needed; simply arrange the excess fabric artfully on the floor.
Finally, most curtains will have wrinkles and creases from their packaging. Use a handheld garment steamer to gently remove these wrinkles while the curtains are hanging. Start from the top and work your way down, holding the steamer a few inches away from the fabric to avoid water spots.
Steaming relaxes the fibers, allowing the curtains to drape gracefully and look their absolute best. This final touch makes a significant difference, transforming your installation from homemade to high-end.
Following these steps on how to hang corner window curtains will ensure that your windows look beautiful and polished. However, these tips can also be applied to any type of window curtain installation, whether it’s a standard window or an irregularly shaped one.
Frequently Asked Questions
Q1: Can I Use Two Separate Curtain Rods for a Corner Window?
A1: Yes, you can absolutely use two separate curtain rods for a corner window. This is a common and effective approach. You would install one rod over each window, meeting in the corner. The main consideration is how you handle the corner itself.
You can either butt the ends of the two rods directly against each other or leave a small gap. Typically, you would place decorative finials only on the outer ends of each rod, leaving the inner ends plain. This method works especially well if you prefer to operate the curtains on each window independently.
Q2: What Is the Best Type of Curtain for a Corner Window?
A2: The best type of curtain depends on your goals for privacy, light control, and style. For a seamless, flowing look, a single pair of wide curtain panels on a connected corner rod is ideal. Lightweight fabrics like sheers, linen, or cotton keep the space feeling bright and open.
If you need more functionality, consider blackout or thermal-lined drapes, which are excellent for bedrooms. Grommet-top or tab-top curtains slide easily over corner connectors, making them a practical choice for a continuous rod system.
Q3: How Do I Measure for a Bay Window Compared to a Corner Window?
A3: While both are multi-window features, measuring them differs. A corner window is typically just two windows meeting at a 90-degree or 135-degree angle. You measure each window “leg” from the outer edge to the corner. A bay window has three or more sections, with two angled side windows and a flat front window.
For a bay window, you must measure each section individually and also measure the angles of the corners carefully. Specialized bay window curtain rods with multiple adjustable connectors are required to follow these different angles.

Q4: Should Curtains in a Corner Touch the Floor?
A4: The length of your curtains is a matter of personal preference and style. However, for corner windows, floor-length curtains often create the most elegant and cohesive look. They draw the eye upward, make the ceiling feel higher, and visually unite the two windows into a single, grand feature.
Curtains that just skim the floor or “puddle” slightly (with 1-3 inches of extra fabric) are popular choices. Avoid shorter lengths, like sill-length, as they can visually chop up the corner and make it feel disjointed.
Conclusion
Dressing your corner windows is a design project that pays huge dividends in style and function. While it may initially seem daunting, breaking it down into manageable steps makes the process straightforward and rewarding.
By carefully planning your desired look, taking precise measurements, and choosing the right hardware and fabrics, you can create a beautiful and harmonious window treatment.
From installing brackets securely to hemming and steaming the final panels, each step contributes to a polished, professional outcome.
You are now equipped with the knowledge to turn that tricky corner into a celebrated feature of your home, adding elegance, warmth, and a personal touch to your living space. Thanks for reading this guide on how to hang corner window curtains.
