
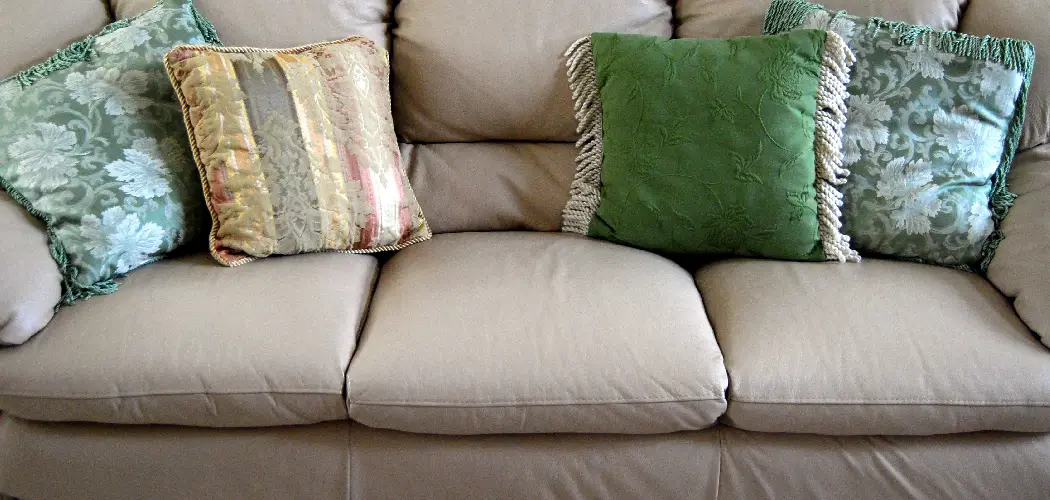
An armless sofa is a masterpiece of minimalist design, offering sleek lines and versatile placement options.
However, what it gains in style, it can sometimes lack in plush comfort. If your armless sofa feels a bit too firm or you want to prevent cushions from constantly sliding off, you’re in the right place. Adding or securing cushions is a straightforward project that can dramatically transform your seating experience, boosting both comfort and aesthetic appeal.
This guide on how to add cushions to armless sofa will walk you through everything you need to know to give your sofa a cozy and stylish upgrade.
What are the Benefits?
Adding cushions to your armless sofa goes beyond just making it softer. It’s an upgrade that offers multiple advantages.
- Improved Comfort: This is the most obvious benefit. Well-placed cushions provide essential back and side support, turning a stiff sofa into a welcoming spot for lounging, reading, or watching movies. It transforms the furniture from a purely functional item into a hub of relaxation.
- Enhanced Aesthetic Appeal: Cushions are a fantastic way to introduce new colors, textures, and patterns into your living space. You can easily update your room’s look with the seasons or as your style evolves. They can break up the monolithic appearance of a plain sofa, adding visual interest and a sense of warmth.
- Increased Versatility: With the right cushions, your armless sofa can serve multiple purposes. Bolsters can act as makeshift armrests, while larger floor cushions can provide extra seating for guests. This adaptability is perfect for modern, multi-functional living spaces.
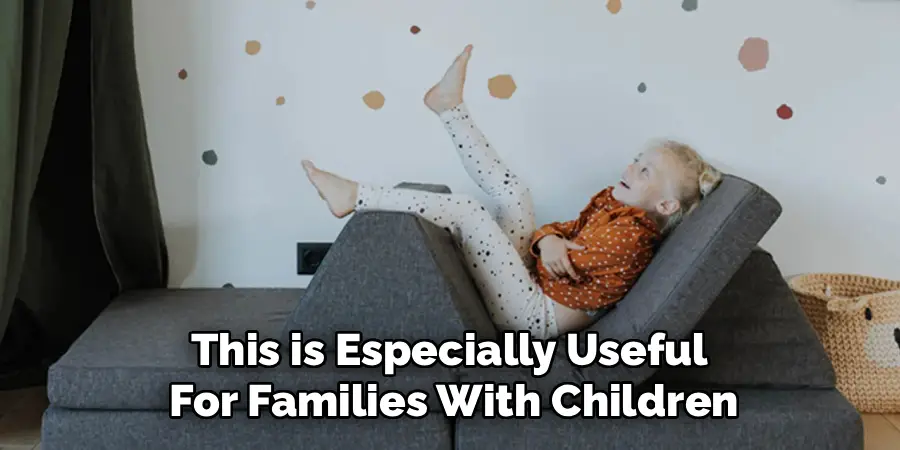
- Protection for Your Sofa: Cushions can also act as a protective layer, shielding your sofa’s upholstery from spills, stains, and general wear and tear. This is especially useful for families with children or pets, helping to extend the life of your furniture.
What Will You Need?
Gathering your materials before you start will make the process smooth and efficient. Here’s a list of what you’ll need:
- Your Chosen Cushions: Bolsters, throw pillows, or custom-made cushions.
- Measuring Tape: For accurate measurements of your sofa and cushions.
- Non-slip Grip Material: A rug pad or specialized furniture grip pad.
- Velcro Strips: Adhesive-backed or sew-on, depending on your sofa’s material.
- Scissors: To cut the grip material and Velcro strips.
- Needle and Thread: If you are using sew-on Velcro on fabric upholstery.
- Fabric Glue: A strong alternative for attaching Velcro without sewing.
- Pencil or Fabric Marker: For marking placement.
- Optional: D-rings and fabric straps for a more secure, non-adhesive solution.
10 Easy Steps on How to Add Cushions to Armless Sofa
Follow these detailed steps to successfully add and secure cushions, ensuring they stay put.
Step 1: Clean and Prepare Your Sofa
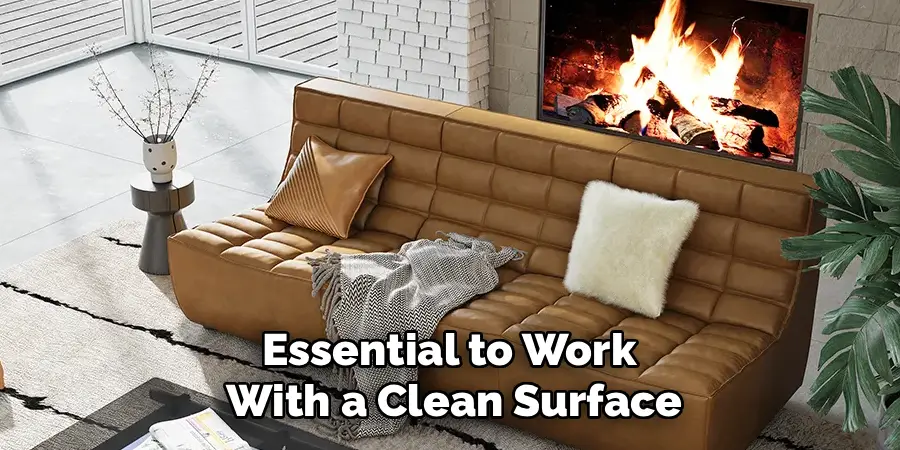
Before you begin, it’s essential to work with a clean surface. Remove any existing pillows or throws from your sofa. Thoroughly vacuum the entire surface, paying close attention to the seams and crevices where dust and debris can accumulate.
If you notice any spots or stains, now is the perfect time to treat them according to your sofa manufacturer’s cleaning instructions.
A clean base ensures that any adhesive materials, like Velcro strips, will stick properly and provides a fresh start for your new cushion arrangement. Let the sofa air dry completely if you used any liquid cleaners. This simple preparation step is crucial for achieving a professional and long-lasting result.
Step 2: Measure Your Sofa and Plan Your Layout
Precision is key to a well-executed design. Use your measuring tape to determine the length and depth of your sofa’s seating area. Jot down these measurements. Next, consider what you want to achieve. Are you looking for back support, side support, or a combination of both? Decide on the number, size, and shape of cushions that will best suit your needs.
You could opt for two large bolster cushions to act as arms, several square pillows for back support, or a mix of shapes and sizes for a more eclectic look. Sketching a quick diagram of your sofa with the planned cushion placement can help you visualize the final arrangement and ensure you purchase the right items.
Step 3: Select the Right Cushions
Choosing the right cushions is about balancing function and style. For side support that mimics armrests, cylindrical or rectangular bolster pillows are ideal. They are firm and hold their shape well. For back comfort, consider square or lumbar pillows with a medium-density fill like foam, feathers, or a down alternative.
The fill material will greatly impact comfort; foam offers firm support, while feathers are softer and more pliable. Also, think about the fabric. It should complement your sofa’s upholstery and your room’s overall decor. Consider durable, easy-to-clean fabrics if you have pets or children. Don’t be afraid to mix textures—a velvet cushion next to a linen one can add depth and sophistication.
Step 4: Cut Your Non-Slip Material
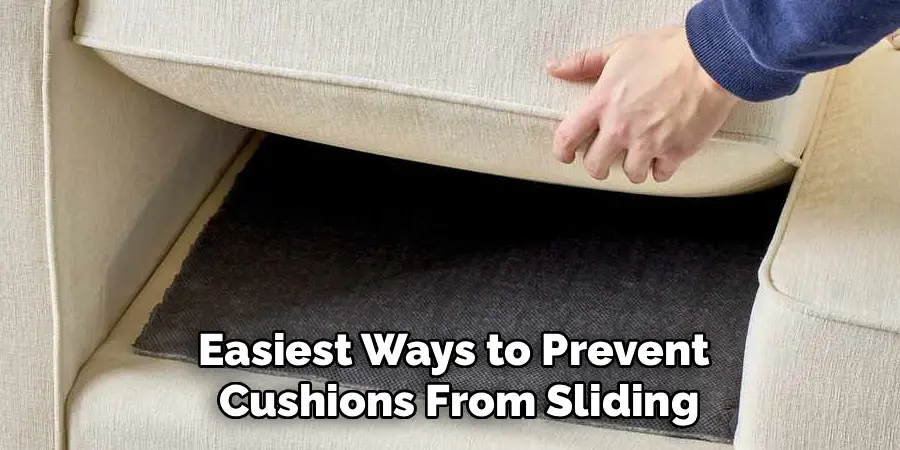
One of the easiest ways to prevent cushions from sliding is by using a non-slip grip pad. This material, often used under area rugs, creates friction between the cushion and the sofa. Unroll your non-slip material and place your new cushions on top of it.
Using a pencil or marker, trace the outline of the bottom of each cushion onto the pad. Carefully cut out the traced shapes with your scissors. For a simpler approach, you can cut a single large strip of the non-slip material to run along the entire back or sides of the sofa where the cushions will sit. This method provides a continuous grippy surface for all the cushions to rest on.
Step 5: Position the Non-Slip Material on the Sofa
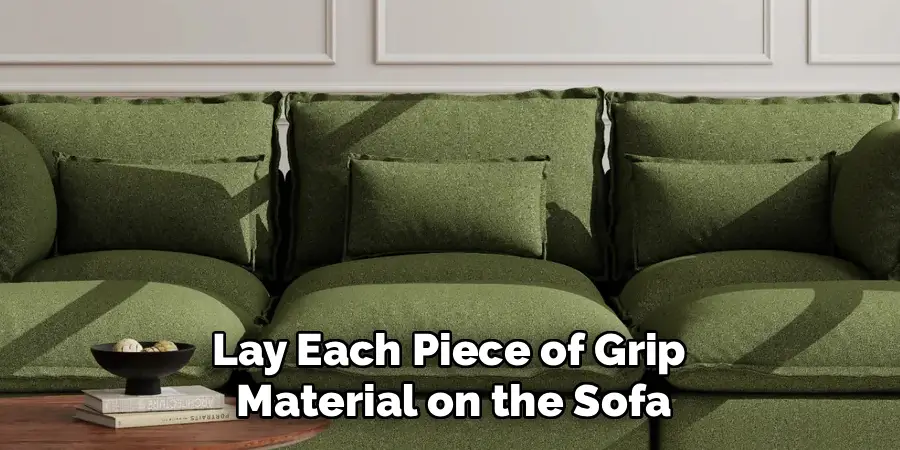
With your non-slip pads cut to size, it’s time to place them on the sofa. Lay each piece of grip material on the sofa exactly where you plan to place the corresponding cushion. If you cut a long strip, position it along the back edge of the seat or against the sofa’s backrest.
Make sure the material lies flat without any bumps or wrinkles, as this could create an uneven surface for your cushions. This method requires no adhesives and is completely removable, making it a great option for those who don’t want to make permanent changes to their sofa. It’s a simple yet highly effective solution for keeping your cushions from wandering.
Step 6: Prepare Your Velcro Strips
For a more secure, semi-permanent solution, Velcro is your best friend. Purchase industrial-strength, adhesive-backed hook-and-loop strips. Measure the bottom edge of your cushions where they will meet the sofa. Cut the Velcro strips to match this length. You will have two corresponding pieces for each strip: the rough “hook” side and the soft “loop” side. It’s standard practice to attach the soft loop side to the sofa itself and the rough hook side to the cushions. This prevents the abrasive hook side from snagging clothing or piling the sofa fabric when the cushions are removed.
Step 7: Attach Velcro to the Cushions
Take the rough “hook” side of your pre-cut Velcro strips. If you are using adhesive-backed strips, peel off the protective backing and press the strip firmly onto the bottom or back of your cushion. Apply steady, even pressure for at least 30-60 seconds to ensure a strong bond.
If your cushion cover is removable and made of a sturdy fabric, you can also opt for sew-on Velcro for maximum durability. Using a needle and a matching thread, stitch the hook side securely in place. Attaching the Velcro to the cushion first makes it easier to align it correctly on the sofa later.
Step 8: Attach Velcro to the Sofa
Now, take the soft “loop” side of the Velcro. Carefully determine the exact placement on your sofa by temporarily positioning your cushion. Once you are satisfied with the spot, mark the outline lightly with a pencil. If using adhesive strips, peel off the backing and press the loop side firmly onto the marked area on your sofa.
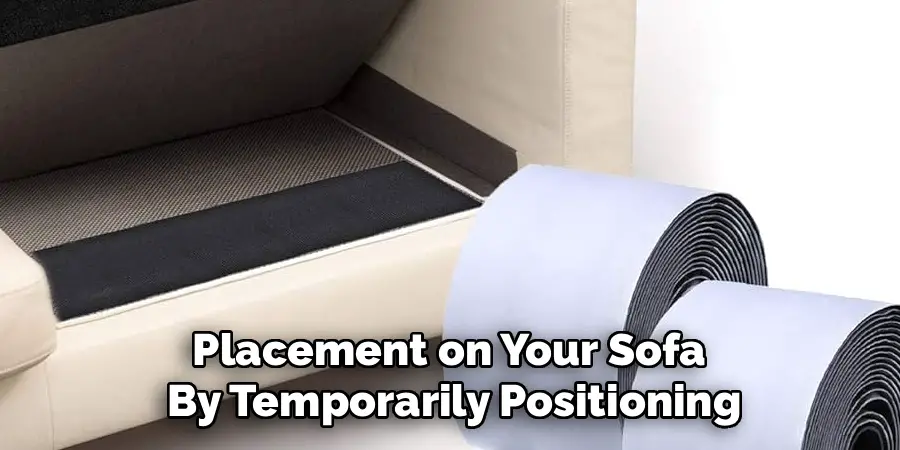
Again, apply significant pressure. For fabric sofas where adhesive might not hold well over time or could damage the material, sew-on Velcro or strong fabric glue are better alternatives. Make sure the Velcro on the sofa aligns perfectly with the strip on the cushion for a secure fit.
Step 9: Connect the Cushions and Test
Allow any adhesives on the Velcro to cure for the recommended time (often a few hours, but check the product packaging). Once ready, carefully align the cushion and press it onto the sofa so the hook-and-loop strips connect. You should hear a satisfying ripping sound as they lock together.
Press along the entire length of the strip to ensure full engagement. Repeat this for all your cushions. Once all are in place, give them a good push and wiggle to test their stability. They should feel secure and not slide or fall over with moderate pressure.
Step 10: Style and Final Touches
With your main support cushions securely in place, you can now add the finishing touches. Layer in some smaller decorative throw pillows in front of your newly installed cushions to add more depth, color, and personality. Drape a cozy throw blanket over one side to complete the look.
Step back and admire your work. You have not only added significant comfort but also injected new life and style into your armless sofa. Your once-sleek sofa is now a perfectly balanced piece of furniture, offering both modern form and inviting function.
5 Things You Should Avoid
- Using weak adhesives: Avoid standard craft glue or weak Velcro. Opt for industrial-strength adhesive or fabric glue designed for upholstery to ensure a long-lasting hold.
- Skipping measurements: Don’t just “eyeball” it. Guessing sizes can lead to ill-fitting cushions that look awkward and provide poor support.
- Ignoring fabric compatibility: Applying adhesive Velcro to delicate fabrics like velvet or silk can cause damage. Always test on a hidden spot or choose a sew-on or non-slip mat option instead.
- Overstuffing with pillows: While the goal is comfort, adding too many cushions can make the sofa look cluttered and reduce usable seating space. Stick to your planned layout.
- Choosing the wrong cushion fill: A flimsy, soft fill won’t provide the side support needed to act as an armrest. Ensure your bolster cushions are firm and dense enough to hold their shape.
Conclusion
Upgrading your armless sofa with cushions is a simple and rewarding project that can completely revitalize your living space.
By following these steps on how to add cushions to armless sofa, you can add incredible comfort, prevent annoying slippage, and express your personal style. You’ve learned how to plan your layout, select the right materials, and apply different methods to keep your cushions firmly in place.
Now, you can enjoy a sofa that is not only chic and modern but also a cozy haven for relaxation.
