
Your old desktop might be slow, noisy, or struggling to run modern software — but that doesn’t mean it’s time to throw it out. In many cases, a few targeted upgrades can transform a sluggish machine into something that feels brand new, at a fraction of the cost of buying a replacement. Knowing how to upgrade old desktop hardware is one of the most practical skills a computer owner can have.
It saves money, reduces electronic waste, and gives you full control over your machine’s performance. Whether you’re dealing with slow load times, limited storage, or an outdated processor, this guide walks you through every step clearly. No prior technical experience is needed — just a bit of patience and the right information.
Why Upgrading An Old Desktop Matters
Replacing a desktop outright is expensive. Upgrading specific components costs far less and often delivers comparable performance improvements. A new solid-state drive alone can cut boot times from minutes to seconds. Adding RAM removes the bottleneck that causes programs to freeze or crash under load.
Beyond cost savings, upgrading extends the useful life of hardware you already own. That’s better for your wallet and for the environment. It also gives you the flexibility to prioritize the upgrades that match your actual needs — more storage if you work with large files, a better GPU if you edit video or play games, or simply more RAM if you run multiple applications at once. Upgrading incrementally also spreads the cost out over time, making improvements much more manageable.
Step-By-Step Guide To Upgrading An Old Desktop
Step 1: Assess Your Current Hardware
Before spending any money, you need to know exactly what’s inside your machine. On Windows, open the Task Manager and navigate to the Performance tab to see your CPU, RAM, and storage details. For more complete information, download a free tool like CPU-Z or Speccy — these show your motherboard model, RAM type, and slot availability in one place.
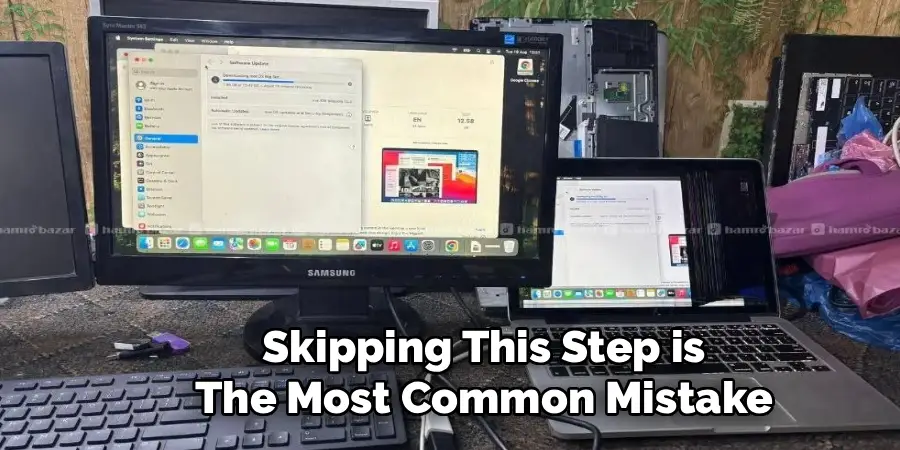
This step determines every purchase you’ll make going forward. Knowing your motherboard model tells you which RAM and CPU generations are compatible. Knowing your storage interface tells you whether you can install a fast NVMe drive or are limited to a SATA connection. Skipping this step is the most common mistake beginners make, and it often leads to buying parts that simply don’t fit.
Step 2: Set A Budget And Prioritize Components
Upgrades don’t all deliver the same return on investment. An SSD provides the single biggest speed improvement for most aging desktops, often for under sixty dollars. RAM is the next priority if your system runs less than 16GB. A GPU upgrade matters most for gaming or creative work, but it tends to cost significantly more than storage or memory.
Write down the components you want to upgrade and rank them by impact versus cost. Focus on the top one or two upgrades first rather than buying everything at once. This approach lets you measure the improvement before committing more money, and it keeps the project manageable if you’re new to working inside a computer case. A clear budget also prevents the frustration of compatibility issues that arise from impulse buying.
Step 3: Purchase Compatible Components
Once you know your hardware specs and have a budget set, buy components that are confirmed to work with your existing setup. For RAM, match the generation (DDR3, DDR4, or DDR5), speed, and voltage to what your motherboard supports. For storage, confirm whether your motherboard has an M.2 slot before buying an NVMe drive — if it doesn’t, a standard 2.5-inch SATA SSD is the right choice.
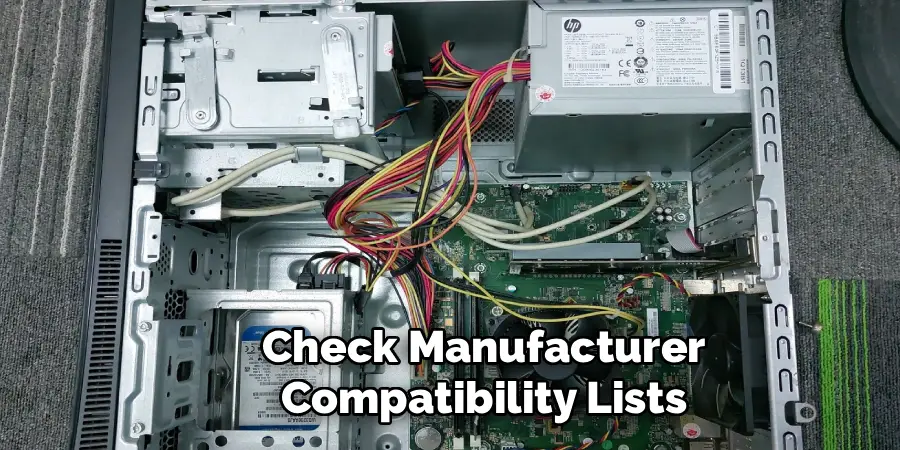
Check manufacturer compatibility lists and user forums before finalizing any purchase. Sites like PCPartPicker let you enter your existing components and flag compatibility issues automatically. If you’re upgrading a GPU, verify that your power supply has the required connectors and enough wattage to handle the new card. A few minutes of research at this stage prevents costly return headaches later.
Step 4: Gather Your Tools And Prepare Your Workspace
Most desktop upgrades require nothing more than a Phillips-head screwdriver. That said, having an anti-static wrist strap is a smart addition — static discharge can damage sensitive components silently, with no immediate signs but long-term reliability problems. A clean, flat, well-lit surface gives you room to work without losing screws or misplacing parts.
Before opening your case, shut the computer down completely and unplug it from the wall. Press the power button once after unplugging to discharge any remaining power stored in the capacitors. Ground yourself by touching a metal part of the case before handling any components. These small precautions cost nothing and protect the hardware you’re about to install, which is especially important if you’re learning how to upgrade old desktop components for the first time.
Step 5: Install Your New Storage Drive
If you’re adding or replacing an SSD, start here — it’s the most impactful upgrade and one of the easiest to install. For a 2.5-inch SATA drive, locate an open drive bay, connect the SATA data cable to your motherboard and the power cable from your PSU, then secure the drive with screws. For an M.2 NVMe drive, slide it into the M.2 slot at a slight angle and press it flat before screwing it down.
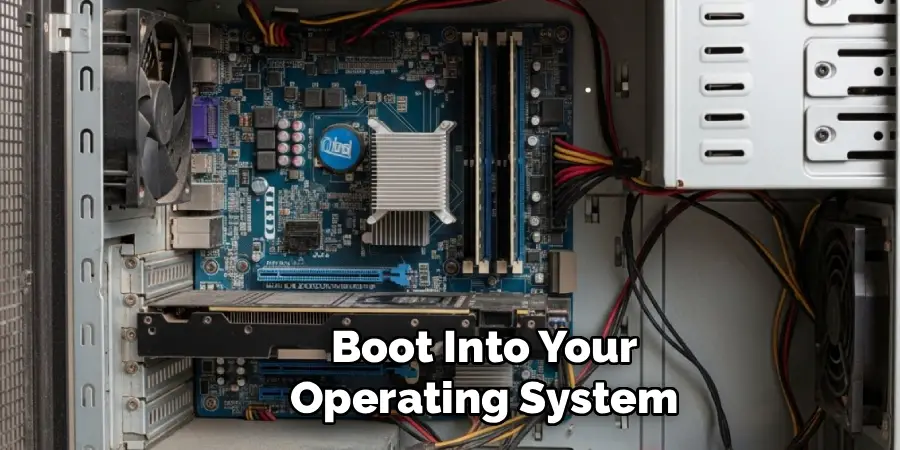
Once the drive is physically installed, boot into your operating system and check that it’s recognized in Disk Management on Windows or Disk Utility on macOS. If you’re migrating your existing OS to the new drive, use cloning software like Macrium Reflect to copy everything over before removing the old drive. This preserves all your settings, applications, and files without requiring a clean reinstall.
Step 6: Upgrade Your RAM
Upgrading RAM is straightforward, but placement matters. Most dual-channel motherboards have four RAM slots, and for best performance, identical sticks should be installed in matching-colored slots — typically slots 1 and 3, or 2 and 4, rather than side by side. Check your motherboard manual to confirm the recommended configuration for your specific board.
To install, align the notch on the RAM stick with the notch in the slot, press firmly and evenly from both ends until the side clips snap into place. There should be a clear click when the stick seats properly. After installing, boot the computer and enter the BIOS to confirm the system recognizes the new RAM at the correct speed. This one upgrade alone can make a dramatic difference in how responsive the machine feels during everyday use.
Step 7: Test Everything And Update Your Drivers
After all physical upgrades are complete, boot the system and run a full performance check. Use Windows’ built-in Memory Diagnostic tool or a free app like MemTest86 to verify RAM stability. Check storage health with CrystalDiskInfo, which confirms that your new drive is operating correctly and shows no errors. Run the machine under normal workloads for at least an hour before considering the job done.
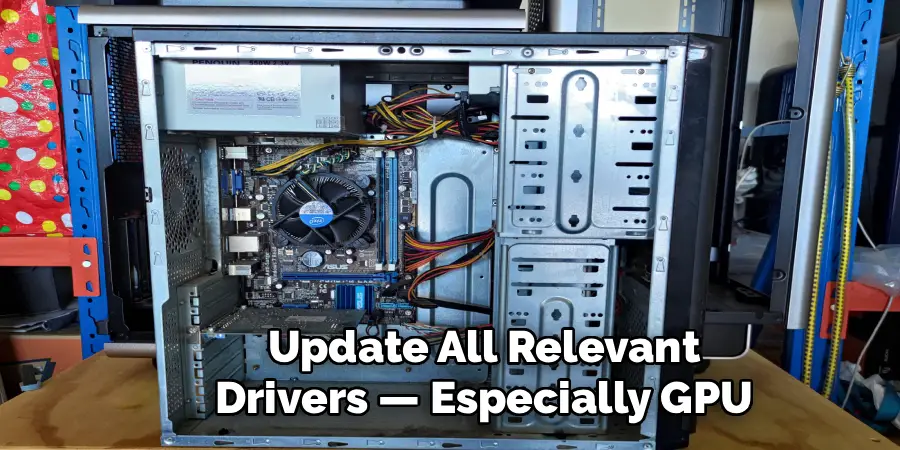
Update all relevant drivers — especially GPU, chipset, and storage controller drivers — through your manufacturer’s website rather than relying on Windows Update alone. Fresh drivers ensure your new hardware runs at full capability and reduces the chance of crashes or instability. Knowing how to upgrade old desktop hardware correctly includes this final verification step, which is easy to skip but essential for long-term reliability.
Frequently Asked Questions
How Do I Know If My Desktop Is Worth Upgrading?
If your CPU is less than eight to ten years old and your motherboard still supports modern RAM and storage types, upgrading is almost always more cost-effective than replacing the machine. If core components like the processor are too outdated to support current software requirements, a full replacement may make more financial sense than investing in incremental improvements.
What Is The Single Best Upgrade For A Slow Desktop?
Switching from a traditional hard drive to a solid-state drive delivers the most noticeable speed improvement for most older desktops. Boot times, application launch speeds, and file transfer rates all improve dramatically. If your machine already has an SSD, adding more RAM is typically the next most impactful change, especially if you frequently run multiple programs at the same time.
Can I Upgrade A Desktop Without Any Technical Experience?
Yes, most common upgrades — adding RAM, replacing a storage drive, or swapping a GPU — are beginner-friendly with the right guidance. The critical skill is research: knowing your hardware specs before buying anything prevents compatibility mistakes. Following a step-by-step guide and taking basic precautions like grounding yourself before handling components is enough for most people to complete these upgrades safely.
Will Upgrading My Desktop Void Any Warranty?
For most consumer desktops, upgrading RAM or storage does not void the warranty, since these are considered user-serviceable parts. However, modifications that involve the CPU, motherboard, or power supply may affect warranty terms depending on the manufacturer. If your machine is still under warranty, check the documentation or contact the manufacturer before opening the case to confirm what’s permitted.
How Much Does It Typically Cost To Upgrade An Old Desktop?
The cost varies by component. A 500GB SATA SSD typically runs between forty and seventy dollars. A 16GB RAM kit can be found for thirty to sixty dollars depending on the generation. A mid-range GPU upgrade ranges from one hundred fifty to four hundred dollars. Most people see significant performance improvements by spending one hundred to one hundred fifty dollars on storage and memory alone.
Conclusion
Reviving an aging computer doesn’t require a big budget or advanced technical skills — it just requires the right approach. Start by assessing what you have, set a realistic budget, buy compatible parts, and install them carefully. Test thoroughly when you’re done and keep drivers updated.
The most impactful upgrades — an SSD and more RAM — are also the most affordable and easiest to install. If you’ve been putting off this project because it seemed complicated, now you have everything you need to get started. Learning how to upgrade old desktop hardware is one of the best investments you can make in your existing setup, and the performance difference you’ll feel is immediate and worth every bit of effort.
