
Getting a new mechanical keyboard is exciting — until you realize you’re not sure how to connect it to your devices. RK keyboards are popular for their solid build quality, responsive switches, and multi-device Bluetooth functionality, but the pairing process can feel confusing if you’ve never done it before.
Whether you’re connecting to a laptop, tablet, phone, or desktop, knowing how to pair RK keyboard correctly from the start saves you time and frustration. This guide walks you through the entire process in clear, beginner-friendly steps — no technical background required. You’ll also find answers to the most common questions people run into along the way, so you can get your keyboard up and running with confidence and start enjoying everything it has to offer.
Why Pairing Your RK Keyboard Matters
A wireless keyboard is only as useful as its connection. If the pairing process isn’t done correctly, you’ll run into dropped connections, input lag, or a keyboard that simply won’t respond — all of which make for a frustrating experience that has nothing to do with the keyboard’s actual quality.
RK keyboards support multi-device pairing, which means one keyboard can switch between several devices seamlessly. That’s a major productivity advantage for people who work across a desktop, laptop, and tablet throughout the day. But to unlock that flexibility, each device needs to be paired properly from the beginning. A correct initial setup also ensures stable connection stability, longer battery life, and full access to all the keyboard’s programmable features. Taking a few minutes to learn the right process upfront pays off every single time you sit down to type.
Step-By-Step Guide To Pairing Your RK Keyboard
Step 1: Check Your Keyboard Mode And Battery Level
Before you do anything else, confirm that your keyboard is charged and set to the correct connection mode. Most RK keyboards support both Bluetooth and 2.4GHz wireless via a USB dongle — the switch for toggling between these modes is usually located on the back or side of the keyboard. A low battery can cause pairing to fail or drop mid-setup, so plug in briefly if the battery indicator is showing a low charge.
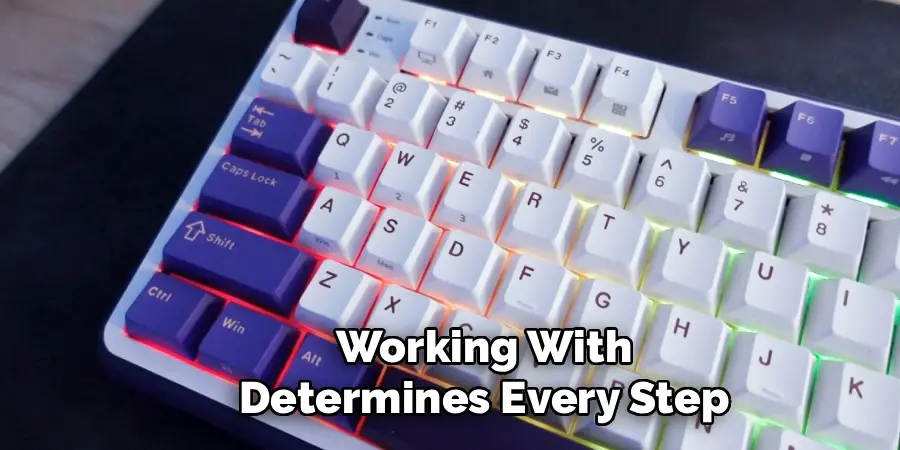
Knowing which mode you’re working with determines every step that follows. If you’re connecting via Bluetooth, you’ll use your device’s built-in Bluetooth settings. If you’re using the 2.4GHz dongle, you simply insert it into your USB port and the connection is much more automatic. Confirming this early prevents unnecessary troubleshooting down the line and helps you follow the right process from the start.
Step 2: Enable Bluetooth On Your Device
Open the Bluetooth settings on the device you want to connect to — this applies whether you’re on Windows, macOS, Android, or iOS. On Windows, navigate to Settings, then Devices or Bluetooth and Devices, and toggle Bluetooth on. On a Mac, open System Settings and click Bluetooth. On a phone or tablet, pull down the quick settings panel and tap the Bluetooth icon to activate it.
Make sure your device is set to discoverable or simply left on the Bluetooth screen so it can detect incoming pairing requests. Some devices automatically enter discovery mode as soon as Bluetooth is enabled; others require you to be on the Bluetooth menu actively. Either way, keep this screen open while you prepare the keyboard — the connection prompt appears here once the keyboard broadcasts its signal.
Step 3: Activate Pairing Mode On The Keyboard
This is where the pairing process actually begins on the keyboard’s end. On most RK keyboards, you activate Bluetooth pairing mode by pressing and holding the Fn key along with one of the designated Bluetooth keys — typically labeled as BT1, BT2, or BT3, usually found along the top row. Hold the combination for about three to five seconds until the indicator light starts blinking rapidly, which signals the keyboard is actively broadcasting and ready to be discovered.
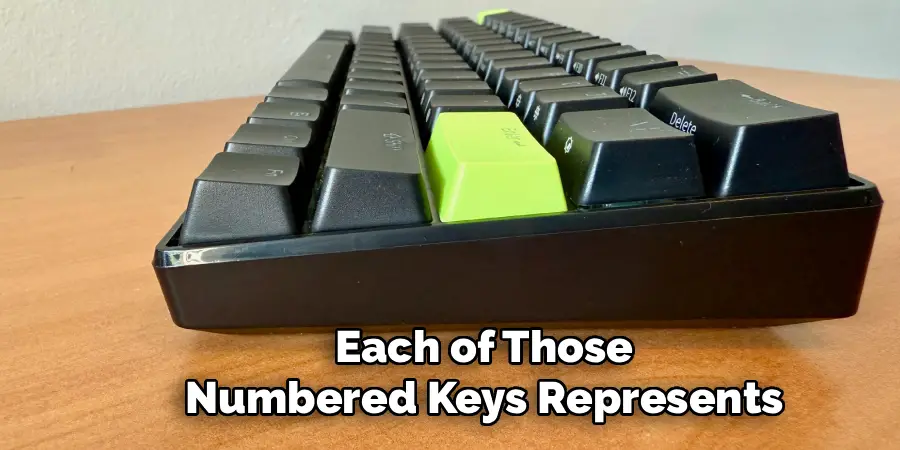
Each of those numbered keys represents a separate device slot. BT1 might connect to your laptop, BT2 to your tablet, and BT3 to your phone, for example. You’re essentially programming which device lives in which slot, so choose your slot intentionally. The rapid blinking light is your confirmation that the keyboard is in pairing mode and waiting — move to your device quickly to complete the connection before the window times out.
Step 4: Select The Keyboard On Your Device
With the keyboard broadcasting and your device’s Bluetooth settings open, watch the list of available devices on your screen. Within a few seconds, you should see the keyboard appear — it’s typically listed as “RK” followed by the model number or a generic keyboard name. Click or tap on it to initiate the connection. Your device may display a PIN confirmation prompt, usually showing “0000” — press Enter on the keyboard to confirm it.
If the keyboard doesn’t appear within thirty seconds, make sure Bluetooth is fully enabled on your device and that the keyboard’s indicator light is still blinking. Sometimes simply pressing the pairing key combination again re-triggers the broadcast. Once you select the keyboard and confirm the pairing, the blinking light will steady or turn off, and your device will show the keyboard as “Connected” in its Bluetooth menu.
Step 5: Test The Connection Before Doing Anything Else
Once the pairing is confirmed, open a simple text application — Notepad on Windows, TextEdit on Mac, or any notes app on a phone — and type a few sentences to verify that keystrokes are registering correctly and without delay. This quick test tells you immediately whether the connection is stable or whether something in the pairing process didn’t complete properly.
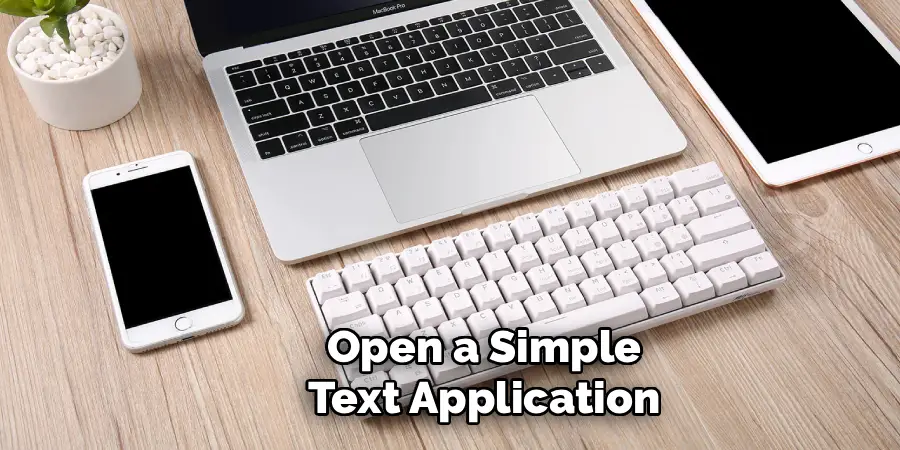
Pay attention to any lag between pressing a key and seeing the character appear on screen. A small amount of latency can indicate a weak Bluetooth signal, interference from nearby devices, or a battery issue. If everything types smoothly and responsively, your setup is solid. If you notice repeated characters, missed keystrokes, or unusual lag, it’s worth repeating the pairing process from scratch rather than assuming the problem will resolve itself over time.
Step 6: Pair Additional Devices Using Other Bluetooth Slots
One of the best features of RK keyboards is the ability to store multiple Bluetooth connections at once. If you want to connect a second device — say, a tablet or a second computer — simply hold Fn and a different Bluetooth slot key (BT2 or BT3) for three to five seconds until that slot’s indicator light begins blinking. Then repeat the pairing steps on the new device just as you did the first time.
Once all your devices are paired to their respective slots, switching between them takes less than two seconds. Just press Fn plus the slot number for the device you want to switch to, and the keyboard reconnects almost instantly. This multi-device capability is one of the biggest reasons people choose RK keyboards, and understanding how to pair rk keyboard across multiple slots unlocks the full value of what you’ve purchased.
Frequently Asked Questions
Why Won’t My RK Keyboard Show Up In Bluetooth Settings?
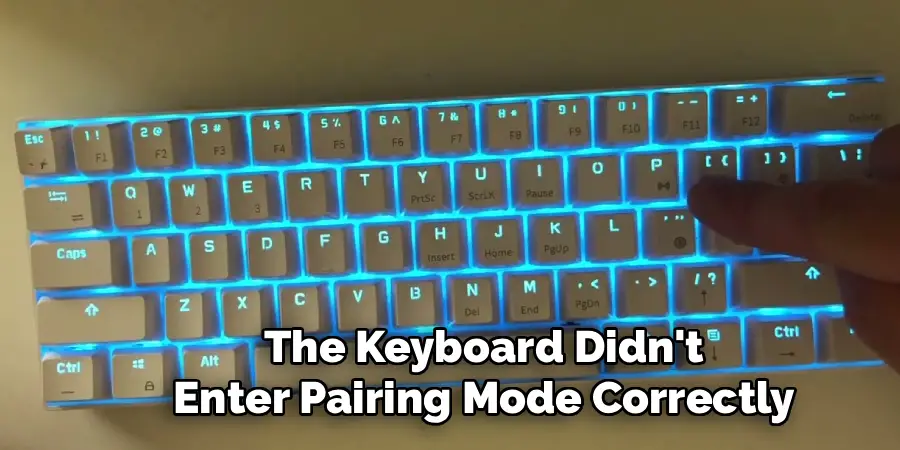
If your keyboard isn’t appearing on your device’s Bluetooth list, the most likely cause is that the keyboard didn’t enter pairing mode correctly. Try holding the Fn key and the Bluetooth slot key for a full five seconds until the light blinks rapidly. Also confirm that Bluetooth is enabled on your device and that no other device is actively connected to that same slot, which would prevent it from broadcasting.
Can I Connect My RK Keyboard To Multiple Devices At The Same Time?
RK keyboards support multi-device pairing across up to three Bluetooth slots, but they connect to only one device at a time. Switching between paired devices is quick and easy — just press Fn plus the relevant slot key. This design keeps the connection stable and avoids the signal conflicts that come with true simultaneous multi-device connections, making it a reliable choice for anyone working across several platforms daily.
How Do I Know Which Bluetooth Slot My Device Is Saved To?
The slot number corresponds to the Bluetooth key you used when pairing that device. If you paired your laptop using BT1, your laptop lives in slot one. When you press Fn plus BT1, the keyboard attempts to reconnect to whatever device was last paired to that slot. If you’re unsure, you can always re-pair a device to a specific slot by following the pairing process again and assigning it intentionally to your preferred number.
What Should I Do If My RK Keyboard Keeps Disconnecting?
Frequent disconnections are usually caused by a low battery, Bluetooth interference, or the keyboard entering sleep mode. Charge the keyboard fully and check that no large metal objects or other wireless devices are sitting between the keyboard and your device. You can also adjust or disable the auto-sleep timer through the keyboard’s software if available, which prevents the keyboard from dropping the connection during short periods of inactivity.
Does The 2.4GHz Dongle Connection Work The Same Way As Bluetooth?
The 2.4GHz USB dongle connection is actually simpler than Bluetooth — you just plug the dongle into your device’s USB port and turn the keyboard on with the mode set to 2.4GHz. There’s no manual pairing process required because the dongle and keyboard are pre-synced from the factory. The 2.4GHz connection also tends to offer lower latency than Bluetooth, making it a preferred option for gaming or any task where response time is critical.
Conclusion
Setting up a wireless keyboard doesn’t have to be complicated, and now you have everything you need to do it right. The key steps are straightforward: check your battery and connection mode, enable Bluetooth on your device, activate pairing mode on the keyboard, confirm the connection, and test thoroughly before moving on. If you’re using multiple devices, pair each one to a dedicated slot so switching between them stays fast and reliable.
Taking the time to learn how to pair RK keyboard correctly from the start means fewer headaches, a more stable connection, and the ability to get the most out of a keyboard built to handle more than one device. Go ahead and get everything connected today — once it’s set up properly, you’ll wonder how you ever managed without it.
