
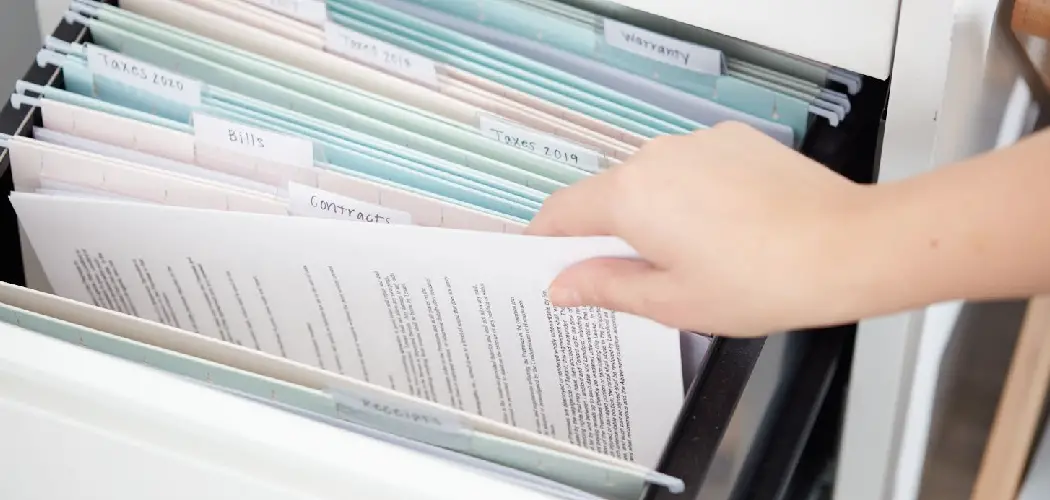
Are you having trouble keeping your office documents organized? Do you struggle to find important files when you need them? Filing your office documents properly is essential for an efficient and stress-free work environment.
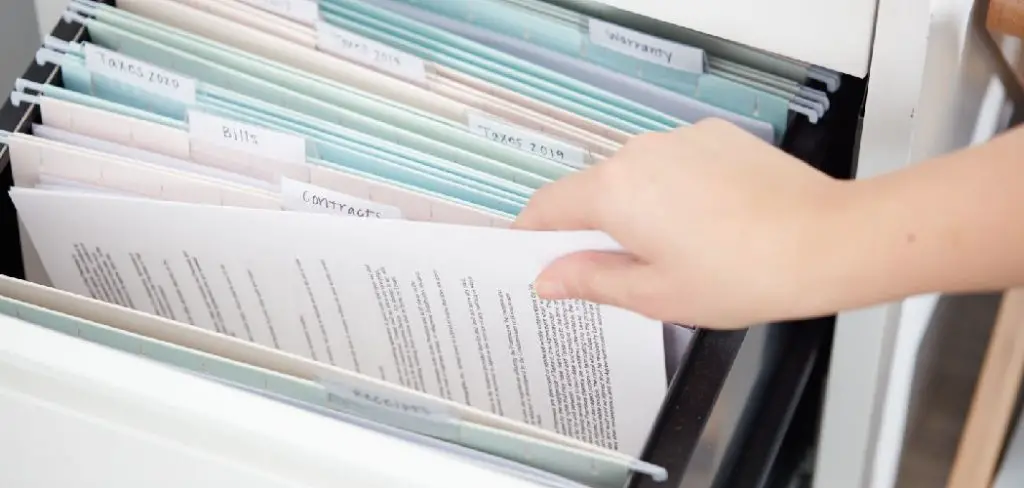
Keeping your office documents organized isn’t glamorous work — but it’s one of the most valuable habits you can build. A well-maintained filing system saves time, reduces stress, and keeps your workspace running smoothly.
Whether you’re setting up a new system from scratch or untangling years of paper piles, this guide on how to file office documents walks you through everything you need to know.
What Are the Benefits?
A reliable filing system does more than keep desks clean. Here’s what you gain when documents are properly organized:
- Faster retrieval — Find any document in seconds instead of minutes (or never).
- Reduced errors — Misfiled or lost documents cause costly mistakes. Organization minimizes that risk.
- Better compliance — Many industries require records to be kept and accessible for legal or regulatory reasons.
- Less stress — A clutter-free workspace improves focus and mental clarity.
- Stronger team collaboration — When everyone knows where things are, handoffs and shared work become effortless.
What Will You Need?
Before you start filing, gather the right tools. Having these on hand keeps the process smooth and consistent:
- Filing cabinets or storage boxes — Physical or digital, you need a dedicated space for documents.
- File folders — Hanging folders for cabinets; subfolders for organizing within categories.
- Labels and a label maker — Clear, consistent labels are the backbone of any good system.
- Color-coded tabs — Optional but extremely helpful for quick visual identification.
- A shredder — For securely disposing of documents you no longer need.
- Digital filing software — Tools like Google Drive, SharePoint, or OneDrive if you’re going paperless.
- A naming convention guide — A simple reference sheet for how files should be named and categorized.
10 Easy Steps on How to File Office Documents
Step 1: Gather All Your Documents
Begin by pulling together every document that needs filing. Check desks, drawers, inboxes, email folders, and shared drives so nothing slips through the cracks. Resist the urge to sort as you go — your only job right now is collection.

For example, a small finance team might empty three desk drawers, print key emails, and export scattered PDFs into one folder. Seeing everything in one place reveals the true scope of the task and prevents surprises later.
Step 2: Sort Into Broad Categories
Once everything is together, group documents into a handful of wide categories. Think Finance, HR, Client Records, Legal, Operations, and Correspondence. Keep these buckets general for now — fine detail comes later.
Picture spreading your papers across a table and creating one labeled pile per category. A contract goes to Legal, a paystub goes to HR, a vendor invoice goes to Finance. This rough sort gives your system its core structure.
Step 3: Create Subcategories
Now break each broad category into smaller, logical groups. Under Finance, you might add Invoices, Receipts, Tax Records, and Bank Statements. Under HR, you could create Contracts, Reviews, and Benefits.
Subcategories prevent any single folder from becoming a dumping ground. If a category holds more than 15 or 20 documents, that’s a clear signal it needs to be split further. Aim for folders you can scan in seconds.
Step 4: Establish a Naming Convention
Decide exactly how files will be named before you file a single one. A consistent format removes guesswork and makes searching reliable. A common pattern is YYYY-MM-DD_DocumentType_ClientName, which produces clear names like 2026-03-14_Invoice_AcmeCorp.

Write your convention on a one-page reference sheet and share it with everyone who touches the files. When the whole team names documents the same way, the system stays predictable instead of drifting into confusion.
Step 5: Label Everything Clearly
Apply clear labels to every folder, tab, and container. Whether physical or digital, labels should be readable at a glance and match your naming convention. Skip cryptic abbreviations that only make sense to you.
For physical files, a label maker keeps tabs uniform and legible. For digital folders, use full words rather than initials — “Client Contracts” beats “CC.” If a new hire can navigate your system without asking questions, your labels are doing their job.
Step 6: Purge Unnecessary Documents
Before filing anything, clear out what you don’t need. Shred or delete duplicates, outdated drafts, and irrelevant paperwork. Filing junk only forces you to organize and store clutter you’ll never use.
Be careful with records you’re legally required to keep, such as tax documents or signed contracts — set those aside rather than tossing them. For everything else, ask a simple question: “Will I realistically need this again?” If the answer is no, let it go.
Step 7: File Documents in the Right Place
With your structure built and clutter removed, place each document into its correct folder. Follow your categories and subcategories consistently so nothing lands in the wrong spot.

Some documents fit two categories at once — a signed client invoice could belong in both Legal and Finance. When this happens, pick the primary location and add a cross-reference. A sticky flag in a physical file or a shortcut in a digital one points you to the second spot without creating duplicates.
Step 8: Set Up a Digital Backup
Protect your work by creating digital copies of important documents, even if you mostly use paper. Scan critical files and store them in cloud storage like Google Drive, SharePoint, or OneDrive, or on a secure external drive.
Mirror your physical folder structure in your digital system so the two match exactly. If a fire, flood, or theft damages your office, those backups become the difference between a minor inconvenience and a major crisis.
Step 9: Create an Index or Reference Guide
Build a simple index that maps out your entire system. A one-page document or spreadsheet listing your main categories, subcategories, and where specific document types live works perfectly.
This guide pays off most when onboarding new team members or returning from time away. Instead of guessing, anyone can glance at the index and know exactly where to look. Keep it short, current, and stored somewhere easy to access.
Step 10: Schedule Regular Maintenance
A filing system only works if you keep it current. Set a recurring time — weekly, monthly, or quarterly — to file new documents, remove outdated ones, and update your index.

Treat it like any other recurring task on your calendar. A team might spend 30 minutes every Friday filing the week’s paperwork, then run a deeper review each quarter. Small, consistent effort prevents the backlog that quietly destroys most systems.
By following these 10 steps, you can create an organized filing system that works for you and your team. Remember to regularly review and adapt your system as needed to ensure it remains efficient and effective.
5 Things You Should Avoid
Even with good intentions, certain habits can quietly undermine your filing system. Watch out for these:
- Using vague folder names — Folders labeled “Misc” or “Other” become black holes. Every folder should have a specific, searchable purpose.
- Skipping the naming convention — Inconsistent file names make searching unreliable. Stick to your agreed format every time.
- Filing everything without purging first — Keeping every document adds clutter. Regularly remove what’s no longer needed.
- Ignoring digital backups — Physical files can be lost, damaged, or destroyed. Always maintain a digital copy of critical documents.
- Never updating the system — A filing system is not a one-time project. Neglecting maintenance leads to disorganization over time.
Frequently Asked Questions
- How Often Should I Clean Out My Filing System?
A light review every month keeps things manageable, but a thorough purge should happen at least once a year. During your annual review, remove documents that are no longer relevant, archive records you must keep but rarely access, and update your folder structure if your work has changed. Regular maintenance prevents backlogs from building up. - Should I Use a Physical or Digital Filing System?
The best choice depends on your workflow and industry requirements. Many offices use a hybrid approach — keeping original paper copies of legal or signed documents while storing digital backups of everything else. Digital systems offer faster search and easier sharing, while physical files can feel more secure for sensitive materials. Assess your team’s needs before committing to one method. - What’s the Best Way to Handle Documents That Belong to Multiple Categories?
Choose the primary category where the document lives and file it there. Then create a cross-reference note — either a physical flag or a digital shortcut or alias — pointing to the document from the secondary category. Avoid making duplicate copies, as this leads to version confusion and extra clutter over time.
Conclusion
A well-organized filing system isn’t built in a day, but the payoff is immediate and lasting.
By following these ten steps on how to file office documents, you give yourself and your team a reliable structure that saves time and reduces frustration. Start with what you have, stay consistent with your naming and labeling, and schedule regular check-ins to keep everything on track.
Good document management is a skill — and once you build it, it becomes second nature.
