
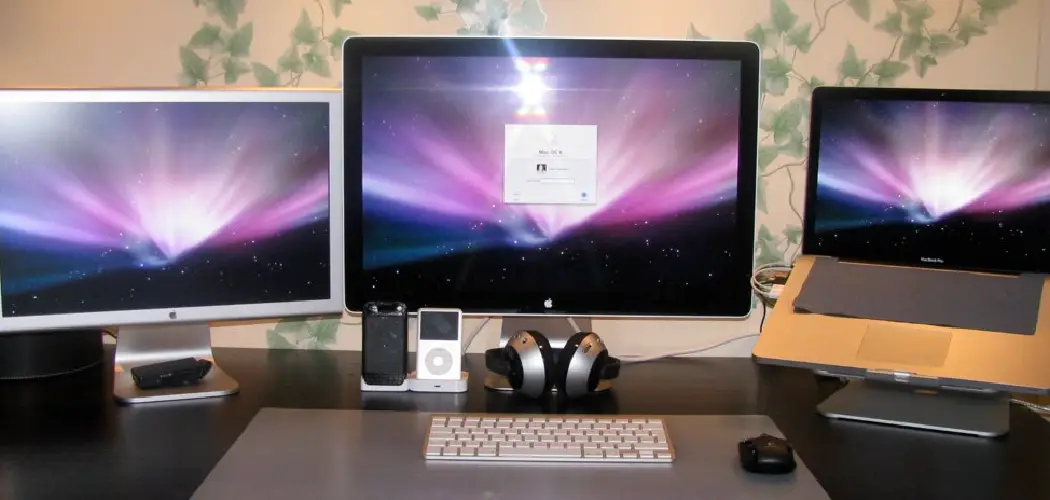
Are you tired of working with a small screen on your Mac? Do you find yourself constantly switching between windows and apps to get things done? If so, setting up multiple monitors might be the solution for you.
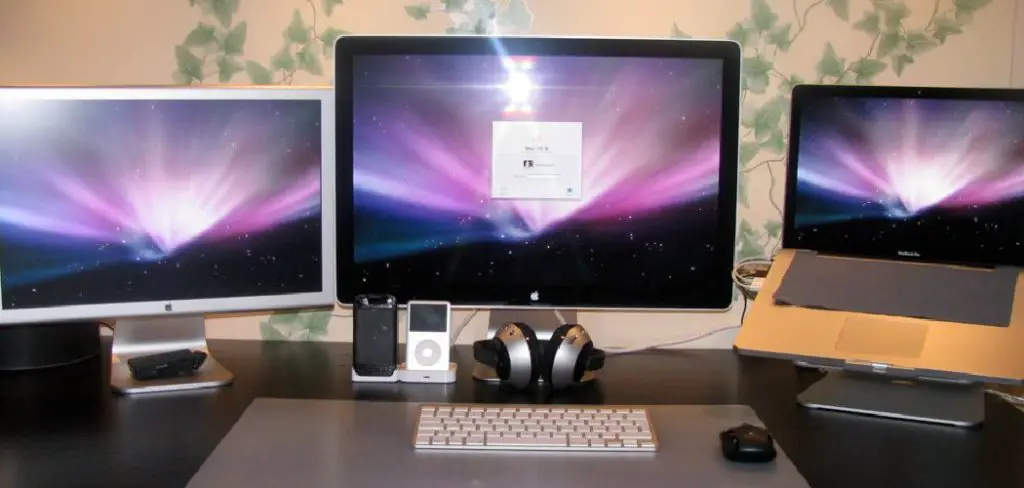
Working across one screen can feel limiting, especially when you’re managing spreadsheets, editing photos, or keeping communication tools open alongside your main work. Setting up multiple monitors on a Mac gives you more space to work — without switching between windows constantly.
This guide on how to set up multiple monitors Mac walks you through everything you need to know, from the equipment to the exact steps.
What Are the Benefits of Multiple Monitors on a Mac?
More screen space means less friction in your daily work. Here’s what you gain:
- Better Multitasking: Keep your email open on one screen while you work on a document on another. No more toggling back and forth.
- Improved Focus: Dedicated screens for dedicated tasks help reduce mental clutter.
- Faster Workflows: Designers, developers, and video editors especially benefit from seeing their tools and output side by side.
- Reduced Window Management Fatigue: Fewer clicks to find what you need means more time actually doing the work.
Even casual users notice the difference quickly. Once you go multi-monitor, going back feels genuinely difficult.
What Will You Need?
Before you dive in, make sure you have the right gear. The exact requirements depend on your Mac model, but here’s the general checklist:
- An external monitor (or two) with at least one video input — HDMI, DisplayPort, or USB-C
- The right cable or adapter for your Mac’s ports (most modern Macs use Thunderbolt/USB-C)
- A Mac running macOS Ventura, Sonoma, or later (older versions work too, but menus may look slightly different)
- Enough Thunderbolt or USB-C ports, or a hub/dock if you’re connecting more than one display
Check your Mac’s tech specs on Apple’s website to confirm how many external displays your model supports. MacBook Air models, for example, support one external display natively (two with an M3 chip or later), while Mac Studio and Mac Pro support significantly more.
10 Easy Steps on How to Set Up Multiple Monitors Mac
Step 1: Check Your Mac’s Display Support
Start by confirming how many external monitors your Mac can actually drive. This step saves you from buying gear that won’t work. Click the Apple Menu in the top-left corner, then select About This Mac, and note your chip (for example, M1, M2, or M3).
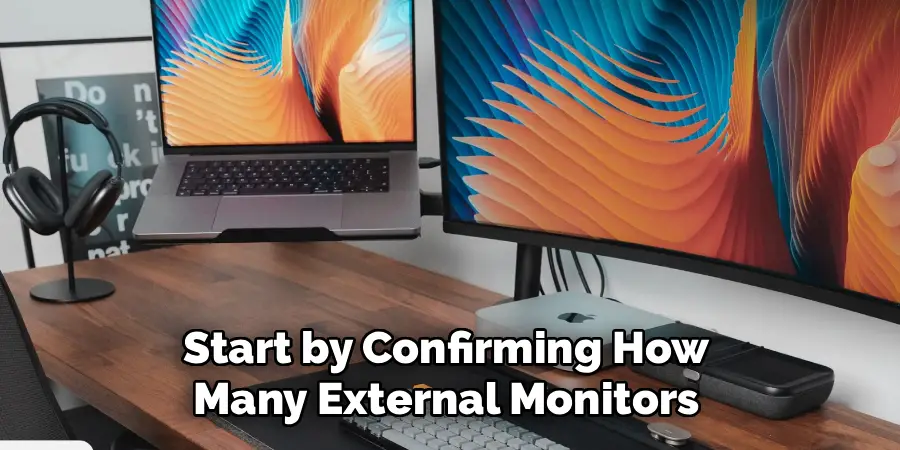
Next, search Apple’s support page for your exact model and look up its display limit. A MacBook Air with M1 or M2 supports just one external display, while an M3 model or a Mac Studio supports several. Knowing your ceiling now prevents frustration later.
Step 2: Identify Your Mac’s Ports
Look at the sides of your Mac and identify each available video-capable port. Most modern Macs use Thunderbolt 3, Thunderbolt 4, or USB-C ports, which all look identical (small, oval connectors). Some Mac mini and Mac Studio models also include a dedicated HDMI port.
Knowing exactly what you have determines which cables or adapters you’ll need. Count the ports too — if you’re connecting two monitors but only have one free port, you’ll need a hub or dock to expand your options.
Step 3: Choose Compatible Cables or Adapters
Match your Mac’s ports to the inputs on your monitor. If both use USB-C, a single USB-C cable does the job. If your monitor only has HDMI or DisplayPort, you’ll need an adapter that converts from USB-C.
Spend a little extra on quality here. Cheap, unbranded adapters often drop signal, flicker, or fail to detect the display at all. A reliable adapter from a known brand prevents hours of needless troubleshooting down the line.
Step 4: Connect the Monitor to Your Mac
With the right cable in hand, plug one end into your Mac and the other into the monitor’s video input. If you’re adding a second monitor, use another free port or connect through a powered Thunderbolt dock.
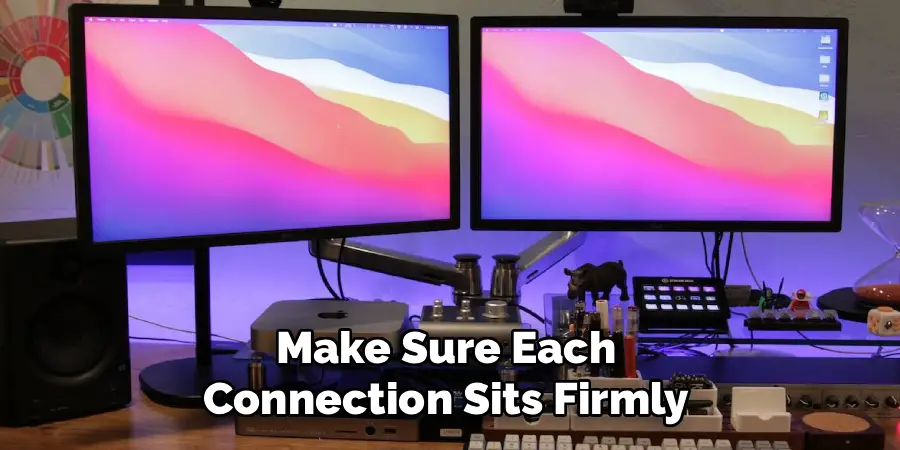
Make sure each connection sits firmly in place. A loose plug is the most common reason a Mac fails to detect a screen, so press until it’s snug. Avoid forcing connectors — they only fit one way.
Step 5: Power On Your Monitor
Turn on each external display. Your Mac should detect the screen automatically within a few seconds, and the desktop will extend onto it.
If nothing appears, check that the monitor is set to the correct input source. Most monitors have an Input or Source button that cycles through HDMI, DisplayPort, and USB-C. Selecting the input your cable is plugged into usually fixes a blank screen instantly.
Step 6: Open Display Settings
Now it’s time to configure how your screens work together. Click the Apple Menu, choose System Settings, then select Displays from the sidebar.
You’ll see a visual map showing every connected screen as a numbered rectangle. This panel is your command center for arranging, scaling, and fine-tuning each monitor. Keep it open for the next several steps.
Step 7: Arrange Your Displays
In the Displays panel, drag each screen icon so it matches the physical layout on your desk. If your external monitor sits to the right of your MacBook, place its icon on the right side of the layout.
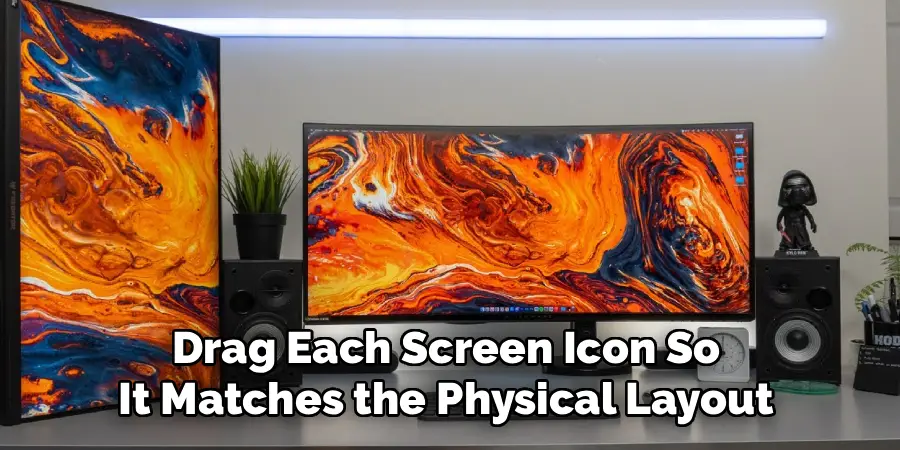
This matters more than it seems. When the arrangement matches reality, your cursor glides naturally from one screen to the next. Get it wrong, and you’ll find your mouse jumping to the “wrong” monitor every time.
Step 8: Set Your Primary Display
Your primary display is the one that shows the menu bar and where new windows open by default. To assign it, find the white bar at the top of one of the screen icons in the layout view.
Drag that white bar onto whichever monitor you want as your main screen. Most people choose their largest or most central display. This small adjustment keeps your most-used windows exactly where you expect them.
Step 9: Adjust Resolution and Refresh Rate
Click each display in the settings panel to fine-tune its picture quality individually. Choose Scaled to pick a resolution that fits the monitor’s size — larger text for readability, or more space for fitting extra windows.
If your monitor supports a higher refresh rate, set it here too. When possible, match refresh rates across all screens for a smoother, more consistent feel. Mixing a 60Hz and a 144Hz display without adjusting can make motion look uneven as you move between them.
Step 10: Fine-Tune Brightness and Related Settings
Finish by balancing the look across all your screens. In the Displays section, adjust brightness, Night Shift, and True Tone (if your hardware supports it) for each monitor separately.
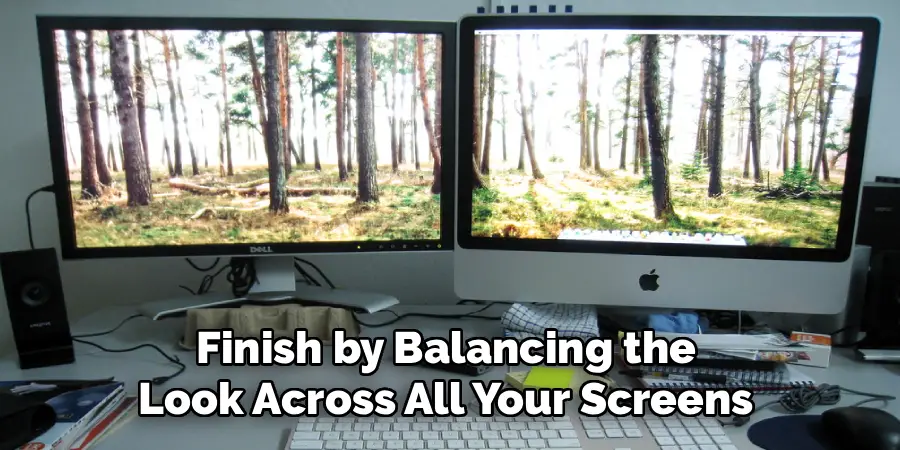
Aim for consistent brightness across every display. A screen that’s noticeably brighter or warmer than its neighbor causes eye strain during long sessions. Once everything matches, your setup feels seamless — and your eyes will thank you after a full workday.
5 Things You Should Avoid
- Using cheap, unbranded adapters. Low-quality adapters frequently drop signal, flicker, or fail to detect displays altogether. Spend a little more on a reliable brand.
- Ignoring your Mac’s display limit. Connecting more monitors than your Mac supports won’t work — and can cause system instability. Always verify the limit first.
- Skipping the arrangement step. If you don’t set up the display layout in System Settings, your cursor won’t move between screens logically, which gets frustrating fast.
- Using mismatched refresh rates. Mixing 60Hz and 144Hz displays without adjusting settings can create an inconsistent visual experience across screens.
- Overlooking cable length. Long, low-quality cables can degrade signal quality. For runs over six feet, use an active cable or a signal booster.
Frequently Asked Questions
- Can I Use a MacBook With Two External Monitors?
It depends on your chip. MacBook Air models with M1 and M2 support only one external display when the lid is open. With M3 and later, you can connect two external monitors, but only when the MacBook lid is closed for one of them. MacBook Pro models generally support more displays depending on the chip generation. Always check Apple’s official specs for your exact model. - Why Isn’t My Mac Detecting My External Monitor?
Start by checking all cable connections — a loose fit is often the culprit. If the connection looks fine, go to System Settings > Displays and click Detect Displays. Try a different cable or adapter if the issue persists. In some cases, restarting your Mac with the monitor already connected forces detection. If you’re using a dock or hub, make sure it’s powered and compatible with your Mac model. - Does Using Multiple Monitors Slow Down a Mac?
Driving multiple displays does increase GPU load, which can affect performance on lower-powered Macs. You may notice slightly reduced battery life on a MacBook or minor slowdowns in graphics-heavy tasks. For most everyday work — writing, browsing, or spreadsheets — the impact is minimal. If you’re running video editing software or 3D applications, a Mac with a dedicated GPU or a high-performance chip like M3 Pro or M3 Max handles multiple monitors much more comfortably.
Conclusion
How to set up multiple monitors Mac is straightforward once you know what your machine supports and have the right cables in hand. The steps above cover everything from checking compatibility to fine-tuning your display settings.
The biggest wins: more screen space, smoother workflows, and less time hunting for windows. Start with one extra monitor, get comfortable with the layout, and add more if your Mac supports it.
If you run into issues, the most common fixes are checking cable quality and verifying your Mac’s display limit — both easy to resolve before spending hours troubleshooting.
