

A disorganized office creates more problems than most people realize. Lost documents, wasted time, and missed deadlines are just a few of the consequences.

Whether you run a small business or manage a large team, having a clear, consistent filing system keeps everything running smoothly.
This guide on how to manage filing system in office walks you through everything you need to know — from choosing the right tools to training your staff. Follow these steps, and you will spend less time searching for files and more time getting real work done.
What Are the Benefits?
Getting your filing system right pays off quickly. Here is what you can expect:
- Faster access to information — Find what you need in seconds, not minutes.
- Reduced clutter — Physical and digital workspaces stay clean and manageable.
- Better compliance — Proper document retention helps you meet legal and regulatory requirements.
- Stronger collaboration — When files are organized consistently, your whole team can work from the same page.
- Lower risk of data loss — Structured systems make backups and recovery far easier.
- Time and cost savings — Less time hunting for files means more productive hours across the board.
What Will You Need?
Before you start, gather the following:
- Filing cabinets or shelving for physical documents
- Labeled folders and dividers (color-coded options work well)
- A computer with cloud storage or a document management system for digital files
- A shredder for secure disposal of outdated documents
- A labeling system or printer for consistent folder names
- A retention policy document outlining how long each file type should be kept
- Staff buy-in — your system only works if everyone follows it
10 Easy Steps on How to Manage Filing System in Office
Step 1: Audit Your Current Files
Before you build anything new, take stock of what you already have. Walk through every drawer, cabinet, and shared drive, and sort documents into three piles: keep, archive, and discard. Pay attention to duplicates, outdated versions, and files that no longer serve a purpose. This audit gives you an honest picture of your starting point and stops you from carrying old clutter into a fresh system. Set aside a few uninterrupted hours, or split the task across a week if your office holds years of records.

Step 2: Set Clear Categories
Once you know what you are working with, group your documents into broad, logical categories. Most offices do well with top-level groups like Finance, HR, Legal, Clients, Vendors, and Operations. Keep the list short — eight to ten categories is plenty for the average business. Think about how people actually search for files, not just how you imagine the structure should look. Clear categories form the backbone of everything else, so spend time getting them right before moving on.
Step 3: Create a Consistent Naming Convention
Inconsistent names cause more filing headaches than almost anything else. Decide on one format and apply it everywhere. A reliable structure is YYYY-MM-DD_DocumentType_ClientName, which keeps files in date order and tells you the contents at a glance. Avoid vague labels like “misc,” “final,” or “new.” Write your convention down in a short reference sheet so everyone follows the same rules. Apply the format to both physical folder labels and digital file names for true consistency.
Step 4: Organize Your Physical Storage
Now bring your categories to life in your cabinets and shelves. Arrange folders so the structure mirrors your category list, and use color-coded labels to separate departments or document types at a glance. Place frequently used files at eye level and tuck archived records into lower or harder-to-reach spots. Label every drawer and folder clearly, and leave a little breathing room so files are easy to add and remove. A tidy physical setup saves minutes every single day.

Step 5: Build a Matching Digital Structure
Your digital filing should mirror your physical one. Create a folder hierarchy on your shared drive or document management platform using the exact same category names and naming conventions. When the two systems match, staff can find a document whether they are at a filing cabinet or working from home. Avoid burying files under too many subfolders — three layers deep is usually the practical limit. Consistency between physical and digital storage removes guesswork for everyone.
Step 6: Set Up Access Controls
Not everyone needs to see every file. Decide who can view, edit, and share each type of document, then apply those permissions in your system. Sensitive records — payroll, contracts, personnel files — should sit behind tighter access. This protects confidential information and reduces the risk of accidental edits or deletions. Review permissions whenever someone joins, changes roles, or leaves, so access always matches responsibility.
Step 7: Create a Document Retention Policy
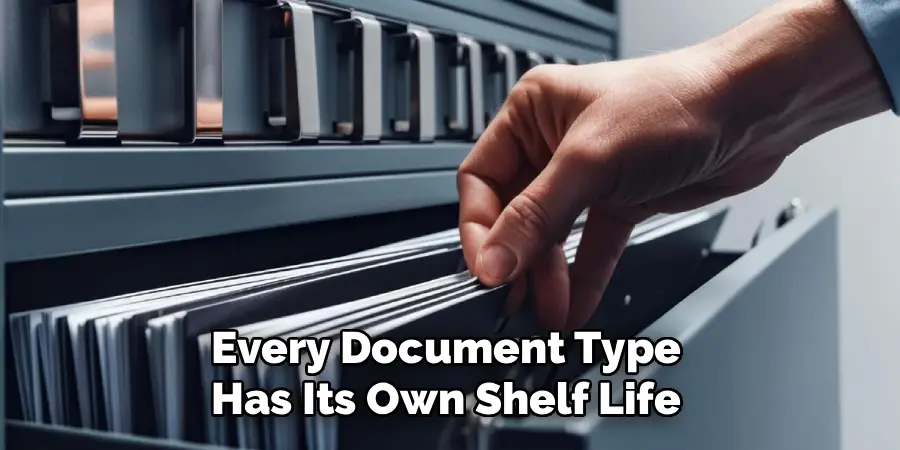
Every document type has its own shelf life, and some are governed by legal requirements. Write a retention schedule that lists how long you must keep tax records, HR files, contracts, and other key documents — and when each should be destroyed. A clear policy stops you from hoarding files you no longer need and protects you from disposing of something too early. Review the schedule once a year to keep it aligned with current regulations.
Step 8: Schedule Regular Maintenance
A filing system only stays useful if you maintain it. Set a recurring reminder — monthly for a light tidy, quarterly for a deeper clean — to archive completed work, shred expired records, and remove duplicates. Assign a specific person or small team to own the task so it never slips through the cracks. Treat maintenance as routine housekeeping rather than a once-a-year scramble, and your system will stay reliable for the long haul.
Step 9: Digitize Where It Makes Sense
Paper is harder to search, share, and back up than digital files. Scan documents wherever it is practical, and save them using your standard naming convention so they slot neatly into your digital structure. Keep paper originals only when the law requires them, and store those securely. Cloud-based storage adds automatic backups and lets your team access files from anywhere. Digitizing steadily, a batch at a time, keeps the project manageable.
Step 10: Train Your Staff
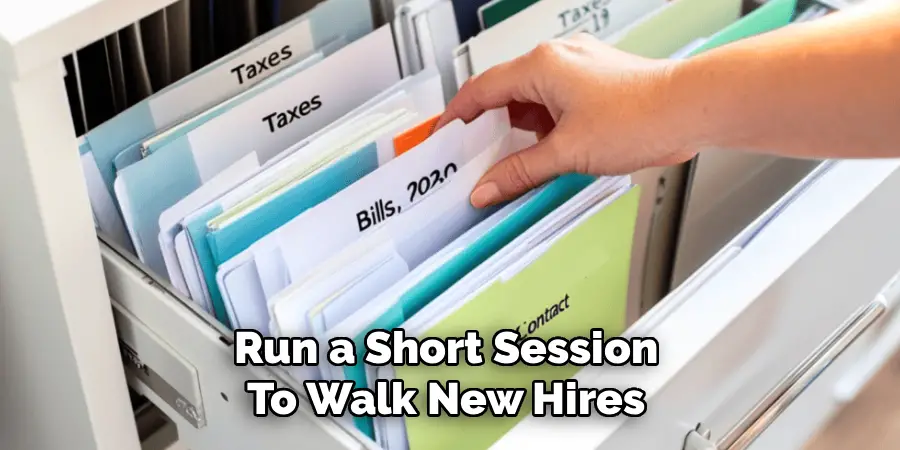
Your system is only as strong as the people who use it. Run a short session to walk new hires through the structure, and offer refreshers whenever the system changes. Create a one-page guide that covers your categories, naming format, access rules, and retention schedule. Make it easy to do the right thing, and most people will follow the system without a second thought. When everyone understands the why behind the structure, the whole office stays organized.
5 Things You Should Avoid
- Creating too many subcategories. Overcomplicating your folder structure makes it harder to find files, not easier. Keep it simple and logical.
- Using vague file names. Names like “Document1” or “Final_v3” are useless to anyone else. Always use descriptive, date-stamped names.
- Skipping the retention schedule. Holding onto documents longer than required wastes space and creates legal liability. Delete or shred on schedule.
- Letting one person control everything. If only one employee knows how the system works, you have a serious vulnerability. Document your process and cross-train staff.
- Ignoring digital security. Storing sensitive files without proper access controls or encryption puts your business at risk. Treat digital files with the same care as physical ones.
Frequently Asked Questions
- How Often Should I Clean Out My Filing System?
A light review every month keeps things manageable, but a thorough clean-out should happen at least once a quarter. During this session, archive completed projects, shred outdated physical records, and delete duplicate digital files. Building this into your team’s regular workflow prevents the system from becoming overwhelming over time. - What is the Best Way to Organize Client Files?
Create a dedicated top-level folder or drawer for client files and organize them alphabetically by client name or by account number. Within each client folder, use consistent subfolders such as Contracts, Correspondence, Invoices, and Reports. This structure makes it easy for any team member to locate client information quickly without needing to ask around. - Do I Need a Document Management System, or Will a Shared Drive Work?
A shared drive like Google Drive or SharePoint works well for small to mid-sized teams if everyone follows the same naming and folder conventions. As your business grows or your compliance needs become more complex, a dedicated document management system offers better version control, audit trails, and permission settings. Start with what fits your current scale and upgrade when the need arises.
Conclusion
Managing an office filing system does not have to be complicated. With a clear structure, consistent naming conventions, and regular maintenance, you can create an organized environment where information is always easy to find.
The key is to start with a solid plan, get your team on board, and keep the system updated over time. A well-run filing system is one of the simplest ways to boost productivity and reduce daily stress for everyone in the office.
Hopefully, this guide on how to manage filing system in office has provided you with useful tips and guidelines for setting up and managing your office filing system. So start decluttering those file cabinets, labeling those folders, and creating a productive work environment today!
