
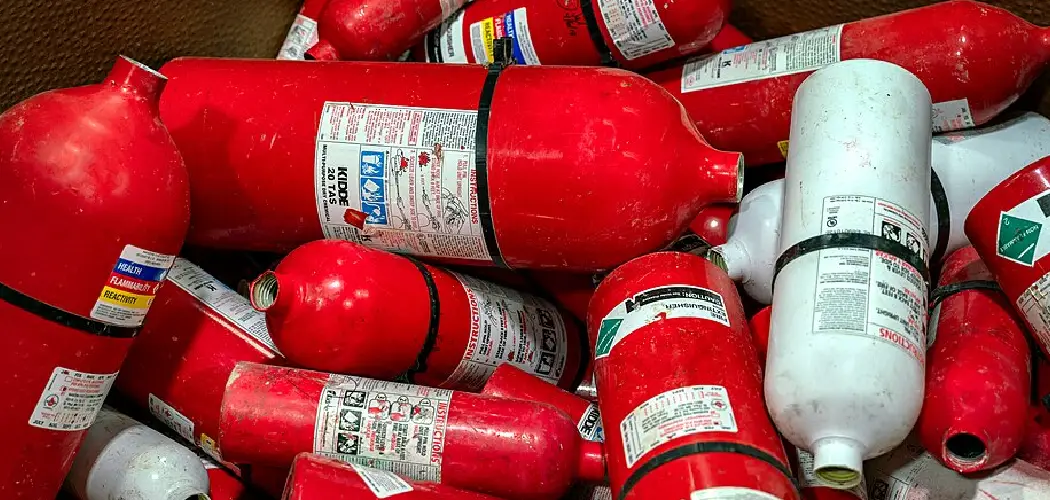
Fire extinguishers are silent guardians — always there, rarely noticed, until the moment you need one most. The problem is that a discharged or low-pressure extinguisher offers zero protection, even though it looks identical to a fully charged one. Rather than tossing it out and buying a replacement every time, you can restore it to full working condition at a fraction of the cost.
Understanding how to refill fire extinguisher units correctly is a practical skill that saves money, reduces waste, and keeps your home or workplace genuinely protected. This guide breaks down the entire process in plain, beginner-friendly language. Whether you plan to do it yourself or hand it off to a certified technician, walking through these steps will give you the knowledge to make confident, informed decisions about your fire safety equipment.
Why Refilling A Fire Extinguisher Matters
An extinguisher that’s been even partially discharged can fail completely in an emergency. The pressure inside drops, the agent may have shifted or clumped, and the unit simply won’t perform to its rated capacity. That’s a dangerous situation, especially when every second counts.
Beyond the immediate safety risk, regular refilling is also the smarter financial choice. A well-built extinguisher can last 10 to 25 years with proper maintenance. Replacing it every time it’s used wastes both money and materials unnecessarily. Many fire safety codes — both residential and commercial — also legally require that extinguishers be serviced and recharged after any use, regardless of the discharge amount. Staying on top of refills means you’re complying with regulations, protecting the people around you, and getting full value from equipment you’ve already invested in.
Step-By-Step Guide To Refilling A Fire Extinguisher
Step 1: Identify Your Extinguisher Type
The very first thing you need to do before touching anything else is identify exactly what kind of extinguisher you have. Common types include dry chemical (ABC or BC rated), CO2, water, wet chemical, and clean agent. Each one uses a different extinguishing agent and requires a different refilling approach entirely. The type is printed clearly on the label, usually alongside the operating instructions and the UL rating.
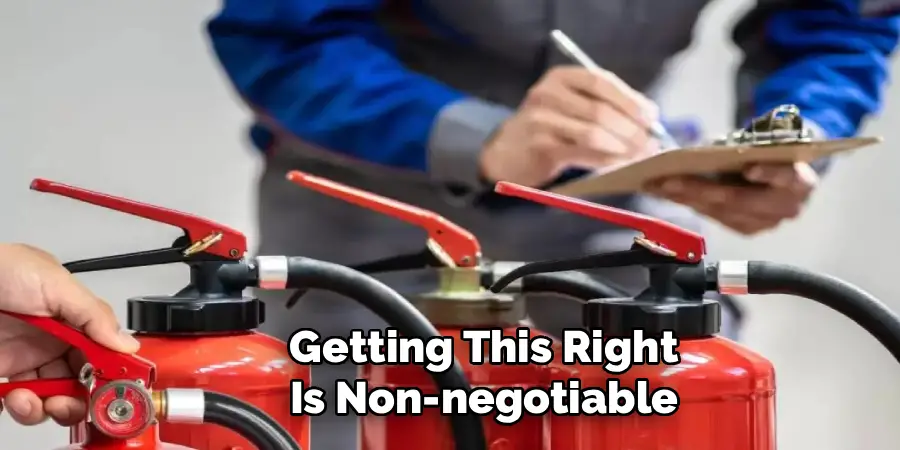
Getting this right is non-negotiable. Using the wrong agent — or attempting the wrong refilling method — can make the extinguisher ineffective or outright dangerous. If the label is worn or damaged, locate the model number stamped onto the cylinder and contact the manufacturer directly for specifications. This step takes only a minute, but it determines every decision you make from this point forward.
Step 2: Inspect The Cylinder For Damage
Before you proceed with any refilling work, examine the cylinder thoroughly from top to bottom. Look for dents, cracks, deep scratches, rust spots, pitting, or any visible corrosion — especially around the valve threads and the base, which are the areas most prone to stress and wear. Even a small area of corrosion can compromise the cylinder’s structural integrity once it’s under pressure again.
If you find any damage at all, stop and take the unit to a certified fire equipment service provider for a professional evaluation. External appearances can be deceiving — a cylinder that looks fine may have internal issues that only a hydrostatic pressure test can reveal. Most extinguisher types require this test every five to twelve years, depending on the classification. Never attempt to refill a cylinder that hasn’t passed its current inspection cycle, as doing so puts both you and others at serious risk.
Step 3: Release Residual Pressure And Disassemble
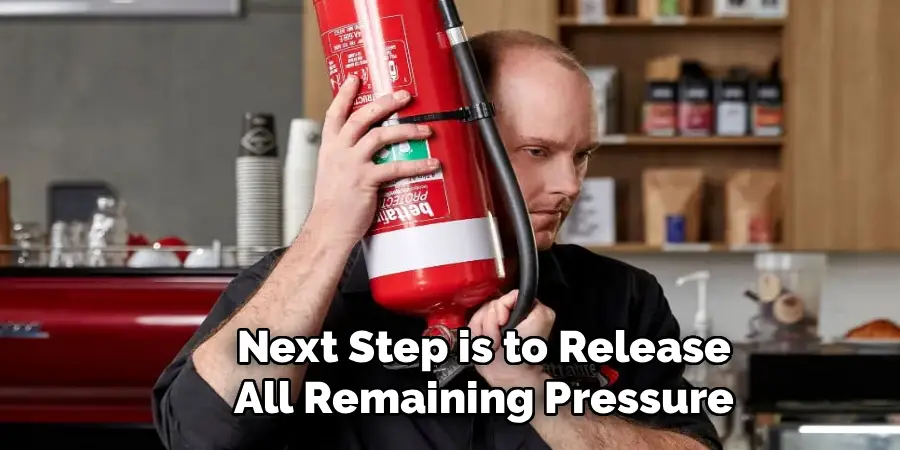
With the cylinder confirmed as safe to work on, your next step is to release all remaining pressure before you open it. Squeeze the trigger firmly to discharge any residual compressed gas inside. Even if the pressure gauge appears to read zero, there can still be gas trapped within the valve assembly — releasing it fully is a critical safety measure that prevents the valve from ejecting forcefully when you unscrew it.
Once you’re confident all pressure is gone, use the appropriate wrench to remove the valve by turning it counterclockwise. Keep the cylinder upright and work at a steady, controlled pace. After removing the valve, tip the cylinder gently to empty any remaining agent into a clean, clearly labeled container. Most dry chemical agents can be reused if stored properly, so take care not to contaminate or waste what’s left. Keep all parts organized in a tray so reassembly is straightforward.
Step 4: Clean The Interior And Replace Worn Seals
Now that the cylinder is open and empty, take time to clean the inside properly before adding any fresh agent. Use a clean, dry cloth or low-pressure compressed air to clear out any residual powder, moisture, or debris from the interior walls. Dry chemical agents are particularly prone to caking over time, especially in environments with humidity or temperature fluctuations. Any leftover compacted material will restrict flow when the extinguisher is actually deployed.
While you have the unit open, inspect the valve assembly, siphon tube, and all internal o-rings, gaskets, and seals. These components degrade over time, and a worn seal is one of the most common causes of pressure loss in a recharged extinguisher. Replace anything that shows signs of cracking, flattening, or deterioration — replacement seal kits are inexpensive and widely available for most common models. A few minutes spent on this now adds years to the extinguisher’s service life.
Step 5: Add The Correct Extinguishing Agent
This is the heart of the process, and precision matters here. Add only the specific agent type and exact quantity listed on the manufacturer’s label — never substitute a different brand or formulation unless it has been explicitly approved for your specific model. Start by weighing the empty cylinder to establish a baseline, then add the agent gradually while checking the weight against the manufacturer’s fill specifications as you go.
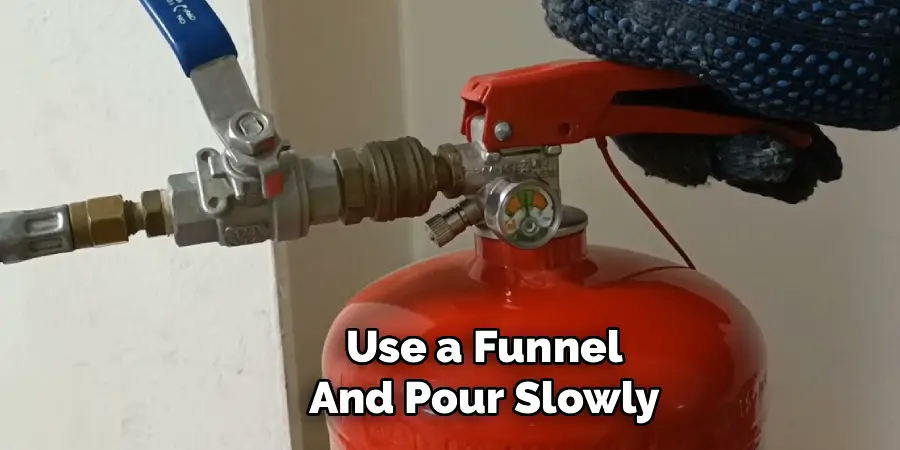
For dry chemical units, use a funnel and pour slowly to minimize airborne dust. For CO2 extinguishers, liquid CO2 must be transferred using specialized pressurized filling equipment that requires proper training to operate — this is why most people choose professional service for CO2 units.
Step 6: Reassemble The Valve And Pressurize
With the correct agent loaded, reassemble the valve by hand-threading it back into the cylinder first, then tightening firmly with a wrench. Be careful not to overtighten — doing so can strip the threads or crack the valve seat, creating a leak point that defeats everything you’ve just done. Before fully seating the valve, confirm the siphon tube is correctly positioned inside the cylinder so it draws from the bottom as designed.
Connect a charging hose to the valve’s charging port and use the appropriate pressurizing gas — typically dry nitrogen, unless the manufacturer specifies otherwise. Bring the cylinder up to the rated pressure shown on the label, watching the gauge closely the entire time. Stop exactly at the specified value.
Frequently Asked Questions
Can I Refill A Fire Extinguisher Myself At Home?
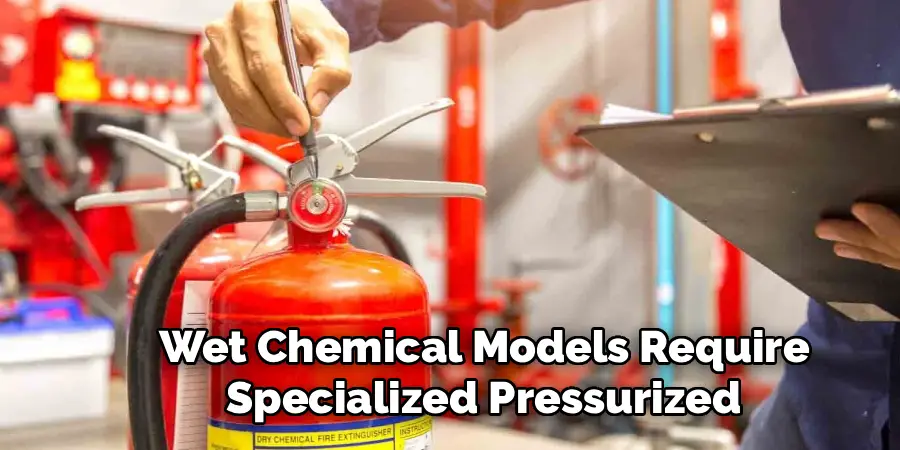
It depends on the type. Dry chemical extinguishers can often be refilled at home if you have the correct agent, a nitrogen charging kit, and the right tools. CO2 and wet chemical models require specialized pressurized equipment and professional training to handle safely. For most homeowners, working with a certified fire equipment service provider is the more reliable option that guarantees the job is done to code and the unit performs correctly.
How Much Does Professional Fire Extinguisher Refilling Cost?
Professional refilling typically costs between $15 and $75, depending on the extinguisher type, size, and local service rates. Dry chemical units tend to fall on the lower end of that range. In most cases, refilling is significantly cheaper than purchasing a new extinguisher of equivalent quality and capacity, particularly for larger commercial-grade units that represent a substantial original investment worth protecting.
How Often Should A Fire Extinguisher Be Refilled Or Serviced?
An extinguisher should be refilled immediately after any use, even if only a small discharge occurred. Beyond that, annual professional inspections are strongly recommended to verify pressure, agent condition, and overall integrity. Hydrostatic pressure testing is required on a separate schedule — every five to twelve years depending on the extinguisher classification. Commercial and industrial settings are typically subject to stricter inspection timelines under local fire safety regulations.
What Happens If You Use The Wrong Refill Agent?
Using the wrong agent can make the extinguisher completely ineffective and potentially dangerous. Different agent formulations can react with each other inside the cylinder, causing caking or chemical degradation that blocks discharge. An extinguisher filled with the wrong agent may also fail to suppress the fire class it was rated for, turning what looks like a safety tool into a false source of confidence during an actual emergency.
When Should You Replace A Fire Extinguisher Instead Of Refilling It?
If the cylinder fails a hydrostatic pressure test, shows significant corrosion or structural damage, or has exceeded its recommended service life — typically around 12 years for most types — replacement is the safer decision. If the unit is in good structural condition and passes inspection, refilling is almost always the better financial and environmental choice. A certified technician can assess your specific extinguisher and give you an honest recommendation based on its actual condition.
Conclusion
A well-maintained fire extinguisher is one of the simplest and most effective investments you can make in everyday safety. The process of restoring one to full working condition involves more than just adding agent — it requires careful inspection, cleaning, precise filling, proper pressurization, and a final check before the unit goes back on the wall.
Each step plays a role in ensuring the extinguisher actually performs when you need it. Whether you handle it yourself or work with a professional, learning how to refill fire extinguisher units gives you real control over your fire preparedness. Don’t wait for an emergency to find out your extinguisher isn’t up to the job — check the gauge today, schedule a service if it’s overdue, and make sure every extinguisher in your home or workplace is genuinely ready to protect you.
