
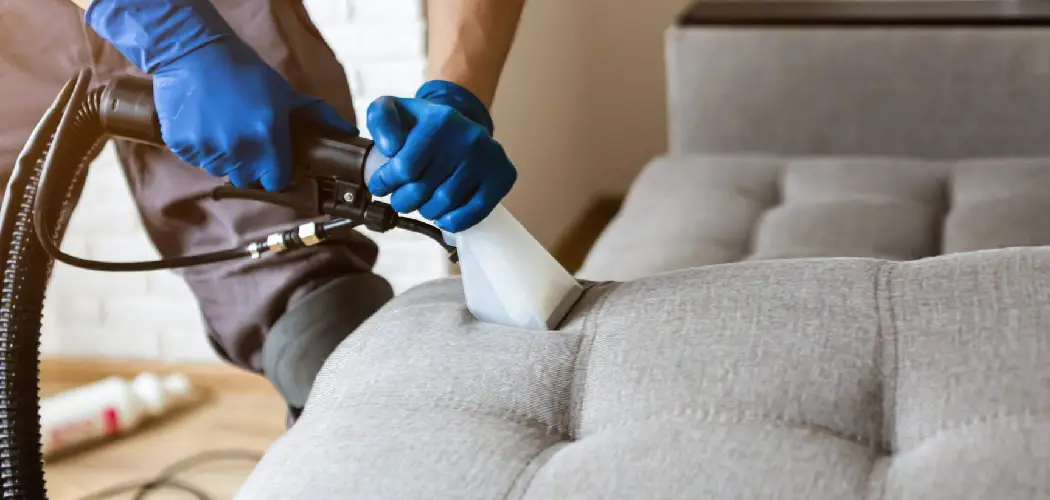
An armchair gets used every single day — movie nights, reading sessions, afternoon naps — and all that use adds up. Dust, body oils, food crumbs, and pet hair work their way into the fabric over time, leaving your chair looking dull and smelling less than fresh. The good news is you don’t need to hire a professional or buy expensive equipment to restore it.
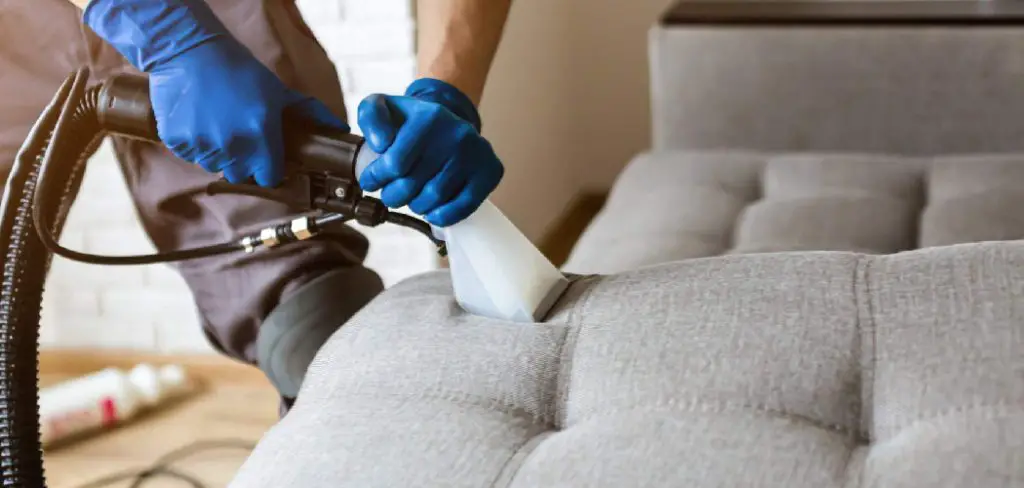
Knowing how to clean armchair upholstery correctly makes a real difference. Done right, a proper clean extends the life of the fabric, removes allergens trapped in the fibers, and makes your living space feel noticeably cleaner. Done wrong, it can shrink the fabric, leave watermarks, or permanently damage the material.
Why Cleaning An Armchair Matters
A clean armchair isn’t just about looks. Upholstered furniture traps allergens like dust mites, pet dander, and pollen deep within its fibers. Over time, these build up and can trigger allergies or worsen respiratory issues, especially in closed rooms during winter months.
Regular cleaning also protects your investment. Dirt and grime act like sandpaper on fabric fibers — they break down the material gradually with every use. Keeping the chair clean slows that wear and keeps colors looking vibrant longer.
There’s a comfort benefit too. A fresh, clean chair simply feels better to sit in. Odors from sweat, food, and pets accumulate invisibly but affect how your space feels every day. A routine clean — even a quick vacuum and wipe-down every few weeks — prevents buildup from becoming a stubborn problem that requires deep cleaning to fix.
Step-By-Step Guide To How To Clean Armchair
Step 1: Read The Care Label Before You Do Anything
Every upholstered chair has a care label, usually tucked under the seat cushion or on the underside of the frame. These labels use a standard code system: “W” means water-based cleaners are safe, “S” means solvent-only cleaners should be used, “WS” means either works, and “X” means vacuuming only — no liquid at all. Finding and reading this label first prevents you from accidentally damaging the fabric with the wrong product.
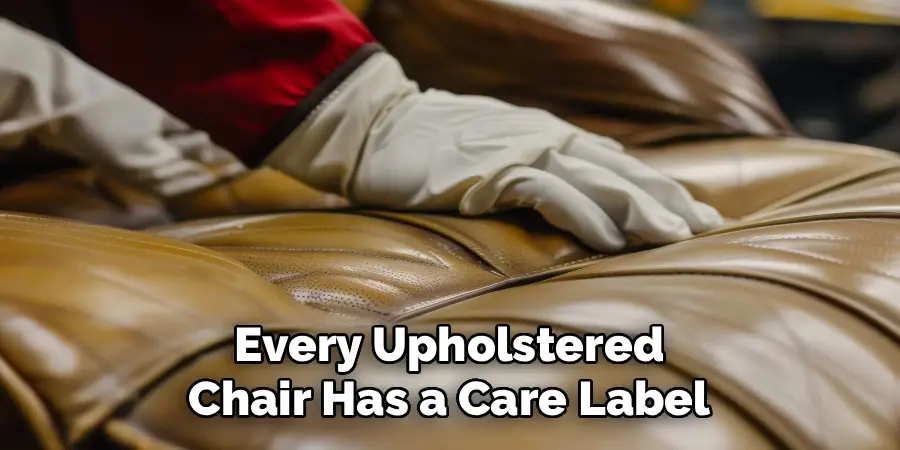
If the label is missing or the code has worn off, treat the chair as if it’s “S” code until you can confirm otherwise. Using water on a solvent-only fabric can cause permanent shrinkage or watermarks that are difficult to reverse. This one minute of checking saves you from a costly mistake.
Step 2: Vacuum The Entire Chair Thoroughly
Attach the upholstery brush to your vacuum and go over the entire chair — seat, backrest, armrests, and the sides of any removable cushions. Use the crevice tool along the seams, between cushions, and around the base where crumbs and hair collect. This step removes loose debris before any moisture touches the fabric, which prevents dirt from turning into muddy smears when you start cleaning.
Pay extra attention to tufts, pleats, and button details, as these tend to trap more debris than flat surfaces. If you’re dealing with pet hair that the vacuum isn’t picking up well, a rubber glove or lint roller run across the surface first will help collect it into clumps that are easier to remove. Skipping this step is one of the most common reasons a cleaned chair still looks dingy after drying.
Step 3: Spot Test Your Cleaning Solution
Before applying any cleaner to the main surface, test it on a hidden area — the back of the chair near the floor or underneath a cushion flap works well. Apply a small amount, blot it with a white cloth, and wait five minutes. Check for color transfer onto the cloth, fabric discoloration, or any change in texture. This test applies whether you’re using a commercial upholstery cleaner, a DIY solution, or even plain water.

Different fabrics react differently to the same product. A mild dish soap solution that works perfectly on synthetic upholstery can cause microfiber to stiffen or leave rings on velvet. If the test area looks unchanged after drying, you’re safe to proceed. If there’s any change, try a different solution or consult a professional cleaner.
Step 4: Choose The Right Cleaning Solution For Your Material
Fabric and synthetic upholstery respond well to a mixture of warm water and a small amount of dish soap or upholstery shampoo. Microfiber chairs often clean best with rubbing alcohol applied with a white sponge, which cleans without leaving watermarks. Leather armchairs need a dedicated leather cleaner — saddle soap or a pH-neutral leather cream — followed by a conditioner to prevent drying and cracking.
Avoid bleach, ammonia-based cleaners, or anything too alkaline on any upholstery type. These strip color and weaken fibers quickly, even in diluted form. For natural fabric like cotton or linen, err on the side of using less liquid rather than more. Over-wetting fabric causes the padding underneath to retain moisture, which leads to mildew and unpleasant odors that are much harder to eliminate than the original stain.
Step 5: Clean The Cushions, Arms, And Main Body
Working in sections keeps the process manageable and ensures no area dries before you’ve blotted it properly. Start with the seat cushion, then move to the backrest, and finish with the armrests. Dampen a clean white cloth or sponge with your chosen solution — never pour liquid directly onto the chair — and work in small circular motions, applying light pressure.
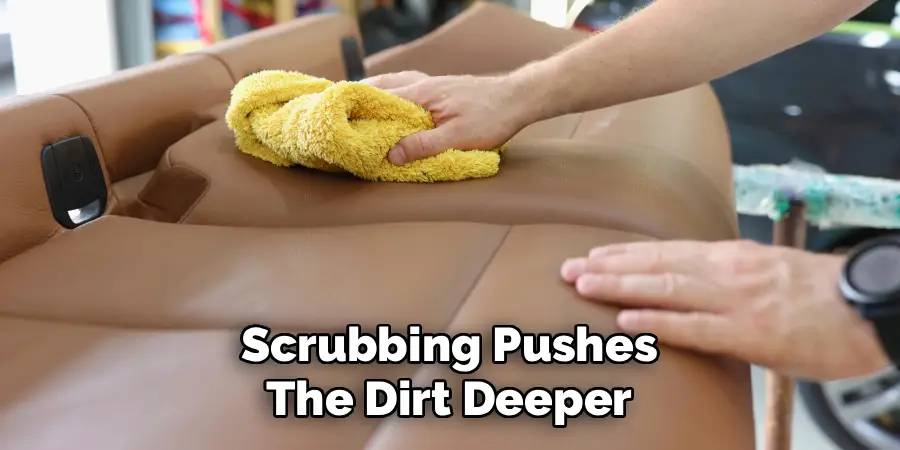
Blot rather than scrub. Scrubbing pushes the dirt deeper into the fibers and can cause pilling on woven fabrics. For stubborn stains, let the cleaning solution sit for two or three minutes before blotting. The arms of a chair typically need extra attention since they collect the most body oil and direct contact grime. Using how to clean armchair guides specifically aimed at your fabric type can help you adapt these steps to particularly tricky stains or older chairs with delicate upholstery.
Step 6: Rinse And Dry The Chair Properly
After cleaning, lightly dampen a fresh cloth with plain water and go over the cleaned areas to remove any soap residue. Leftover detergent in the fabric attracts new dirt faster than untreated fabric does. Blot dry with a clean towel, pressing firmly to absorb as much moisture as possible. Don’t rub — just firm, steady pressure.
Open a window or turn on a fan to speed up drying. Avoid using a hairdryer on high heat, as this can shrink or distort some fabrics. Never sit on the chair until it’s fully dry, which typically takes two to four hours depending on how much moisture was used and the room’s ventilation. Leather should be dried away from direct sunlight to prevent cracking during the drying process.
Frequently Asked Questions
How Often Should I Clean My Armchair?
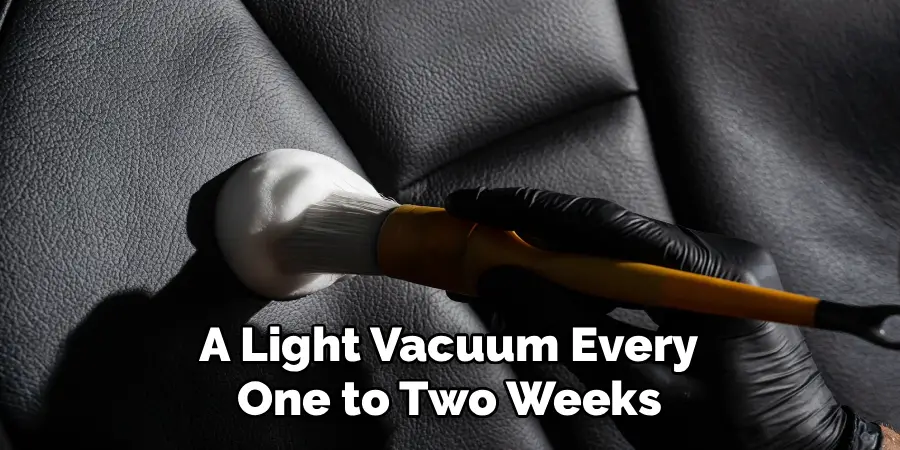
A light vacuum every one to two weeks keeps surface debris from building up. A deeper clean — with a cleaning solution and thorough drying — is generally recommended every three to six months for chairs in regular daily use. If you have pets or young children, you may need to deep clean every two months. Spot cleaning spills immediately as they happen will significantly reduce how often you need to do a full clean.
Can I Use A Steam Cleaner On My Armchair?
Steam cleaning works well on many fabric and synthetic upholstery types and is particularly effective at killing dust mites without chemicals. However, it should never be used on leather, suede, or “S”-coded fabrics, as the heat and moisture will cause damage. Always check your care label first. If the label indicates “W” or “WS,” a handheld steam cleaner used in short passes with time to dry between sections is a solid option.
What Should I Do If My Armchair Has A Stubborn Stain?
For most stubborn stains, apply a small amount of your cleaning solution directly to the stain, let it sit for three to five minutes, then blot gently with a clean white cloth working from the outside of the stain inward. Repeat this two or three times rather than scrubbing aggressively. If the stain doesn’t lift after several attempts, a dedicated enzyme-based stain remover may help break down organic stains like food, pet accidents, or sweat more effectively than soap.
Is It Safe To Clean A Leather Armchair With Water?
A small amount of water is fine for wiping surface dirt from genuine leather, but you should never soak it. Use a damp cloth rather than a wet one, work quickly, and dry the leather immediately afterward with a clean towel. Saddle soap or a dedicated leather cleaner is a safer and more effective option for regular maintenance. Always follow up any leather cleaning with a conditioner, as water alone strips natural oils and can lead to cracking over time.
Why Does My Fabric Armchair Look Worse After Cleaning?
This usually comes down to two things: over-wetting or using too much soap. When fabric gets too wet, the moisture carries dirt from deeper layers upward as it dries, leaving a faint ring or tide mark on the surface. Using too much detergent leaves a residue that attracts new dirt almost immediately. To fix this, do a light rinse pass with plain water on a damp cloth, blot thoroughly, and allow it to dry with good airflow to help the moisture escape evenly.
Conclusion
Keeping your armchair clean doesn’t require expensive tools or professional help. The process comes down to a few consistent steps: check the care label, vacuum before adding any moisture, test your cleaning solution first, work in sections, and always let the chair dry fully before using it again. Small deodorizing touches and a fabric protector afterward keep it looking and smelling fresh for longer.
The most common mistakes — over-wetting, skipping the spot test, and using the wrong cleaner for the material — are all easy to avoid once you know what to watch for. Whether you’re tackling a lightly dusty chair or a long-neglected piece with set-in stains, the right approach to how to clean armchair upholstery makes the whole job straightforward. Start with Step 1 today, and your chair will look noticeably better by the time you’re done.
