
Adding a second monitor to your workspace is one of the fastest ways to boost productivity. You get more screen real estate, fewer app switches, and a smoother workflow — whether you’re writing, coding, editing, or just managing a busy inbox. But the physical placement of those screens matters just as much as having them in the first place.
Knowing how to position dual monitors correctly means the difference between a setup that feels natural and one that leaves you with a stiff neck, tired eyes, or constant discomfort by midday. Poor placement is one of the most common and most overlooked causes of neck strain and eye fatigue in home offices.
This guide covers everything: height, angle, distance, which screen should be your primary, and how to avoid the layout mistakes most people make the first time around. It’s written for anyone setting up a dual monitor workspace for the first time, as well as those who’ve had two screens for a while but never quite got the positioning right. Let’s get it sorted.
Why Proper Dual Monitor Positioning Matters
Most people focus on which monitors to buy and forget that placement drives the actual experience. A poorly positioned screen forces your neck to twist, your eyes to strain, and your posture to compensate — all of which add up to real discomfort over a long work session.
Good monitor placement reduces musculoskeletal fatigue, keeps your spine neutral, and lets you work longer without the tension headaches that come from craning your neck left or right repeatedly. It also improves focus. When your screens are positioned well, your attention moves naturally between tasks instead of feeling interrupted by an awkward glance at an off-angle display.
Step-By-Step Guide To How To Position Dual Monitors
Step 1: Identify Your Primary And Secondary Monitor
Before you move anything physically, decide which screen will serve as your main workspace. Your primary monitor should be the one you look at most — the one where your main application, document, or workflow lives. Your secondary screen handles supporting content like reference material, communication apps, or a media player running in the background.
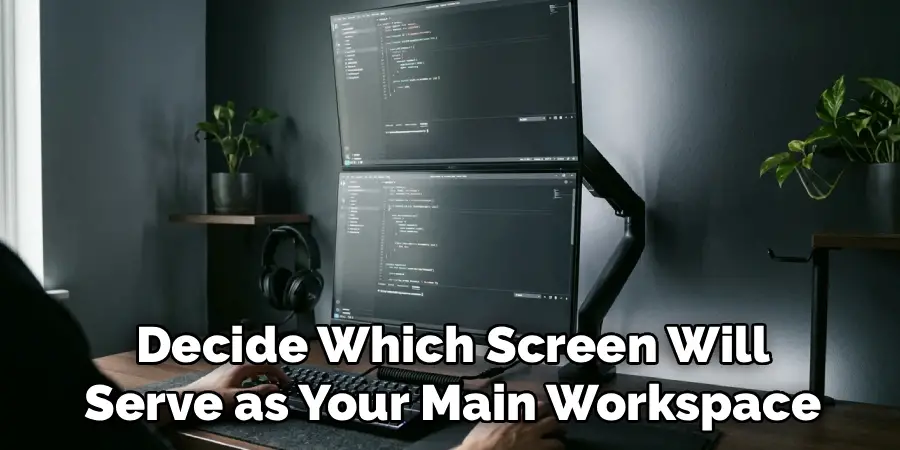
Matching your primary monitor to your dominant eye and natural gaze direction reduces how much you move your head throughout the day. Most people naturally center their primary display directly in front of them, which is a good instinct and the right starting point for everything that follows.
Step 2: Place The Primary Monitor Directly In Front Of You
Set your primary screen so it sits centered with your body, directly in front of your nose and torso. This is non-negotiable for comfort. If your chair and desk are aligned, the monitor should be too. The center of the screen should sit roughly at or just below eye level — your eyes naturally rest at a slight downward angle, so positioning the screen a few centimeters below your eye line is ideal and reduces upper neck tension.
Make sure the monitor isn’t pushed too far back on the desk. A good starting distance is arm’s length — roughly 50 to 70 centimeters from your eyes. If you have to squint or lean forward, move the screen closer. If you feel like you’re scanning across the screen rather than taking it in at once, move it back slightly.
Step 3: Position The Secondary Monitor At A Consistent Height
Once your primary screen is placed, bring in the secondary monitor and match its height as closely as possible. Mismatched heights are one of the biggest causes of neck strain in dual screen setups. When one screen sits two or three centimeters higher than the other, your neck subtly tilts every time you switch between them — hundreds of times a day.
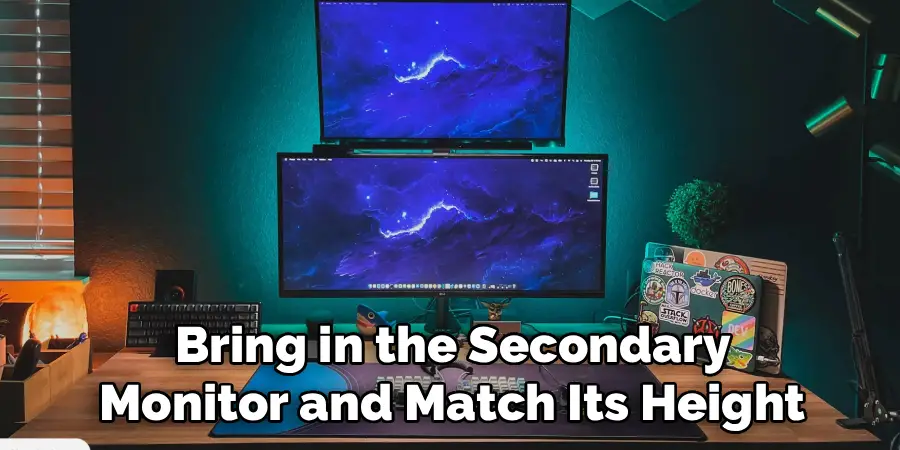
Use a monitor arm, a riser, or even a book under the stand to level things out. The goal is for your eyes to travel horizontally between screens without any vertical head movement. If the monitors are different sizes, use the center of the display area — not the physical frame — as your reference point for matching heights.
Step 4: Set The Angle Between Your Two Screens
The angle at which you place your secondary monitor relative to your primary one matters more than most people realize. For a side-by-side layout, the secondary screen should be angled slightly inward — typically between 15 and 30 degrees — so that when you turn your head to look at it, the screen faces you directly rather than presenting itself at a flat, unresponsive angle.
Think of it like a gentle arc rather than a straight line. Both screens should face the same focal point: your head. If you’re using the secondary screen only occasionally, a slightly wider angle is fine. If you switch between screens constantly throughout the day, bring the angle in closer to 15 degrees to minimize how far your neck rotates with each transition.
Step 5: Check Your Viewing Distance For Both Screens
Distance affects both comfort and clarity. Sit in your normal working position and extend your arm toward each screen. Your fingertips should just barely reach the panel. If your arm is fully extended and you still can’t touch it, the monitor is too far away. If your elbow is still bent, it’s probably too close.
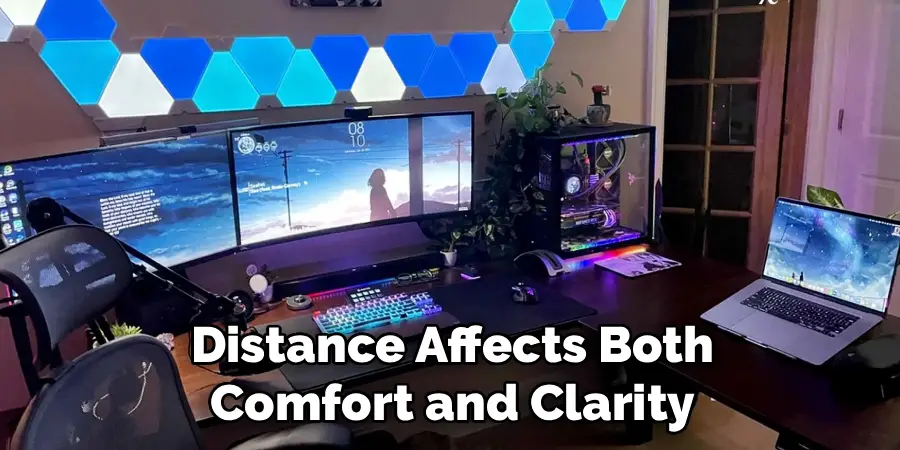
Apply this check to both monitors. The secondary screen is often pushed further back to make room on the desk, which then forces you to squint or lean toward it when you need to read something. Keeping both displays at a consistent distance from your eyes ensures that your focus doesn’t have to dramatically adjust every time you glance between them.
Step 6: Adjust Tilt And Reduce Glare
Once your monitors are positioned horizontally and vertically, fine-tune the tilt. Most monitor stands allow you to tilt the screen backward or forward by 5 to 15 degrees. Tilt each screen very slightly backward — just enough that the top of the panel is fractionally further from you than the bottom. This follows the natural downward angle of your gaze and reduces neck extension.
Also check for glare on both screens. Windows, overhead lights, and desk lamps can all create reflections that strain your eyes. Reposition a screen slightly if a light source is hitting it directly, or consider an anti-glare screen protector. Glare is easy to overlook during setup but becomes exhausting over a full workday.
Step 7: Configure Your Display Settings To Match The Layout
Physical placement alone isn’t enough — your operating system needs to know how your screens are arranged. In Windows, right-click the desktop, select Display settings, and drag the monitor icons to match their real-world positions. On macOS, open System Settings, go to Displays, then Arrangement, and drag the thumbnails to reflect your actual setup.
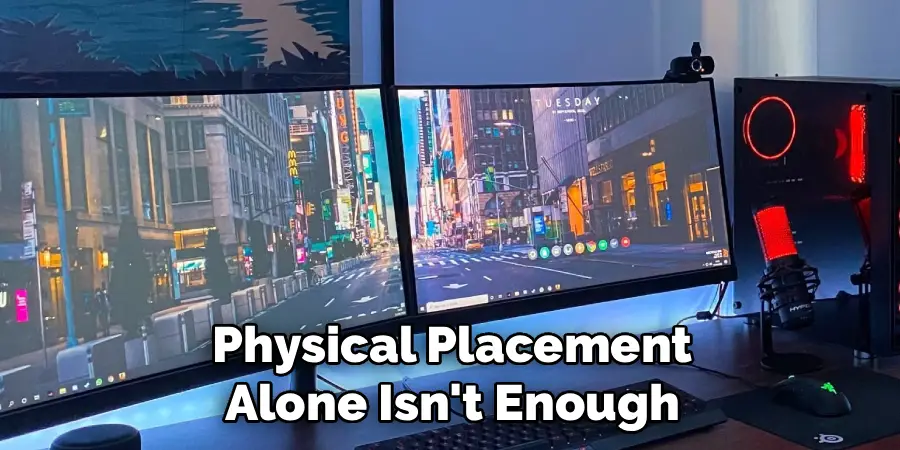
Getting this right means your cursor moves naturally between screens without jumping or appearing on the wrong side. If you’ve taken the time to properly figure out how to position dual monitors in real life, matching those positions in software takes less than two minutes and makes the whole experience feel seamless and intuitive from day one.
Frequently Asked Questions
Should Both Monitors Be The Same Size?
They don’t have to be, but matching sizes makes the setup easier to configure and more comfortable to use. When monitors differ significantly in size, matching their heights becomes harder and the visual jump between them can feel jarring. If you’re starting fresh, two identical monitors give you the most consistent experience. If you’re adding a second screen to an existing one, try to find a model that’s close in size and resolution.
Is It Better To Place The Second Monitor To The Left Or Right?
Place the secondary screen on the side that matches how you naturally turn your head, or on the same side as your dominant hand if you’re unsure. Most right-handed people find it more comfortable to have their secondary screen on the right. The more important rule is to put your most-used applications on the primary screen so that the secondary display only draws your attention occasionally, reducing neck rotation overall.
Can A Dual Monitor Setup Cause Neck Pain?
Yes, a poorly arranged setup absolutely can. The most common cause is placing the two screens too far apart, forcing wide head turns, or leaving one screen higher than the other so your neck tilts constantly. Keeping the screens close together at the same height and angling them slightly inward eliminates most of the ergonomic risk. Taking short breaks every hour also helps, regardless of how well your monitors are positioned.
Do I Need A Monitor Arm For A Dual Screen Setup?
A monitor arm isn’t required, but it makes a real difference. Arms give you precise control over height, depth, angle, and tilt — all things that standard stands handle poorly. They also free up desk space by lifting the monitors off the surface entirely. If your desk is shallow or you’re struggling to match the heights of two monitors on their original stands, a dual monitor arm is one of the most worthwhile investments you can make for your workspace.
What’s The Best Layout If I Use Both Screens Equally?
If you split your attention evenly between two screens, consider a centered split layout where both monitors meet in the middle directly in front of you, with the seam running down your centerline. This means neither screen is squarely centered on your body, but both are close to equal in terms of neck rotation. Some people find this awkward at first, but it’s the most ergonomically balanced layout when both displays carry equal workload throughout the day.
Conclusion
Getting your workspace right doesn’t require expensive equipment or a complete desk overhaul. It comes down to a handful of deliberate decisions: which screen is your primary, where each monitor sits in height and distance, how they’re angled toward you, and whether your software matches your physical layout.
The most common mistakes — screens at different heights, secondary monitors pushed too far back, and flat side-by-side placement with no inward angle — are all easy to fix once you know what to look for. Understanding how to position dual monitors properly is one of those small investments of time that pays back every single day in comfort, focus, and fewer aches at the end of a long session.
