
Fabric chairs, from dining room sets to cozy armchairs, are central to our daily lives. They inevitably collect dust, crumbs, and the occasional spill, gradually looking less vibrant than when they were new. The thought of cleaning upholstery can seem daunting, with fears of watermarks, discoloration, or causing permanent damage. However, with the right approach and a little bit of knowledge, you can safely and effectively refresh your chairs, lifting away dirt and stains to restore their original beauty. This guide provides a clear, step-by-step process on how to clean fabric on chairs, empowering you to tackle this task with confidence and achieve professional-looking results.
Cleaning fabric on chairs doesn’t have to be a challenging task. Whether you’re dealing with spills, stains, or general wear and tear, the key is to use the right techniques and materials for the type of fabric on your chairs. Taking the time to understand your chair’s upholstery and following a proper cleaning process can prevent damage and prolong its lifespan, all while maintaining a fresh and polished look in your home.
Understanding Why It is Important
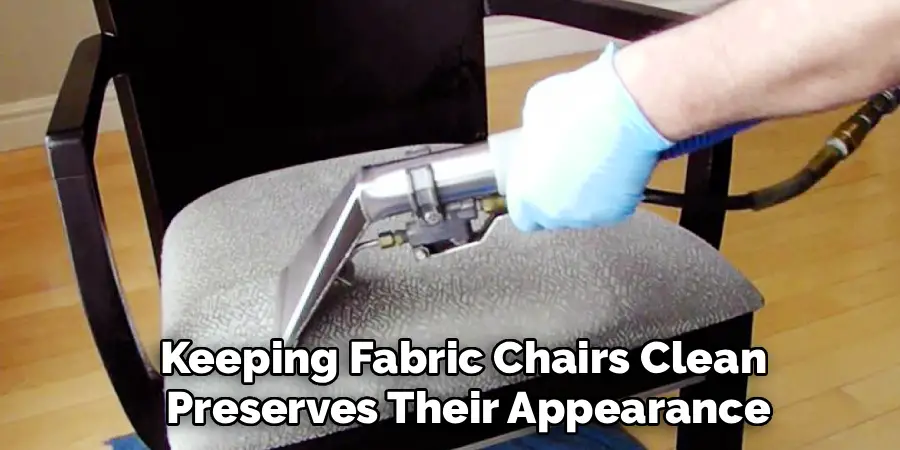
Understanding why it is important to clean your chairs properly goes beyond aesthetics. Regular cleaning helps to remove dirt, allergens, and bacteria that can accumulate over time, creating a healthier environment for you and your family. Additionally, keeping fabric chairs clean preserves their appearance, ensuring they continue to complement your space and reflect your personal style. Proper maintenance also extends the lifespan of the upholstery, protecting your investment and saving money in the long run by reducing the need for replacement or costly professional cleaning services.
Step-by-Step Guide on How to Clean Fabric on Chairs
Step 1: Decode the Cleaning Tag
Before you apply any water or cleaner, the most critical first step is to locate and understand the cleaning tag on your chair. Usually found under a cushion or on the bottom of the chair, this tag contains vital codes that tell you exactly how to treat the fabric. A “W” means it is safe to use water-based cleaners. An “S” means you must use a solvent-based, water-free cleaner. “W/S” indicates you can use either, and an “X” means you can only vacuum or brush the fabric—no liquids at all. Ignoring this code is the fastest way to ruin your upholstery.
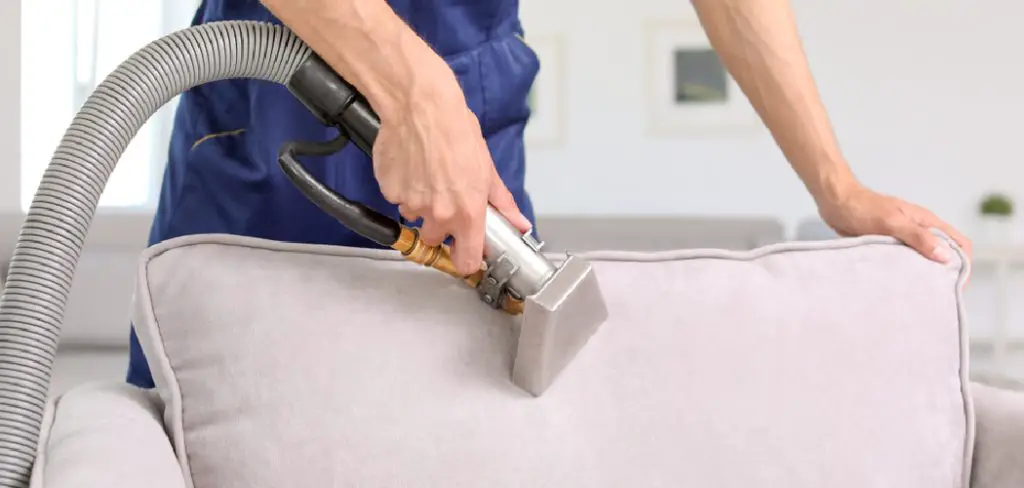
Step 2: Thoroughly Vacuum the Entire Chair
Once you know your fabric’s cleaning code, your next step is to remove all loose dirt, dust, pet hair, and crumbs. Using your vacuum cleaner with the upholstery brush attachment, go over every surface of the chair. Pay close attention to the seams, crevices, and the area where the back and seat meet, as this is where debris loves to hide. A thorough vacuuming not only cleans the surface but also prevents you from turning loose dirt into mud when you introduce a cleaning solution later. This simple preparatory step makes the entire deep-cleaning process much more effective.
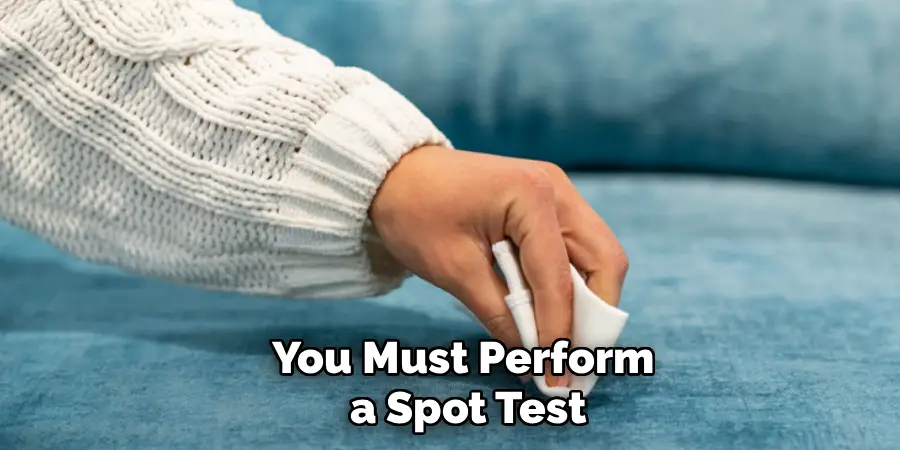
Step 3: Spot-Test Your Cleaner
Never apply a cleaning solution to a visible area of your chair without testing it first. Whether you are using a store-bought upholstery cleaner or a homemade solution of dish soap and water, you must perform a spot test. Choose a small, hidden area of the fabric, such as the underside of a cushion or the back of the chair near the floor. Apply a small amount of the cleaner with a white cloth, gently dab the area, and let it dry completely. Check for any signs of color bleeding, fading, or fabric damage before proceeding.
Step 4: Create Your Cleaning Solution
For fabrics that are safe to clean with water, a simple and effective cleaning solution can be made at home. In a small bowl, mix a few drops of a clear, mild dish soap into lukewarm water. Stir it gently to create a sudsy solution. Avoid using colored soaps or harsh detergents, as they can leave behind residue or discolor the fabric. You want just enough soap to create cleaning power without oversaturating the material with suds. This gentle mixture is often all you need to lift common household dirt and light stains from your chairs.
Step 5: Gently Clean the Fabric
Dip a clean, white microfiber cloth into your sudsy water solution and wring it out thoroughly. You want the cloth to be damp, not soaking wet. Gently blot and wipe the fabric in small sections, starting from the top of the chair and working your way down. Avoid scrubbing aggressively, as this can damage the fabric fibers or push the dirt deeper into the upholstery. For tougher spots, you can work in small, circular motions. The goal is to lift the dirt away with the cloth, refreshing the fabric without oversaturating it with moisture.

Step 6: Address Stubborn Stains
For specific stains like wine, coffee, or ink, you may need a more targeted approach after the general cleaning. For a ‘W’ code fabric, you can often treat these spots with a specialized upholstery stain remover that is appropriate for the stain type. Always follow the product’s instructions carefully and remember to spot-test it first. Apply the stain remover to a cloth, not directly to the fabric, and gently blot the stain from the outside in to prevent it from spreading. Be patient, as some stubborn stains may require a few applications to fully lift.
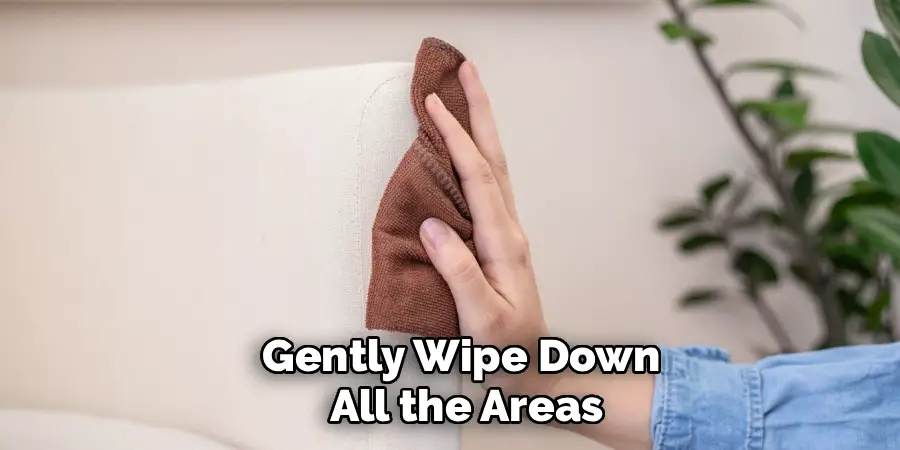
Step 7: Rinse and Blot the Fabric
After you have cleaned the chair, you need to “rinse” the fabric to remove any soap residue. Take a new, clean white cloth and dampen it with plain water. Wring it out completely so it is just barely damp. Gently wipe down all the areas you cleaned to lift away any lingering soap. Following the rinse, take a dry microfiber towel and blot the entire chair firmly. This step is crucial for absorbing as much excess moisture as possible, which will significantly speed up the drying time and help prevent the formation of watermarks or mildew.
Step 8: Allow the Chair to Air-Dry Completely
Patience is key during the drying phase. Let the chair air-dry completely before using it or placing cushions back on it. Do not try to speed up the process with a hairdryer or direct heat, as this can shrink or damage the fabric. To promote faster drying, you can improve the air circulation in the room by opening windows or turning on a fan. The fabric must be 100% dry before it is used, as sitting on a damp chair can cause the fabric to stretch and can lead to musty smells.
Additional Cleaning Tips
- Spot Clean Stains Promptly
Address spills and stains as soon as they happen to prevent them from setting into the fabric. Use a mild detergent mixed with water, and gently blot the stain with a clean, damp cloth. Avoid rubbing as it may spread the stain or damage the fibers. - Vacuum Regularly
Keep dirt and debris at bay by vacuuming upholstered chairs with a soft brush attachment. This prevents the buildup of dust and keeps the fabric looking fresh and clean. - Test Cleaning Products
Always test any cleaning product or solution on an inconspicuous area of the chair before full application. This ensures there are no adverse reactions, such as discoloration or damage to the fabric. - Rotate Cushions
If your chair has removable cushions, rotate them periodically to ensure even wear and to maintain the fabric’s integrity over time.
By following these tips, you can prolong the life of your furniture and maintain its original appearance, ensuring it remains both functional and aesthetically pleasing.
Frequently Asked Questions
What Do the Cleaning Codes on Furniture Tags Mean?
These codes are the most important guide for cleaning your upholstery. Here’s a quick breakdown:
- W: Water-based cleaners are safe.
- S: Solvent-based, water-free cleaners only.
- W/S: Water-based or solvent-based cleaners are both safe.
- X: No liquids. Only vacuum or brush the fabric.
Always follow this code to avoid damaging your chair.
Can I Use a Steam Cleaner on My Fabric Chairs?
You should only use a steam cleaner if the chair’s fabric code is “W” or “W/S.” Steam is a water-based cleaning method and will damage fabrics with an “S” or “X” code. If your chair is compatible, a steam cleaner can be very effective for deep cleaning and sanitizing. However, always use the upholstery attachment and avoid oversaturating the fabric to prevent mildew growth.
How Can I Remove Pet Hair From a Fabric Chair?
The most effective tool for removing pet hair is a vacuum with a good upholstery or pet hair attachment. For stubborn, woven-in hair, you can use a rubber glove. Simply put on the glove, slightly dampen it, and wipe your hand across the fabric. The friction will cause the pet hair to ball up, making it easy to pick off and discard. A lint roller or a squeegee can also work well.
How Do I Clean a Chair if the Tag Says “S”?
An “S” code means you must use a solvent-based, or “dry,” cleaning solution. Do not use water. You can purchase these special upholstery solvents at most hardware or home improvement stores. Always ensure the room is well-ventilated when using them. Apply the solvent to a clean, white cloth (never directly on the fabric), gently blot the stained area, and let it dry.
How Can I Get Rid of Lingering Odors in My Chair?
For general mustiness or lingering smells, baking soda is an excellent natural deodorizer. After vacuuming the chair, sprinkle a generous layer of baking soda over the entire fabric surface. Let it sit for at least an hour, or even overnight for stronger odors. The baking soda will absorb the unpleasant smells. Afterwards, simply vacuum it all up thoroughly using a brush attachment.
Conclusion
Bringing a tired, dirty chair back to life is a highly satisfying DIY project that can transform the look and feel of a room. The fear of causing damage often stops people from trying, but the process is straightforward when you follow the right steps. The most important takeaways are to always check the cleaning tag, perform a spot test, and use a minimal amount of moisture. By following this guide, you now have the knowledge of how to clean fabric on chairs safely and effectively. You can confidently tackle dirt and stains, ensuring your favorite pieces of furniture remain beautiful and fresh for years to come.