
Gaming chairs take a beating over the years — and whether you’re moving to a new place, replacing a worn-out part, or giving your chair a deep clean, taking it apart becomes a necessary task. The problem is that most people have no idea where to start, and forcing the wrong component can cause permanent damage.
Knowing how to disassemble DXRacer chair correctly means you can handle repairs, transport, or part swaps with confidence and without breaking anything in the process. DXRacer chairs are built to be sturdy, but they’re also designed with accessible components once you understand how each section connects.
This guide walks you through the entire process step by step — from gathering your tools to safely separating every major section. It’s written for beginners but detailed enough to be useful for anyone tackling this for the first time.
Why Disassembling A DXRacer Chair Matters
Most people only think about taking apart their chair when something goes wrong — a broken armrest, a failing gas lift, or a wheel that won’t roll smoothly. But understanding the chair’s structure ahead of time makes every repair faster and less frustrating.
Disassembly is also essential for moving. A fully assembled gaming chair is bulky, awkward, and easy to damage in transit. Breaking it into its core sections protects the frame, the upholstery, and the components that are most vulnerable to impact.
Beyond repair and transport, disassembly allows proper cleaning. Fabric and PU leather collect sweat, dust, and debris in areas that are impossible to reach when the chair is fully assembled. Taking it apart even once a year keeps the chair hygienic and extends its lifespan noticeably. Getting comfortable with the process now saves a lot of effort later.
Step-By-Step Guide To How To Disassemble DXRacer Chair
Step 1: Gather Your Tools Before You Start
You don’t need a professional toolkit, but having the right tools ready before you begin makes the process significantly smoother. A Phillips-head screwdriver, a flathead screwdriver, a rubber mallet, and an Allen wrench set (also called hex keys) are typically enough to handle the full disassembly. Some DXRacer models may also require a pipe wrench or pliers for the gas lift cylinder.
Keep a small bowl or zip-lock bag nearby to collect screws and bolts as you remove them. Label the bag by section — “armrest screws,” “backrest bolts,” and so on — so reassembly doesn’t turn into a guessing game. A clear workspace with room to lay components flat is just as important as the tools themselves.
Step 2: Remove The Armrests
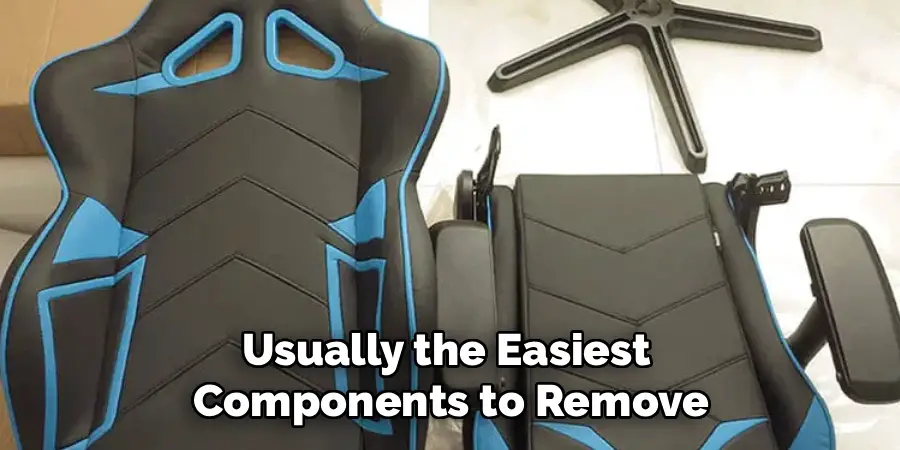
The armrests are usually the easiest components to remove and a good starting point for anyone unfamiliar with the chair’s construction. Flip the seat upside down or tilt it so you can clearly see the underside of the armrest brackets. Most DXRacer models use four Phillips-head screws per armrest, accessible from below the seat frame.
Unscrew all four bolts on one side before moving to the other. Once loose, the armrest lifts straight off its bracket without needing to be forced. Set them aside carefully — armrests can crack if they’re stacked under heavier parts. If any screws are stiff, apply a small amount of penetrating oil and let it sit for a few minutes before trying again.
Step 3: Detach The Backrest From The Seat
This is the most substantial separation in the entire process and the one where most people hesitate. The backrest connects to the seat via a recline mechanism on both sides. Look for a plastic side cover panel on each side of the chair — these snap off or are held by one or two small screws depending on the model. Removing them exposes the bolts underneath.
Once the side covers are off, locate the four to six bolts that attach the backrest to the recliner bracket. These are typically Allen bolts. Loosen them evenly rather than removing one side fully before the other — uneven pressure can warp the bracket. With all bolts removed, the backrest lifts free from the seat assembly. Have a second person nearby to support it as it comes off.
Step 4: Remove Any Seat Cushions Or Covers
If your DXRacer model has a removable seat cushion or zippered cover, this is the time to take it off. Fabric covers typically unzip along the bottom or sides of the seat pan and can be peeled away once the zipper is fully open. Lumbar cushions and headrest pillows usually attach with elastic bands or velcro and come off with a simple pull.
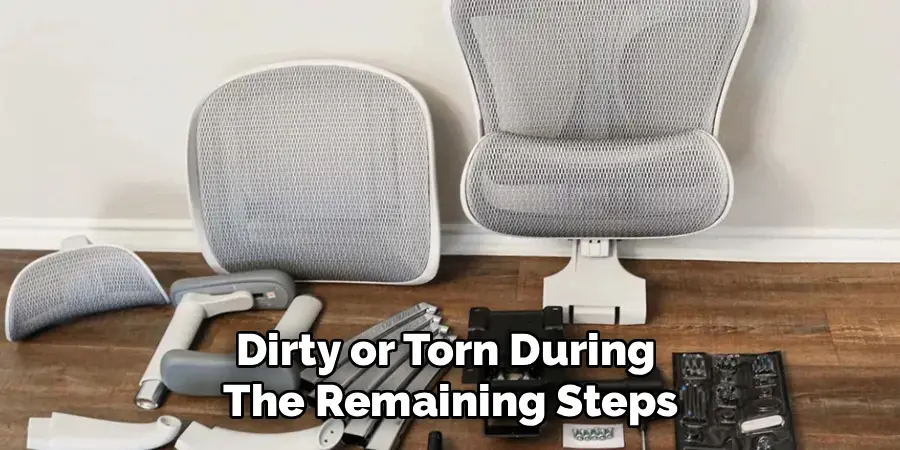
For chairs with fixed PU leather upholstery, this step doesn’t apply — the cover is bonded to the foam and not meant to be separated. Check your specific model’s documentation if you’re unsure. Removing loose covers before separating the seat from the base keeps them from getting dirty or torn during the remaining steps.
Step 5: Separate The Seat Pan From The Tilt Mechanism
Flip the seat upside down to access the underside of the seat pan. The tilt mechanism — the metal plate that controls rocking and height lock — is bolted directly to the seat pan using four bolts in the corners of the plate. These are usually Allen head bolts, and they can be tight after years of use under body weight.
Loosen each bolt gradually in a cross pattern rather than fully removing one at a time. This keeps the plate from shifting under tension and makes the final removal cleaner. Once all four are out, the tilt mechanism separates from the seat pan as a single unit. Set it aside flat — this component contains springs internally and shouldn’t be dropped or stood on its edge.
Step 6: Pull The Gas Lift From The Chair Base
Learning how to disassemble DXRacer chair fully means understanding that the gas lift cylinder doesn’t use screws — it’s held in place by friction and pressure. The cylinder fits into a tapered socket on the tilt mechanism above and into the center of the five-star base below. Both connections are friction fits, meaning they require some force to separate.
To remove the gas lift from the base, flip the base upside down so the cylinder points downward. Use a rubber mallet to tap the exposed end of the cylinder shaft firmly — three to five solid strikes usually release it. If it won’t budge, a pipe wrench around the cylinder body gives better leverage for twisting while tapping.
Step 7: Remove The Caster Wheels From The Base
The five-star base is the last component, and the casters are the simplest part of the entire disassembly. Each caster wheel is a friction-fit peg that inserts into one of the five legs. To remove them, grip the wheel firmly and pull straight out with steady pressure. They should come out without tools in most cases.
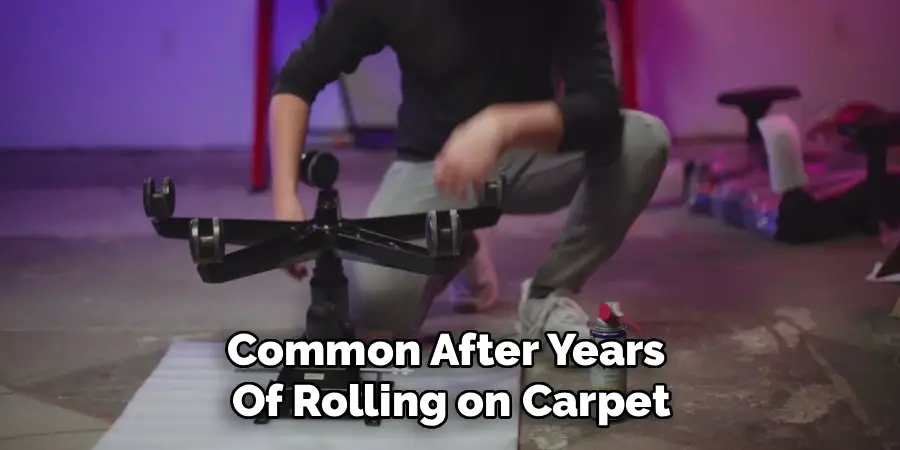
If a caster is stuck — common after years of rolling on carpet — place the base on a hard floor, step on the base to hold it steady, and pull the wheel upward with both hands. A flathead screwdriver can also be slid under the wheel cap to pry it slightly, giving you better grip. At this point, knowing how to disassemble DXRacer chair completely means you’ve successfully broken it into its six core components, all ready for cleaning, repair, or transport.
Frequently Asked Questions (FAQ)
What Tools Do I Need To Take Apart A DXRacer Chair?
A Phillips-head screwdriver, Allen wrench set, flathead screwdriver, and rubber mallet are the core tools for most DXRacer models. A pipe wrench is helpful if the gas lift is stuck. You don’t need anything specialized or expensive — most of these tools are already in a basic home toolkit. Having everything ready before you start makes the process noticeably faster and less frustrating throughout.
Can I Remove The Gas Lift Without A Mallet?
It’s possible but significantly harder. The gas lift is held in place by friction, not screws, so pulling by hand rarely generates enough force to release it cleanly. A rubber mallet protects the cylinder from damage while delivering the impact needed to break the friction seal. If no mallet is available, a piece of wood between a regular hammer and the cylinder achieves a similar result safely.
Is It Safe To Disassemble A DXRacer Chair Alone?
Most steps are manageable solo, but detaching the backrest is easier with a second person. The backrest is heavy and awkward once the support bolts are removed — a helper prevents it from falling and scratching either the chair or the floor. For the rest of the process, working alone is straightforward as long as you take your time and support each component as it comes free.
How Do I Keep Track Of Screws And Bolts During Disassembly?
Zip-lock bags labeled by section are the most practical method. Group screws from the armrests separately from backrest bolts and seat pan hardware. Alternatively, place each group of fasteners on a piece of masking tape and write the section name directly on the tape. This simple habit prevents the confusion of reassembly and ensures you’re using the correct hardware in each location.
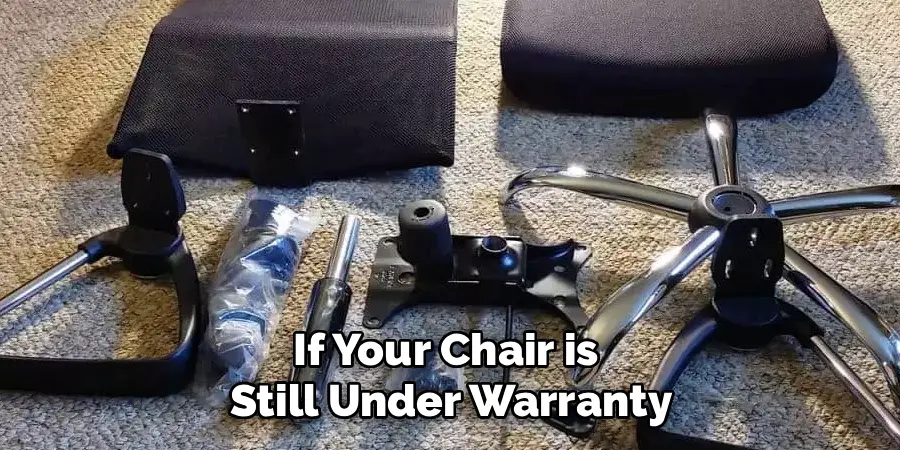
Will Taking Apart My Chair Void The Warranty?
It depends on the warranty terms for your specific model and region. DXRacer’s standard warranty typically covers manufacturing defects rather than damage caused during user disassembly. If your chair is still under warranty and the issue is a defect, contact DXRacer support before taking it apart — they may offer a replacement part or repair service. For chairs out of warranty, disassembly for repair or maintenance is entirely reasonable.
Conclusion
Taking apart a gaming chair doesn’t need to be intimidating. The process follows a clear sequence — armrests first, then the backrest, seat cushions, tilt mechanism, gas lift, and finally the caster wheels — and each step is manageable with basic tools and a little patience.
Now that you have a clear, step-by-step picture of how to disassemble DXRacer chair, you’re ready to tackle moving, cleaning, or replacing any part with confidence. Set aside an hour, get your tools ready, and work through each section at your own pace. The result — a chair that’s easier to transport, cleaner, or fully repaired — is well worth the effort.
