
Painting a desk sounds straightforward until you realize traditional methods call for hours of sanding, clouds of dust, and tools you may not own. The good news is that there’s a cleaner, faster approach.
Knowing how to paint a desk without sanding means you can transform a worn, outdated piece of furniture using products that do the prep work for you. This guide covers everything from cleaning and priming to applying paint and sealing the finish — so your desk ends up looking fresh, smooth, and durable without a single sheet of sandpaper involved.
Whether you’re refreshing an old office desk or giving a secondhand find a new look, this process is practical, beginner-friendly, and genuinely effective when you follow each step carefully.
Why Painting A Desk Without Sanding Matters
Sanding takes time, creates mess, and isn’t always safe on surfaces like veneer or laminate where removing material can cause permanent damage. Skipping it opens the process up to more people and more surfaces.
Beyond accessibility, painting without sanding is simply faster. You can complete the entire project over a weekend rather than spreading it across multiple days. The right primer and paint combination creates strong adhesion on its own, so the finish holds up just as well as a traditionally sanded surface when the prep steps are done correctly.
Step-By-Step Guide To How To Paint A Desk Without Sanding
Step 1: Remove Hardware And Clear The Surface
Start by taking off all drawer pulls, knobs, hinges, and any other hardware attached to the desk. Set everything in a labeled bag so nothing gets misplaced. Hardware left on the desk makes it harder to paint edges cleanly and can snag your brush or roller mid-stroke, leaving visible marks in the wet paint.

Once the hardware is off, clear the desk completely. If there are any stickers, tape residue, or stuck-on labels, peel them away and clean the remaining adhesive with a little rubbing alcohol. Starting with a completely bare surface gives the primer the best possible base to grip.
Step 2: Clean The Desk Thoroughly
This step matters more than most people expect. Dust, grease, wax, and everyday grime all act as barriers between your primer and the desk surface. If any of these are left behind, your paint will peel within weeks regardless of how carefully everything else was applied.
Wipe down every surface — top, sides, legs, and drawer fronts — using a degreasing cleaner or a solution of warm water and a few drops of dish soap. Follow up with a clean damp cloth to remove any cleaner residue, then let the desk dry completely before moving forward. At least two hours of drying time is a safe minimum.
Step 3: Degrease With A Liquid Deglosser
A liquid deglosser — sometimes called liquid sandpaper — is the key product that makes the no-sand approach work. It chemically dulls the existing finish so your primer has a rougher surface to bond to, without any actual abrasion involved. Apply it with a clean cloth, working in small sections, and let it sit for the amount of time the product recommends before wiping away the residue.
Liquid deglosser works on lacquered, varnished, and most factory-finished surfaces. It doesn’t remove the old finish entirely — it scuffs it at a chemical level. After treating the surface, avoid touching it with bare hands. The oils from your skin can create spots where the primer won’t adhere evenly.
Step 4: Apply A Bonding Primer
Bonding primer is what anchors your paint to a surface that hasn’t been mechanically sanded. It’s formulated to grip slick, non-porous surfaces like laminate, melamine, and sealed wood — the kinds of surfaces that regular primer slides right off. Choose a shellac-based or water-based bonding primer depending on your preference, and apply it in one thin, even coat using a foam roller for flat surfaces and a small brush for edges.
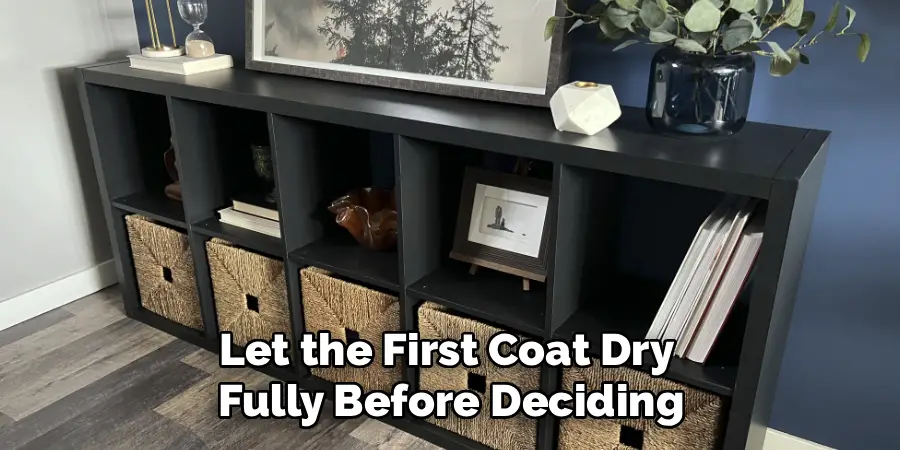
Let the first coat dry fully before deciding whether a second coat is needed. On surfaces with a very slick or shiny finish, two thin coats of bonding primer give better adhesion than one thick one. Avoid applying it too heavily — thick primer coats take longer to dry and are more likely to crack or peel under topcoat pressure.
Step 5: Choose The Right Paint For Furniture
Not all paint performs equally on furniture surfaces. Standard wall paint lacks the hardness needed to handle daily use — cups, forearms, and keyboards will leave marks within days. For a desk, choose a chalk paint, furniture-specific latex paint, or a cabinet-grade enamel. These are formulated to cure hard and resist the kind of contact a desk surface regularly experiences.
Understanding how to paint a desk without sanding also means understanding paint selection. Chalk paint bonds aggressively without primer in many cases, making it a popular choice for no-sand projects. Enamel paints take longer to cure but produce a tougher surface. Whichever you choose, apply two to three thin coats rather than one thick layer, letting each coat dry completely before the next.
Step 6: Apply Paint In Thin, Even Coats
Pour a small amount of paint into a tray and load your foam roller lightly — too much paint on the roller leads to drips and uneven texture. Work in long, smooth strokes across the flat surfaces, maintaining consistent pressure. Use a small angled brush to cut in around edges, corners, and any areas the roller can’t reach cleanly.
Between coats, let the paint dry according to the manufacturer’s time recommendation rather than going by feel. Paint that seems dry on the surface may still be soft underneath, and applying the next coat too early causes the layers to lift or wrinkle. Two coats are usually enough for light colors over a similar base tone. Darker-to-lighter color changes may need three coats for full, even coverage.
Step 7: Seal With A Protective Topcoat
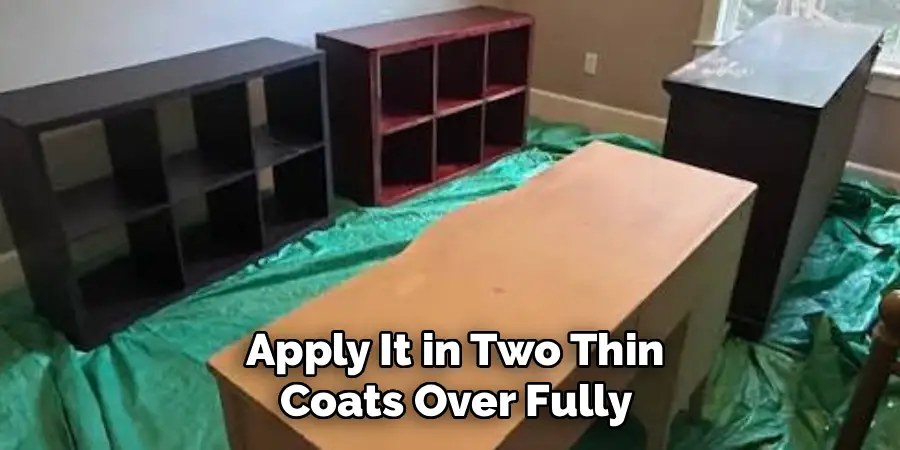
A topcoat is optional for chalk paint that has been waxed, but for enamel or latex paint, it significantly extends the life of the finish. Polycrylic — the water-based version of polyurethane — is a practical choice for a desk because it stays clear over time, dries relatively fast, and cleans up with soap and water. Apply it in two thin coats over fully dried paint, letting each coat cure before the next.
Once the topcoat is on, give the desk at least 48 to 72 hours before placing anything on it, and a full week before putting it back into full daily use. Rushing this step is where many no-sand projects fail — the finish looks great but marks easily because the topcoat hasn’t fully hardened. A little patience here protects all the work that came before it.
Frequently Asked Questions (FAQ)
Does Paint Actually Stick Without Sanding?
Yes, when the right prep products are used. A quality bonding primer is the key — it’s formulated to grip slick, non-porous surfaces that regular primer can’t hold. Pairing it with a liquid deglosser beforehand gives even better adhesion. The result is a finish that holds up to daily use as long as the surface was cleaned thoroughly and the primer was applied correctly before painting began.
What Kind Of Paint Works Best On A Desk?
Chalk paint and cabinet-grade enamel are the top choices for a desk surface. Chalk paint bonds easily to most surfaces without primer in many cases and has a beautiful matte finish, though it needs a wax or polycrylic topcoat for protection. Enamel cures harder and is more durable for high-use surfaces. Standard wall paint is too soft for desk use and will show wear marks very quickly even with a topcoat applied over it.
How Long Does The Whole Process Take?
The active work takes a few hours spread across two days. Cleaning, degreasing, and priming can be done on day one. Painting and topcoating happens on day two once the primer is dry. Total curing time after the final topcoat is 48 to 72 hours before light use, and up to a week for full hardness. Most of the timeline is waiting rather than working, so the project is manageable over a single weekend.
Can I Paint A Laminate Or Veneer Desk This Way?
Yes, and this method is actually better suited to laminate and veneer than traditional sanding. Sanding a laminate surface can cut through the thin top layer and expose the particleboard underneath. A bonding primer applied after liquid deglossing creates strong adhesion on laminate without removing any material. Veneer benefits from the same approach. Just ensure the surface is clean and free of lifting edges before you prime — repair any bubbling with wood glue first.
Will The Finish Chip Or Peel Over Time?

With proper prep, chipping and peeling are unlikely during normal use. The most common reason paint fails on furniture is poor surface prep — leftover grease, wax, or residue that prevents the primer from bonding. Rushing between coats is the second most common cause. If each layer — deglosser, primer, paint, topcoat — is applied correctly and given enough drying time, the finish will hold up well for years with basic care and cleaning.
Conclusion
Painting a desk without sanding comes down to a few key principles: clean the surface thoroughly, use a bonding primer to replace the adhesion that sanding would normally provide, apply paint in thin even coats, and protect everything with a durable topcoat. Skip any of those steps and the finish will eventually fail. Follow them, and the result is smooth, lasting, and completely achievable for a first-time DIYer.
The tools are affordable, the process is straightforward, and the payoff — a refreshed desk that looks like a new piece — is well worth the weekend. Now that you have a clear picture of how to paint a desk without sanding, the only thing left to do is start.
