
To dispose of old papers securely, first separate documents that contain personal, financial, medical, or account details. Shred sensitive papers with a cross-cut or micro-cut shredder, use a professional shredding service for large volumes, and follow your local recycling rules for the shredded material. The goal is simple: protect your identity without creating unnecessary waste.
Old paperwork has a way of spreading quietly through a home or office. A few bank statements in a drawer. Tax records in a box. Shipping labels are still stuck to packaging. Most of it looks harmless, and much of it probably is. The problem is that a small amount of personal information can sometimes be enough for someone to build a useful picture of your identity.
Secure paper disposal is not about being paranoid. It is about being realistic. Financial records, medical paperwork, account notices, and even some pieces of mail may contain details that should not end up intact in a trash bag or curbside bin. When those papers are handled carelessly, they can create an avoidable risk.
The good news is that the process does not have to be complicated. With a steady sorting system, the right destruction method, and a little attention to local recycling rules, you can clear paper clutter safely and responsibly. This guide on how to dispose of old papers securely walks through the process step by step.
Identifying Sensitive Documents
Before you throw anything away, pause long enough to decide whether the document contains sensitive information. That includes personally identifiable information, financial details, medical records, account numbers, passwords, signatures, or anything tied to your identity.
Some examples are obvious: bank statements, credit card bills, tax forms, pay stubs, loan documents, medical bills, and insurance paperwork. Others are easier to overlook. Pre-approved credit card offers, utility bills, school records, expired IDs, boarding passes, prescription labels, and shipping labels can all contain information that may be misused.
A document does not need to display a Social Security number to be risky. A full name, address, date of birth, barcode, partial account number, or transaction history may help someone connect details across different sources. That does not mean every scrap of paper is dangerous, but it does suggest a useful rule: if a document could help a stranger answer a security question, contact a company in your name, or sketch out your financial life, place it in the secure disposal pile.
When you are unsure, lean toward shredding. It is usually easier to destroy one extra document than to recover from a preventable privacy problem.
7 Simple Step-by-Step Guidelines on How to Dispose of Old Papers Securely
Step 1: Gather and Sort All Your Accumulated Paperwork
Start by bringing your paperwork into one place. Check filing cabinets, desk drawers, old folders, storage boxes, kitchen counters, nightstands, car glove compartments, and anywhere else paper tends to collect. This step may feel tedious, but it matters. Sensitive documents are often scattered, not neatly filed.
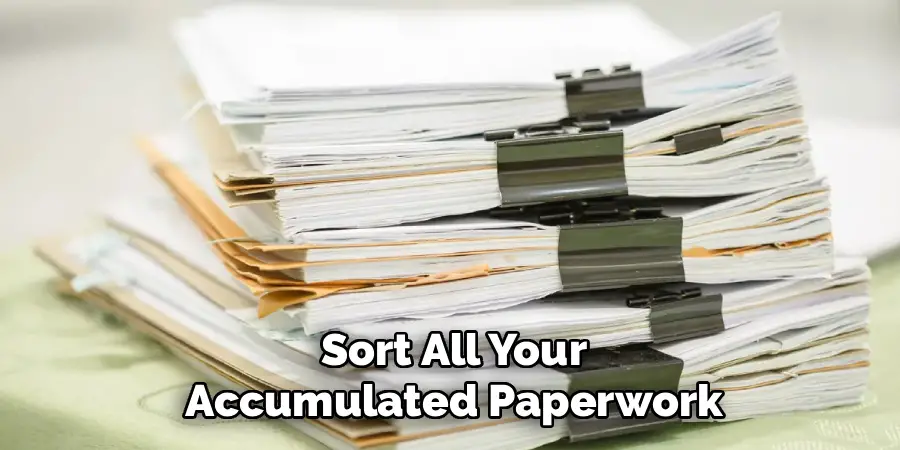
Once everything is in front of you, sort the papers into three working piles: keep, shred, and standard recycle.
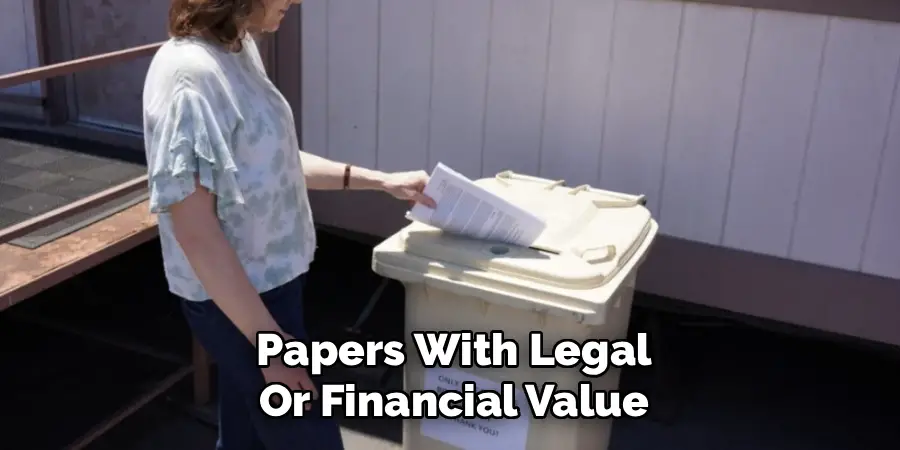
The keep pile should include records you still need to store. These might include birth certificates, active property documents, current insurance policies, recent tax records, and other papers with legal or financial value. Store these in a secure location rather than leaving them mixed with general household paperwork.
The shred pile is for documents you no longer need, but that contain personal, financial, medical, or account information. This includes old bills, bank statements, credit card offers, expired insurance forms, medical notices, and similar records.
The standard recycle pile should be limited to papers that contain no personal identifiers. Generic flyers, magazines, catalogs without address labels, and plain envelopes usually go into regular recycling. Be careful with junk mail, though. If it includes your name, address, customer number, or a barcode tied to you, it belongs in the shred pile.
Do not rush this stage. A slow first sort can prevent two common mistakes: shredding records you should have kept and recycling papers that should have been destroyed.
Step 2: Determine What Needs to Be Shredded Immediately
After sorting, take a closer look at the shred pile. Not every sensitive document has the same timeline. Some papers can be destroyed right away, while others should be kept for a period of time before disposal.
Short-term documents, such as ATM receipts, deposit slips, paid utility bills, shipping labels, and routine account notices, often lose their usefulness quickly. Once you have confirmed the transaction, payment, or delivery, these papers may be ready for shredding. Keeping them around longer than necessary tends to create clutter and adds a small but unnecessary privacy risk.
Other documents need a longer holding period. Tax-related records, for example, are often kept for several years because they may be needed if questions arise later. Pay stubs are commonly kept until they can be checked against a year-end wage statement. Loan records, insurance documents, and property-related paperwork may need to be retained while the account, policy, or ownership issue remains active.
A simple labeling system helps. Use folders marked by year or disposal date, such as “Review in 2027” or “Shred after tax filing.” This removes guesswork later. It also keeps the “keep” pile from becoming a permanent archive of papers you no longer need.
If you manage paperwork for a business, estate, or legal matter, be more cautious. Retention rules can vary by document type and situation. When in doubt, ask a qualified professional before destroying anything that may have legal, tax, or financial importance.
Step 3: Choose the Right Destruction Method for Your Needs
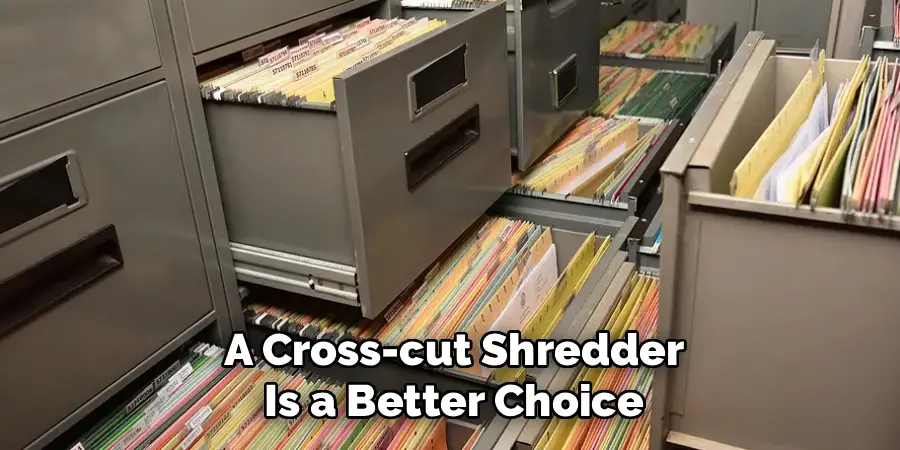
The point of secure disposal is to make the information unreadable and difficult to reconstruct. A basic strip-cut shredder may not be enough for that purpose. It cuts paper into long strips, and while that is better than throwing a document away intact, a determined person may be able to piece strips back together.
For most homes and small offices, a cross-cut shredder is a better choice. It cuts paper both vertically and horizontally, leaving small pieces that are much harder to reassemble. A micro-cut shredder goes further, reducing pages into tiny particles. If you handle highly sensitive personal records, business files, medical paperwork, or financial documents, micro-cut shredding offers stronger protection.
Match the shredder to your volume. A light-duty home shredder may be fine for a few bills each week, but it can overheat or jam during a large cleanout. Look at the sheet capacity, run time, cooldown requirements, and whether the machine can handle staples or cards.
If you do not own a shredder, you still have options. Some people destroy small batches of paper by soaking them in water until the fibers break apart. In limited cases, water mixed with a small amount of bleach may further damage ink and paper, though it should be handled carefully and kept away from children, pets, fabrics, and incompatible chemicals. Burning documents can also destroy them, but only where local rules allow it and where it can be done safely.
For most people, though, a good cross-cut or micro-cut shredder is the most practical tool for routine document disposal. It is available when you need it, requires little setup, and reduces the temptation to let sensitive paper pile up.
Step 4: Prepare Documents for the Shredding Process
Before you feed papers into a shredder, prepare them properly. This sounds minor until a jam turns a quick task into an hour of pulling scraps out of the machine.
Remove large paper clips, binder clips, rubber bands, thick staples, plastic sleeves, laminated pages, folders with metal fasteners, and anything else your shredder is not designed to handle. Some machines can process standard staples or thin paper clips, but removing them may still help protect the blades over time.
Take papers out of binders and plastic sheet protectors. Plastic can clog or damage a shredder, and laminated material may not feed cleanly. If you are shredding envelopes, check for plastic windows. A few may not matter for some machines, but large quantities can create problems.
Flatten crumpled pages and unfold letters. Then divide everything into small stacks that fit your shredder’s stated capacity. If the machine says it handles eight sheets at a time, do not push through twelve. Forcing extra pages may strain the motor, dull the blades, or cause the paper to lock in place halfway through.
This preparation step also gives you one last chance to catch documents that should not be destroyed. It is not unusual to find a current insurance card, active contract, or needed tax form mixed into old paper. A quick review before shredding can save trouble later.
Step 5: Execute the Shredding Process Safely
Once the papers are ready, set up the shredder on a stable surface or floor area with enough room to work. Follow the manufacturer’s safety instructions, especially if you are using the machine for an extended session.
Feed the paper at a steady pace. Let the blades clear each batch before adding the next one. If the shredder slows, strains, or becomes warm, stop and give it time to rest. Many small shredders are designed for short run times, not continuous use. Ignoring that limit is one of the fastest ways to burn out the motor.
Keep loose clothing, jewelry, drawstrings, long hair, and fingers away from the feed slot. Shredders are ordinary office tools, but they still have moving blades. If children or pets are nearby, unplug the machine when you are not actively using it.
During a larger project, empty the bin often. When shredded paper backs up into the blades, it can cause a jam from underneath. You may also want to use shredder oil or lubricant sheets from time to time, especially if the machine is processing a large quantity of paper. Lubrication helps clear paper dust and keeps the cutting mechanism moving smoothly.
Take breaks. This is not only safer for the machine; it makes the job less annoying. A few organized shredding sessions are usually better than trying to force years of paperwork through a small shredder in one afternoon.
Step 6: Consider Professional Shredding Services for Bulk Volumes
Home shredding works well for regular maintenance. It is less pleasant when you are dealing with decades of financial records, an estate cleanout, old business files, or dozens of boxes from a storage room. In those situations, a professional shredding service may be the better choice.
Mobile shredding services can come to a home or business and destroy documents on-site. This allows you to watch the process, which may be reassuring when the papers contain sensitive information. Industrial shredders can process large volumes quickly and can often handle materials that would damage a small home machine, such as folders, clips, and thicker stacks.
Drop-off shredding is another option. Many office supply stores, shipping centers, and document service providers accept paper for secure destruction, usually priced by weight or box. This can be useful if you have more than a home shredder can handle, but not enough to justify a mobile truck.
When choosing a provider, look for clear security procedures. A reputable service should explain how documents are collected, stored, transported, destroyed, and documented. Some providers offer certification through industry organizations and may issue a Certificate of Destruction after the job is complete. For businesses or legal matters, that certificate can provide a useful record that the papers were handled properly.

Professional shredding costs more than doing it yourself, but it can save substantial time and reduce the chance of mistakes during a large cleanup.
Step 7: Dispose of the Shredded Paper Responsibly
Once the documents are destroyed, you still need to handle the shredded paper correctly. This final step is easy to overlook.
Many recycling programs have specific rules for shredded paper. Because the fibers are cut into small pieces, loose shreds can fall through sorting equipment, stick to other materials, or create problems at recycling facilities. Some municipalities accept shredded paper only if it is sealed in a paper bag. Others require a clear plastic bag. Some do not accept it in curbside bins at all.
Check your local waste management guidance before placing shredded paper in the recycling. If your area accepts it, follow the packaging rules closely. Do not assume loose shreds are fine just because the whole paper is accepted.
If recycling is not available, shredded paper may still have other uses. It can serve as “brown” material in a home compost pile, as long as the paper is suitable for composting and does not include glossy coatings or plastic. It can also be used as packing material for fragile items. Some people use it as bedding for certain small animals, though you should confirm that the paper and ink are safe for that use.
The main point is to avoid turning a security task into a waste problem. Shred only what needs shredding, then dispose of the remains in the most responsible way your local system allows. Following these steps on how to dispose of old papers securely will not only protect your personal information but also help reduce waste and promote sustainability.
Common Mistakes to Avoid
One of the most common mistakes is throwing away intact bills, statements, or account notices because they do not appear important at first glance. Even partial information can be useful to someone trying to gather details about you.
Another overlooked risk is packaging. Return address labels, shipping labels, and barcodes can contain personal information. Before recycling boxes or mailers, remove and shred the labels or black out the details thoroughly.
People also tend to overload home shredders. A small machine can only do so much. Feeding too many pages at once, ignoring cooldown periods, or letting the bin overfill can damage the shredder and slow the whole process.
Relying on a strip-cut shredder is another weak point. Strip-cut shredding is better than no shredding, but it does not provide the same level of protection as cross-cut or micro-cut shredding. If you are replacing an older shredder, this is a sensible upgrade.
Finally, avoid shredding everything without thinking. Some records should be kept, at least for a while. A secure disposal system should protect your identity without destroying papers you may still need.
Environmental Considerations
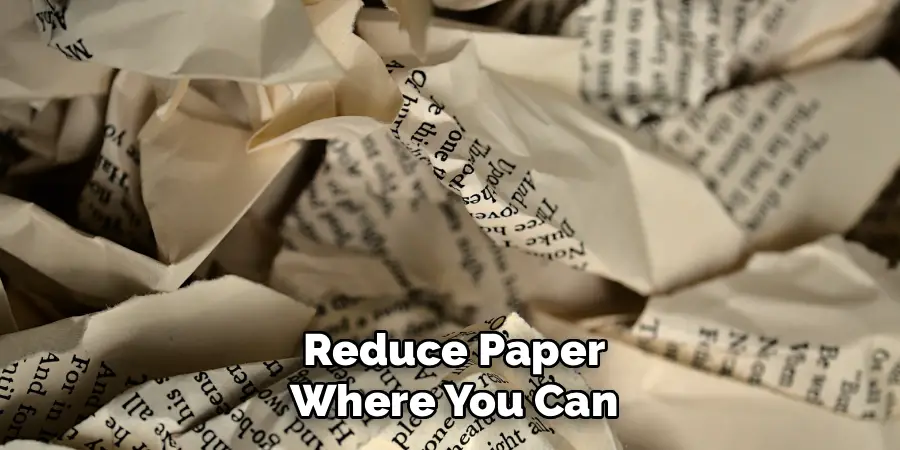
Secure document disposal and environmental responsibility can work together, but there is a tradeoff. Shredding protects private information, yet it also shortens paper fibers, which may reduce recycling quality. That does not mean you should avoid shredding sensitive documents. It means you should shred selectively.
A practical approach is to separate sensitive pages from non-sensitive ones. For example, if only the first page of a packet contains your account details, shred that page and recycle the rest intact if it is otherwise safe to do so. Remove address labels from catalogs instead of shredding the whole catalog. Small choices like these reduce unnecessary shredded waste.
You can also reduce future paper disposal by cutting down on incoming paper. Paperless billing, electronic bank statements, and digital insurance documents can limit the amount of sensitive mail entering your home. Digital records still need secure storage and good password habits, but they can make physical cleanouts less frequent.
For shredded paper that cannot go into local recycling, composting or reuse may be worth considering. Use caution with glossy paper, plastic windows, coated materials, and heavily printed pages. When composting, mix shredded paper with other materials rather than dumping it in a thick mat, which can clump and slow decomposition.
The best system is not extreme. It is balanced: keep what you need, shred what could expose you, recycle what is safe, and reduce paper where you can.
Ensure Your Data Stays Protected
Knowing how to dispose of old papers securely is a basic part of protecting your personal information. It does not require an elaborate system. It requires a consistent one.
Gather your documents. Sort them carefully. Keep the records that still matter. Shred papers that reveal personal, financial, medical, or account details. Use professional help when the volume is too large for a home shredder. Then dispose of the shredded material according to your local recycling or waste rules.
Old paperwork should not become a privacy risk simply because it sat in a drawer too long. Set aside a little time, work through one stack at a time, and build a habit that keeps both your records and your living space under better control.