
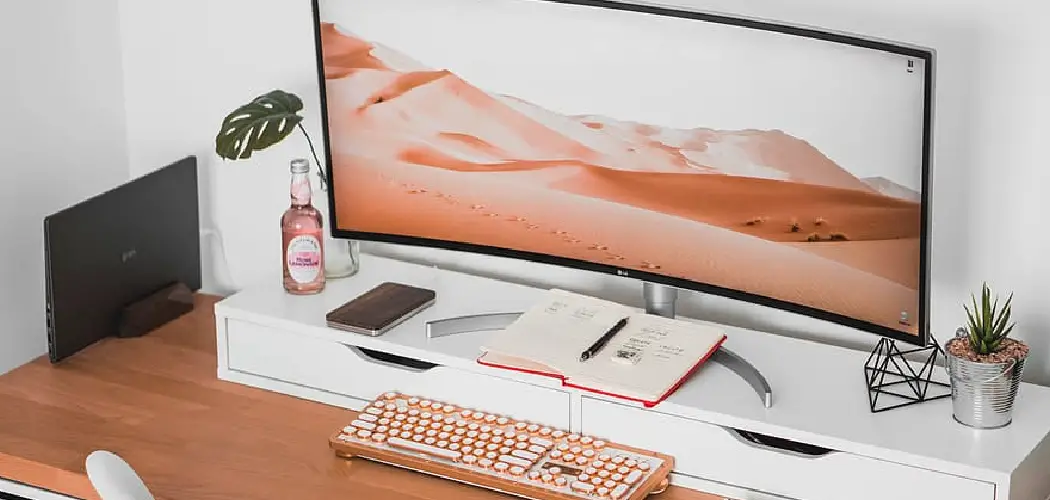
A curved monitor looks incredible on a desk — the wide arc pulls you into whatever you’re watching or working on. But that immersive experience only delivers when your content actually fills the screen. Black bars on the sides, a stretched image, or a display that refuses to go edge-to-edge can quickly turn that premium setup into a frustrating one.
Knowing how to get full screen on curved monitor correctly means understanding that the fix usually isn’t a single button — it often involves resolution settings, aspect ratio adjustments, graphics card options, and sometimes the monitor’s own menu. The good news is that every one of these is fixable with a few minutes of focused effort.
Why Full Screen Display Matters On A Curved Monitor
Curved monitors are built around immersion. The subtle bend pulls peripheral content closer to your natural line of sight, reducing eye movement and creating a more cinematic experience. When content doesn’t fill the screen properly, that design advantage disappears entirely — black bars break the field of view, and a stretched or cropped image looks worse than it would on a flat display.
Beyond aesthetics, a correct full-screen setup also matters for productivity. Working with a desktop that doesn’t match your monitor’s native resolution means you’re using fewer pixels than you’re paying for. Text gets slightly blurry, workspace feels cramped, and screen real estate shrinks unnecessarily.
Step-By-Step Guide To How To Get Full Screen On Curved Monitor
Step 1: Check Your Monitor’s Native Resolution
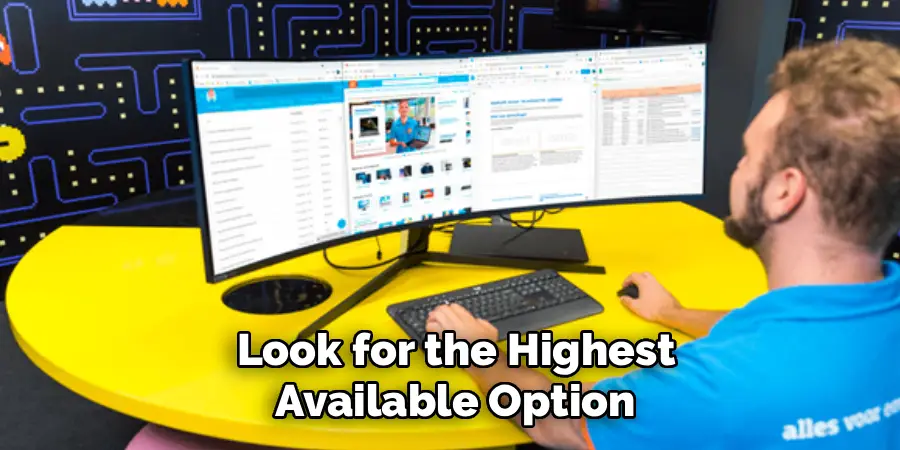
The first thing to verify is that your computer is outputting at your monitor’s native resolution. Most curved monitors use ultrawide aspect ratios like 21:9 or 32:9, which means their native resolution is typically 2560×1080, 3440×1440, or 5120×1440 — not the standard 1920×1080 that most computers default to. When the resolution doesn’t match, content won’t fill the screen correctly.
On Windows, go to Settings, then System, then Display, and check the resolution dropdown. Select the option labeled “Recommended,” which should match your monitor’s native resolution. On macOS, go to System Settings, then Displays, and look for the highest available option. Setting this correctly is the most common fix for black bars on both sides of the screen.
Step 2: Set The Correct Aspect Ratio In Your Graphics Settings
Even with the right resolution selected, your graphics card may still be scaling the image incorrectly. Both NVIDIA and AMD offer their own display scaling controls that override your operating system settings in some situations. These settings can force a 16:9 image onto a wider screen, which is exactly what creates those side bars.
For NVIDIA users, right-click your desktop, open NVIDIA Control Panel, go to Display and then Adjust Desktop Size and Position, and set the scaling mode to “No Scaling” or “Full Screen.” For AMD users, open Radeon Software, go to Display settings, and look for the GPU Scaling option — turn it off or switch the scaling mode to Full Panel. Either change tells the graphics card to let the monitor handle its own scaling without cropping or padding the image.
Step 3: Adjust The Aspect Ratio Inside The Monitor’s OSD Menu
Your monitor itself has a built-in settings menu called the OSD, or on-screen display, accessible through the physical buttons on the back or bottom edge of the panel. Inside this menu, there’s usually an option labeled “Aspect Ratio,” “Image Ratio,” or “Display Mode.” If this is set to 4:3 or 16:9 rather than “Wide” or “Full,” the monitor will add black bars regardless of what your computer sends.
Press the menu button on your monitor, navigate to the image or display section, and change the aspect ratio setting to the widest or “Full” option available. The exact label varies by brand — LG, Samsung, and AOC all use slightly different terminology — but the option you’re looking for fills the entire panel. Save the change and the black bars should disappear immediately.
Step 4: Check Your Cable And Connection Type
A surprising number of display problems come from the cable rather than the settings. HDMI 1.4 cables, for example, can’t always carry the bandwidth needed for ultrawide resolutions at high refresh rates, which can cause the monitor to fall back to a lower, non-native resolution and display incorrectly. DisplayPort cables are generally more reliable for ultrawide and high-refresh setups.
Swap to a DisplayPort cable if you’re currently using HDMI, or at minimum upgrade to an HDMI 2.0 or 2.1 cable if DisplayPort isn’t available on your graphics card. Once connected, your operating system should detect the monitor’s full resolution capabilities again. Go back to your display settings and reselect the native resolution — the new cable sometimes triggers the system to reset this automatically.
Step 5: Fix Overscan If The Image Is Cropped Or Cut Off
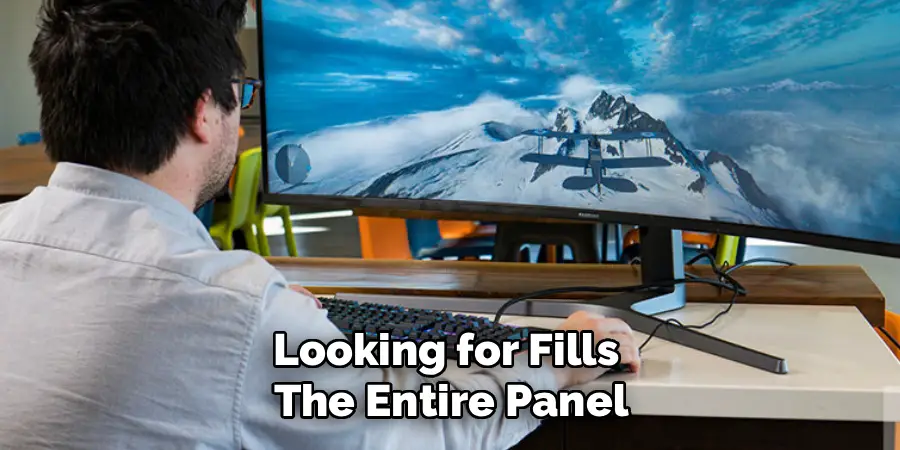
If your curved monitor is cropping the edges of your desktop — hiding taskbar icons, cutting off window borders, or clipping the corners of the screen — you’re dealing with overscan. This is a legacy setting that was designed for old CRT televisions and occasionally gets applied to monitors when they’re connected via HDMI, particularly when the input is detected as a TV rather than a PC display.
In NVIDIA Control Panel, go to Display, then Adjust Desktop Size and Position, and look for a slider labeled “Resize desktop.” Drag it until the image fits the screen without clipping. In AMD Radeon Software, look for the HDMI Scaling slider under Display settings and reduce it to zero. Eliminating overscan restores the full visible area of your panel and corrects cropping issues without changing resolution.
Step 6: Configure Fullscreen Settings For Individual Apps And Games
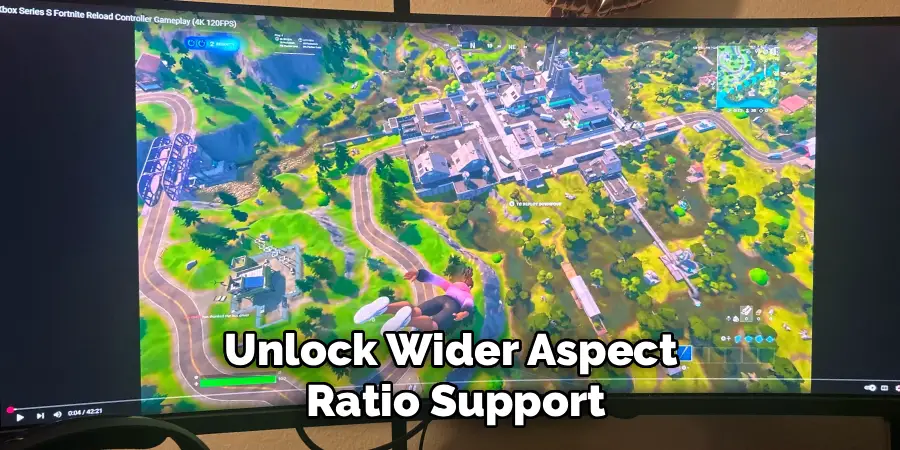
Some applications — especially older games — don’t automatically support ultrawide resolutions and will display pillarboxed even when your desktop is configured correctly. These programs have their own internal resolution and display mode settings that need to be adjusted separately. Knowing how to get full screen on curved monitor in a per-app context is just as important as fixing the global settings.
Inside the game or application, look for a display or graphics settings menu. Set the resolution to match your monitor’s native ultrawide resolution, and switch the display mode to “Fullscreen” rather than “Windowed” or “Borderless.” For games that don’t list your ultrawide resolution at all, third-party tools like Flawless Widescreen or the game’s configuration file can unlock wider aspect ratio support that the in-game menu doesn’t expose.
Frequently Asked Questions (FAQ)
Why Does My Curved Monitor Have Black Bars On The Sides?
Black bars on the sides almost always mean your resolution or aspect ratio isn’t set to match your monitor’s native ultrawide format. Your computer is likely outputting a 16:9 signal to a 21:9 or wider panel. Go into your display settings and select the native resolution listed as recommended, then check your graphics card scaling settings to make sure the image is set to fill the full panel rather than maintain a fixed aspect ratio.
Can Older Games Run In Full Screen On An Ultrawide Curved Monitor?
Many older games don’t natively support ultrawide resolutions and will display with black bars at their widest setting. Tools like Flawless Widescreen or Ultrawide Fixer can patch certain games to output a wider field of view. For others, editing the game’s configuration file to manually set a custom resolution is the most reliable approach. Results vary by game engine, but most titles from the last decade have community-developed solutions available.
Does The Type Of Cable Affect Whether My Screen Fills Correctly?
Yes, it can. HDMI 1.4 has limited bandwidth and may not support your monitor’s native resolution at full refresh rate, causing the display to fall back to a lower, non-native setting. DisplayPort is typically the better choice for ultrawide monitors. If you must use HDMI, make sure the cable and both the monitor and graphics card port support HDMI 2.0 or higher to avoid bandwidth-related display issues.
What Is GPU Scaling And Should I Turn It Off?
GPU scaling is a graphics card feature that controls how the image is resized when the output resolution doesn’t match the display’s native resolution. When it’s enabled with the wrong mode selected, it can add black bars or stretch content. For curved ultrawide monitors, it’s usually best to either disable GPU scaling entirely or set it to “Full Panel” mode, which tells the graphics card to stretch the image to fill the screen edge to edge.
Why Does My Desktop Look Fine But Videos Still Have Black Bars?
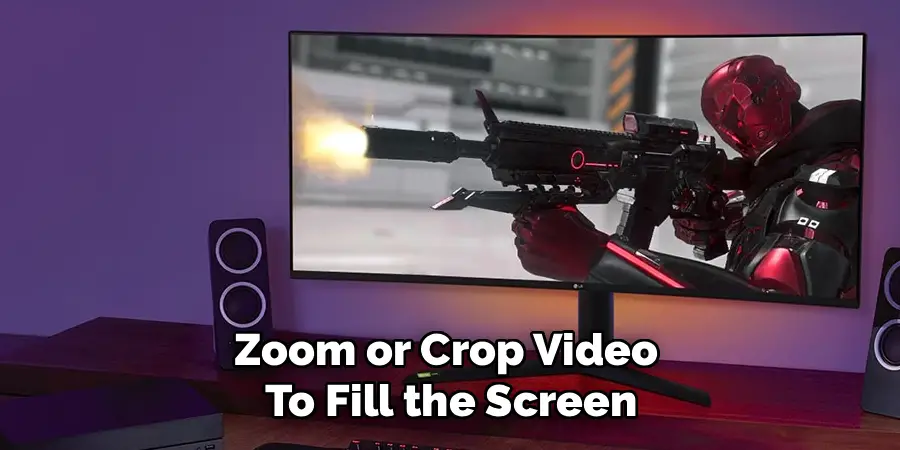
Video content encoded in 16:9 will always show black bars on an ultrawide screen unless the video player or streaming platform has an option to stretch or zoom the image. This is expected behavior, not a settings error — the video itself doesn’t contain information for the extra width. Some players like VLC allow you to zoom or crop video to fill the screen. For streaming services, check whether a browser extension or app setting offers an ultrawide or theater zoom mode.
Conclusion
Getting your display to fill the screen properly comes down to a handful of settings that are easy to miss if you don’t know where to look. Resolution, aspect ratio, GPU scaling, cable quality, overscan, and per-app display modes each play a role — and most problems are solved by working through them in order.
Start with your system’s native resolution, then check your graphics card panel, then the monitor’s OSD menu. If something still isn’t right after that, cables and drivers are the next logical steps. Now that you have a clear path for how to get full screen on curved monitor, go ahead and work through the steps — your curved panel was designed to fill your view completely, and it’s worth five minutes of setup to make that happen.
