
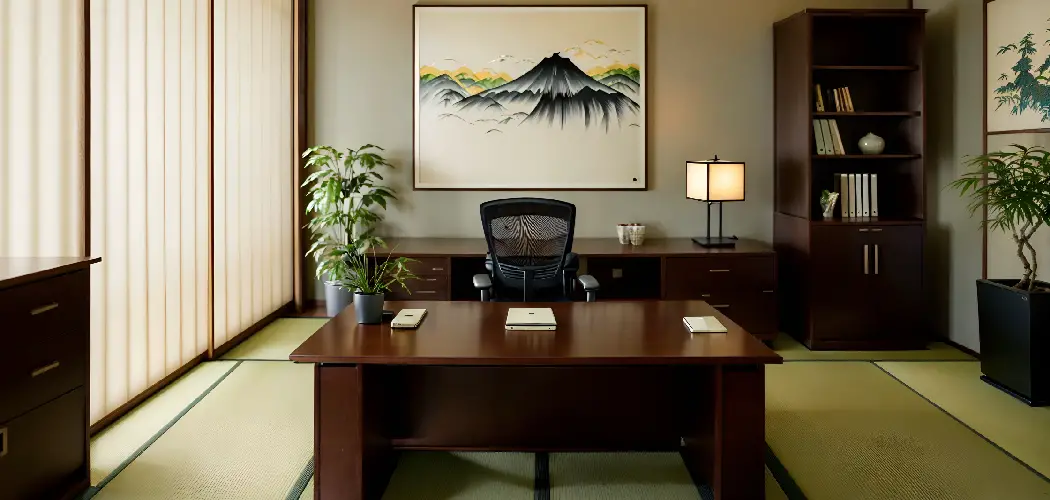
Your desk says a lot about how you work — and how you feel while working. A cluttered, bare, or uninspiring workspace can drain your energy before the day even gets going. But a thoughtfully decorated desk? That can change everything.
This guide walks you through exactly how to decorate an office desk from scratch. Whether you’re setting up a home office or refreshing a corporate cubicle, you’ll find practical steps, smart tips, and real ideas you can use right away.
By the end, you’ll have a workspace that looks great, feels organized, and actually supports your productivity.
What Are the Benefits?
Decorating your office desk isn’t just about making things look pretty. There are real, tangible reasons to invest time and thought into your workspace.
- Better focus and productivity. A well-organized desk reduces visual noise. When everything has a place, you spend less mental energy searching for things and more time actually working.
- Improved mood and motivation. Surrounding yourself with items that reflect your personality — a favorite plant, a photo, or a color you love — creates a space you actually want to spend time in. Studies consistently link pleasant environments with better mood and reduced stress.
- Professional image. If you work in an office or take video calls from home, your desk is visible to others. A tidy, intentional setup signals that you’re organized and take your work seriously.
- Reduced stress. Clutter is a known source of low-level anxiety. Decorating your desk means actively deciding what stays and what goes — and that process alone brings calm.
- Personalization and ownership. When your desk feels like yours, you settle into it more comfortably. That sense of ownership can improve how engaged you feel with your work each day.
What Will You Need?
Before you start decorating, gather your materials. You don’t need to buy everything at once — start with the basics and build from there.
Organizational Tools:
- Desk organizer or drawer dividers
- Cable management clips or a cable box
- Pen holder or cup
- File tray or folder stand
Decorative Items:
- A small plant or succulent
- A framed photo or piece of artwork
- A decorative lamp or LED light strip
- A mousepad with a design you enjoy
Functional Upgrades:
- Monitor stand or laptop riser
- Ergonomic wrist rest
- A quality notebook or planner
- Coasters for drinks
Cleaning and Prep Supplies:
- Microfiber cloth
- Cable ties or Velcro straps
- A small storage box or bin for overflow items
Having these items ready before you start means you won’t lose momentum halfway through. You don’t have to spend a lot — many of these can be found cheaply or already exist somewhere in your home.
10 Easy Steps on How to Decorate an Office Desk
Step 1: Clear Everything Off the Desk
Start completely fresh. Remove every item from your desk — your monitor, notebooks, pens, cables, everything. This might feel dramatic, but it gives you a blank canvas and forces you to make conscious decisions about what goes back.
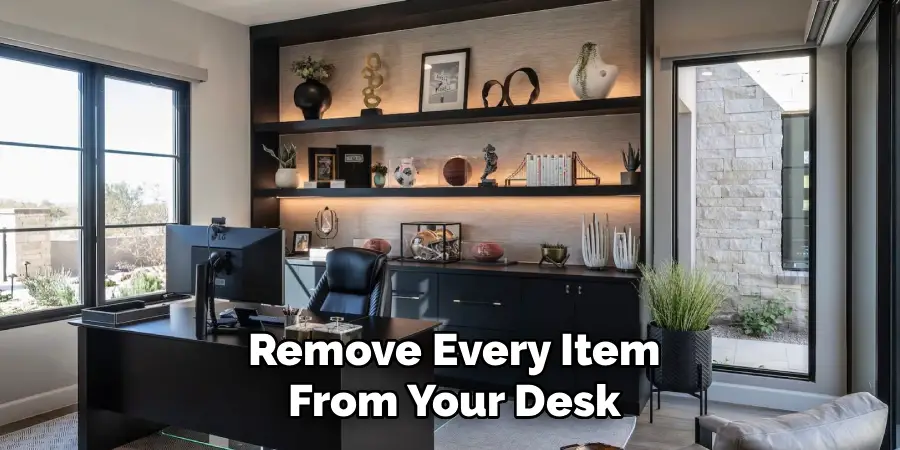
As you clear the desk, sort items into three piles: keep, store elsewhere, and discard. Be honest with yourself. If something hasn’t been used in months and doesn’t serve a purpose, it doesn’t need to live on your desk.
Once the surface is empty, wipe it down thoroughly. Clean the dust from corners, remove sticky residue, and let the surface dry. Starting with a truly clean desk makes a psychological difference — it signals a fresh beginning.
Step 2: Define Your Desk Zones
Before placing anything back, think about how you actually use your desk. Most productive desks have defined zones: a primary work area directly in front of you, a reference zone for items you reach for regularly, and a storage zone for things you need less often.
Sketch this out mentally or on paper. Your monitor and keyboard live in the primary zone. Your phone, notepad, and pen holder go in the reference zone. Cables, chargers, and less-used supplies belong in the storage zone — ideally off the surface entirely.
Defining zones before you decorate prevents the common mistake of placing items randomly and then wondering why the desk still feels chaotic.
Step 3: Handle Your Cables First
Cable clutter is one of the biggest visual problems on any desk. Before adding any decorative elements, deal with your cables. Untangle them, identify what goes where, and remove any cables for devices you no longer use.
Use Velcro cable ties to bundle cables together neatly. Clip them along the back edge of your desk or route them through a cable management box. If your desk has a grommet hole, use it.
Cleaning up cables before decorating ensures that pretty items don’t end up surrounded by a tangle of wires. It also makes future cleaning much easier.
Step 4: Set Up Your Monitor at the Right Height
Ergonomics and aesthetics go hand in hand. A monitor that’s too low forces you to hunch, which affects both your comfort and how your desk looks. Use a monitor stand or arm to raise your screen so the top of the display is roughly at eye level.
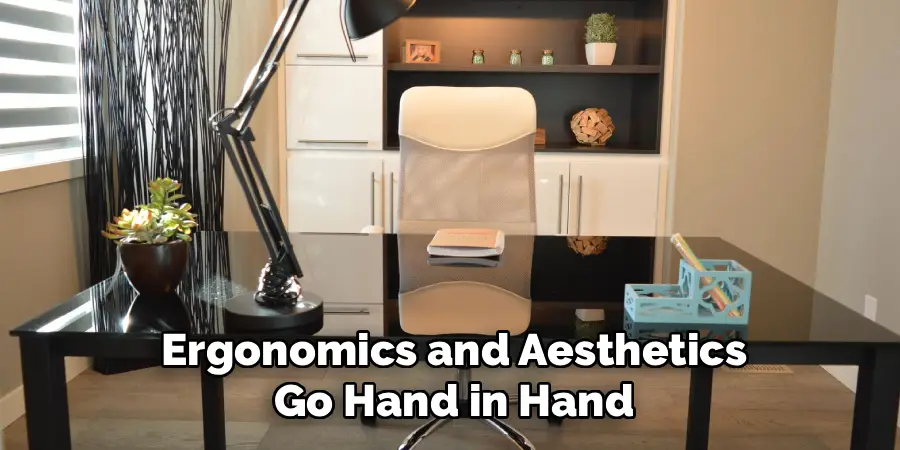
Monitor stands also create useful storage space underneath — perfect for a keyboard, notebooks, or a small tray. This one change can dramatically open up the feel of your desk and make it look more intentional and designed.
If you use a laptop, a riser paired with an external keyboard achieves the same effect and immediately gives your setup a more polished, professional look.
Step 5: Choose a Color Theme or Style
This is where decoration truly begins. Pick a visual direction for your desk — a color palette, a style, or a mood. Common choices include minimalist (clean whites, grays, natural wood), warm and cozy (earth tones, warm lighting, plants), or bold and personal (bright accents, art, unique pieces).
You don’t need to overthink this. Look at two or three colors you genuinely enjoy and let those guide your choices for items like desk mats, pen holders, plant pots, and accessories.
Having a consistent theme makes your desk look curated rather than random, even if the individual items are simple and affordable.
Step 6: Add a Desk Mat or Pad
A desk mat is one of the highest-impact, lowest-effort upgrades you can make. It immediately defines your workspace, protects your desk surface, and ties the look together.
Choose a mat that fits your color theme. Leather-look mats give a professional feel. Fabric mats are softer and come in more patterns and colors. A good desk mat should cover your keyboard and mouse area while leaving room on either side.
Beyond looks, a desk mat reduces noise from typing, protects against scratches, and makes it easier to slide your mouse. It’s both functional and aesthetic — exactly what good desk decoration should be.
Step 7: Place a Plant or Natural Element
Adding something living to your desk has proven benefits. Plants reduce stress, improve air quality, and make a space feel warmer and more human. You don’t need a green thumb to make this work.
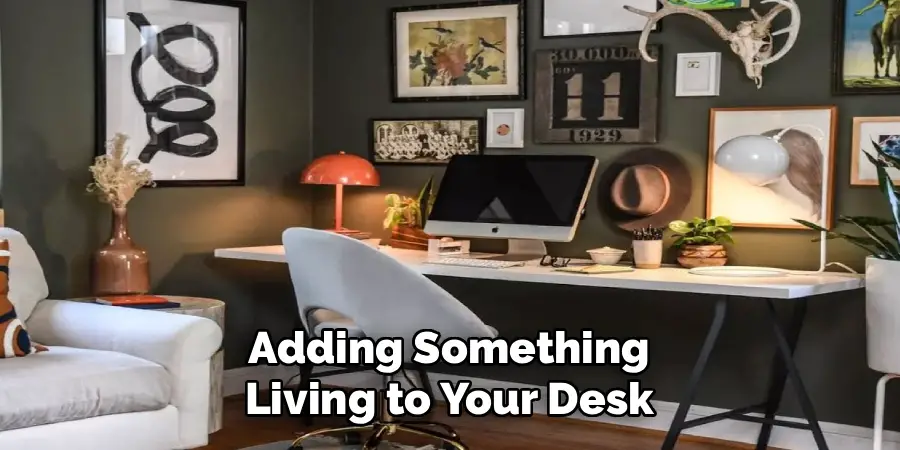
Low-maintenance options like succulents, pothos, or a small cactus thrive with minimal care and look great on a desk. If you’re not confident with plants, a small vase of dried flowers or a smooth stone arrangement achieves a similar natural effect.
Place your plant at one corner of the desk — not in the middle — so it adds personality without blocking your view or your work area.
Step 8: Add Personal Touches
This is what makes a desk feel like your desk. A small framed photo, a piece of art, a motivational card, or a figurine you love — these personal items are what turn a functional surface into a space you enjoy.
Keep it selective. One to three personal items is usually enough. Too many creates clutter; too few can make the space feel cold and corporate.
Think about what genuinely brings you a small moment of joy when you look at it. That’s exactly what belongs on your desk. These items serve as micro-breaks for your brain during long work sessions.
Step 9: Organize Your Supplies Intentionally
Now bring back the functional items — pens, notebooks, sticky notes, chargers — but place them with purpose. Use a pen holder for writing tools. Use a small tray for everyday items like lip balm, earbuds, or a small notebook. Keep your most-used items within arm’s reach.
Everything that doesn’t need to be on the surface should go in a drawer or storage container. If you don’t have drawers, a small desktop organizer with compartments can hold a surprising amount.
The goal is that every item on your desk is either used daily or there because it makes you happy. Everything else is just clutter.
Step 10: Add Lighting That Works for You
Good lighting is the finishing touch that most people overlook. A quality desk lamp reduces eye strain, sets the mood, and adds visual warmth to your setup.
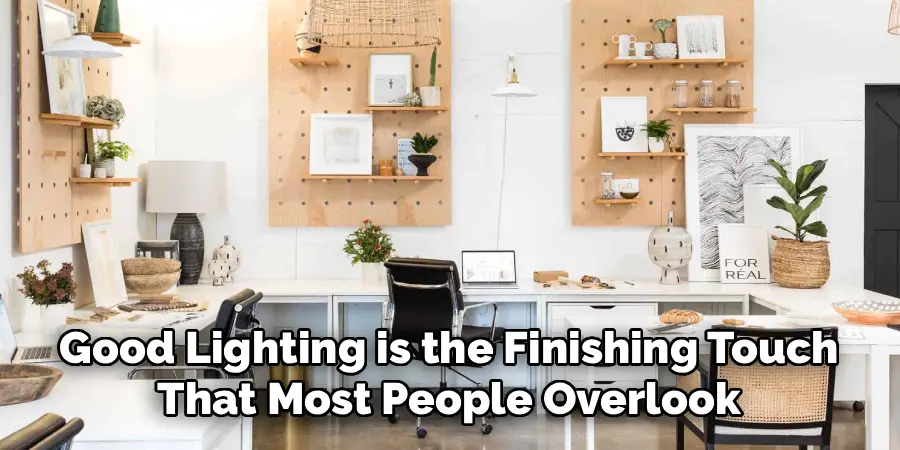
Choose a lamp that complements your desk’s color theme. Adjustable arm lamps are practical and stylish. If you want a softer, ambient effect, a small LED light strip along the back of your monitor creates a pleasant glow without taking up desk space.
Natural light is always best, so if you have a window, position your desk to take advantage of it. Just avoid placing your monitor directly in front of a window to prevent glare.
With lighting handled, step back and look at your desk as a whole. Make small adjustments — move items a few inches, swap something from one side to the other — until it feels balanced and right.
Conclusion
Decorating your office desk is one of the most practical investments you can make in your daily work life. A thoughtful setup improves your focus, lifts your mood, and makes every workday a little more enjoyable. The process doesn’t have to be complicated or expensive — it just requires some intention.
Start by clearing everything, defining your zones, and handling the functional basics like cables and monitor height. Then layer in your personal style through a desk mat, a plant, good lighting, and a few meaningful items. Avoid overcrowding and stay consistent with your theme.
Hopefully, these tips on how to decorate an office desk will help you create a workspace that not only looks great but also promotes productivity and well-being.
