
A mechanical keyboard makes every keystroke more satisfying — but only once it’s actually connected. Royal Kludge makes some of the most popular budget-friendly mechanical keyboards available, and most of their models support wireless Bluetooth connections to multiple devices at once. The catch is that the pairing process has a few specific steps that aren’t always obvious the first time.
Knowing how to pair royal kludge keyboard correctly means you avoid the frustration of a device that won’t show up in your Bluetooth list or drops its connection after a few minutes. Whether you’re connecting to a Windows PC, a Mac, a tablet, or a phone, the process follows the same core logic — and this guide walks you through every step.
Why Pairing A Royal Kludge Keyboard Matters
Royal Kludge keyboards are built around convenience. Most models support three separate Bluetooth channels, meaning you can pair the keyboard to three different devices and switch between them instantly without re-pairing each time. That kind of flexibility is genuinely useful if you work across a laptop, a desktop, and a tablet throughout the day.
Getting the pairing right from the start ensures low latency, reliable signal, and a connection that persists across restarts. It also makes switching between your saved devices a one-second task instead of a repeated frustration. A few minutes of careful setup now saves hours of troubleshooting later.
Step-By-Step Guide To How To Pair Royal Kludge Keyboard
Step 1: Charge The Keyboard Before You Start
Most Royal Kludge wireless keyboards come with a built-in rechargeable battery. Before attempting any pairing, connect the keyboard to a power source using the included USB-C or Micro-USB cable and allow it to charge for at least 30 minutes. A low battery is one of the most common reasons a keyboard behaves erratically during setup — it may enter pairing mode briefly and then drop out before the connection completes.
You don’t need to wait for a full charge, but starting with a reasonable battery level prevents unnecessary interruptions. Most RK keyboards show a battery indicator light while charging. Once the light turns solid or the keyboard responds consistently when powered on, you’re ready to continue.
Step 2: Switch The Keyboard On
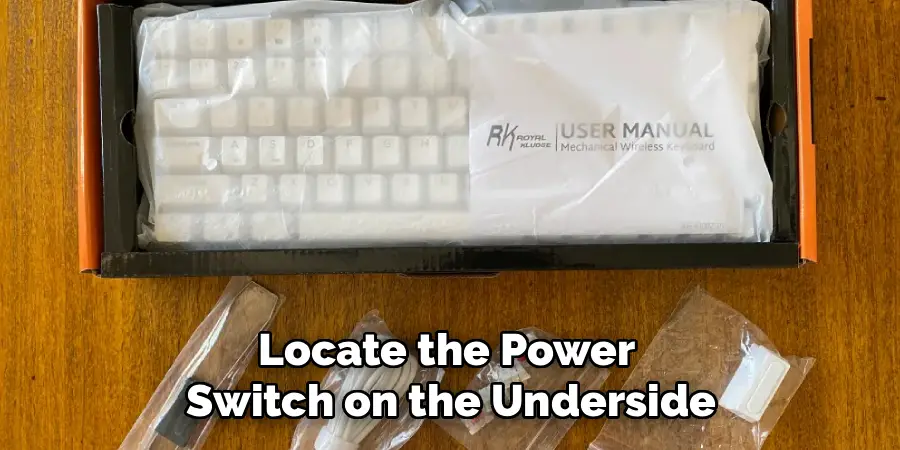
Locate the power switch on the underside of the keyboard. Slide it to the “on” position. On most Royal Kludge models, a small LED indicator near the top-right corner of the keyboard will light up briefly to confirm the keyboard is powered. Some models also display a brief animation across the backlit keys when turned on.
If the keyboard doesn’t respond after being switched on, check whether the USB cable is still plugged in — some models disable wireless mode when a cable is connected and default to wired operation. Disconnect the cable, switch the keyboard off and back on, and you should see the indicator light confirm that wireless mode is active.
Step 3: Select A Bluetooth Channel
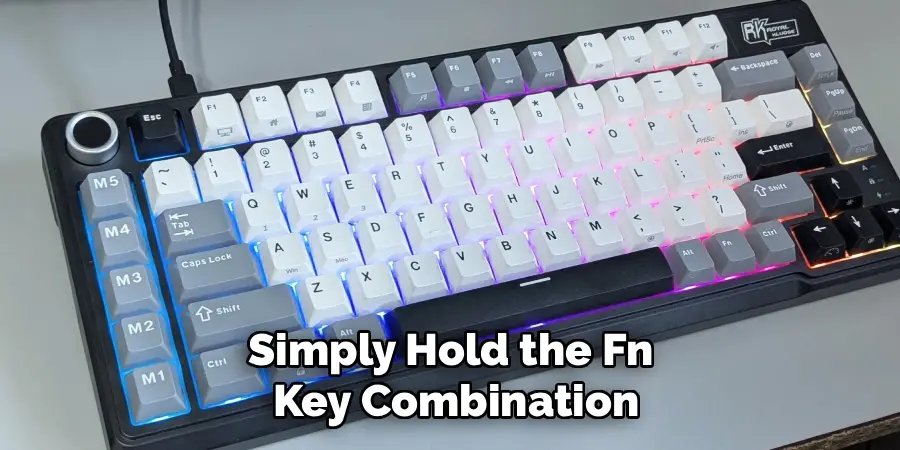
Royal Kludge keyboards with multi-device support use dedicated Bluetooth channels — typically labeled 1, 2, and 3 — each of which can store a separate paired device. To select a channel, press and hold the corresponding key combination. On most RK models, this is Fn + Q for channel 1, Fn + W for channel 2, and Fn + E for channel 3. The LED indicator will flash to confirm which channel is now active.
Choose a channel that isn’t already paired to another device, or pick one you’re happy to overwrite. Each channel holds only one paired device at a time. If you choose a channel that already has a saved pairing, the old pairing will be cleared once you complete the new one on that channel.
Step 4: Enter Bluetooth Pairing Mode
With your chosen channel active, press and hold the same Fn key combination for approximately three seconds — Fn + Q, Fn + W, or Fn + E depending on the channel you selected. The indicator LED will shift from a slow blink to a rapid blink, which means the keyboard is now in active pairing mode and broadcasting its signal to nearby devices.
Pairing mode on most RK keyboards times out after roughly 60 to 90 seconds. If the rapid blinking stops before you finish the next steps on your device, simply hold the Fn key combination again to re-enter pairing mode. You don’t need to repeat any earlier steps — just restart pairing mode on the same channel and continue.
Step 5: Find The Keyboard In Your Device’s Bluetooth Settings
On Windows 10 or 11, open Settings, go to Bluetooth and Devices, and make sure Bluetooth is turned on. Your device will begin scanning automatically. On macOS, open System Settings and click Bluetooth from the left-hand menu. On Android or iOS, open Settings and tap Bluetooth. In all cases, the keyboard should appear within a few seconds as “RK” followed by a model number — for example, “RK ROYAL KLUDGE RK68” or similar.
Tap or click the keyboard name to begin pairing. Your device may ask for confirmation or display a brief pairing request notification — accept it. The rapid LED blinking on the keyboard will stop and settle into a slow pulse or turn off entirely, which indicates the connection has been accepted on both ends.
Step 6: Confirm The Connection And Test The Keyboard
Once the pairing completes, open any text field on your device — a browser address bar, a notes app, or a search box — and type a few keys. If the characters appear on screen, the connection is working correctly. Test every row of keys briefly to confirm there’s no delay or missing input. A successful pairing on a Royal Kludge keyboard typically produces near-instant response with no noticeable lag.
If the characters aren’t appearing, the connection may have appeared successful in Bluetooth settings but not fully established. Toggle Bluetooth off and back on your device, then check whether the keyboard reconnects automatically.
Step 7: Troubleshoot A Failed Or Unstable Connection
If the keyboard doesn’t appear in your Bluetooth list at all, confirm that pairing mode is still active — the LED should be blinking rapidly. If it isn’t, re-enter pairing mode by holding Fn + Q, Fn + W, or Fn + E for three seconds. Also make sure your device’s Bluetooth is actually scanning and not just enabled in the background. Toggling Bluetooth off and on refreshes the scan and often surfaces devices that weren’t appearing.
For a keyboard that paired but keeps disconnecting, low battery is the most likely cause — charge it fully and test again. If the drops continue, remove the keyboard from your Bluetooth saved devices list entirely, restart both the keyboard and your device, and repeat the process from the beginning. Understanding how to pair royal kludge keyboard from scratch after a reset resolves the majority of persistent connection issues, since stale pairing data is often what’s causing the instability in the first place.
Frequently Asked Questions (FAQ)

How Many Devices Can A Royal Kludge Keyboard Be Paired To At Once?
Most Royal Kludge wireless keyboards support three simultaneous Bluetooth pairings, one per channel. You can save a Windows PC on channel 1, a Mac on channel 2, and a phone or tablet on channel 3. Switching between them takes one key combination and a couple of seconds to reconnect. Each channel stores one device, so pairing a new device on an occupied channel replaces the previous one.
Why Is My Royal Kludge Keyboard Not Showing Up In Bluetooth Settings?
If the keyboard isn’t appearing in your device’s Bluetooth list, it’s almost always because pairing mode has expired or wasn’t fully activated. Hold Fn plus the channel key for three seconds until the LED blinks rapidly, then immediately check your Bluetooth settings. Also confirm that your device’s Bluetooth is actively scanning rather than simply turned on. Restarting Bluetooth on your device refreshes the discovery process.
Can I Use The Royal Kludge Keyboard In Wired Mode While It’s Paired Via Bluetooth?
Yes. Plugging in the USB cable on most Royal Kludge models switches the keyboard to wired mode automatically, bypassing Bluetooth entirely. This is useful for gaming or situations where you want zero latency. The Bluetooth pairing is preserved in the background — unplugging the cable returns the keyboard to wireless mode and reconnects to the last active Bluetooth channel without any additional setup.
How Do I Switch Between Paired Devices On A Royal Kludge Keyboard?
To switch between devices, press Fn plus the channel key corresponding to the device you want — Fn + Q for channel 1, Fn + W for channel 2, or Fn + E for channel 3. The LED will blink briefly as the keyboard switches channels and reconnects. The target device needs to have Bluetooth active and the keyboard saved in its paired devices list for the reconnection to happen automatically.
Does The Royal Kludge Keyboard Work With iPads And Android Tablets?
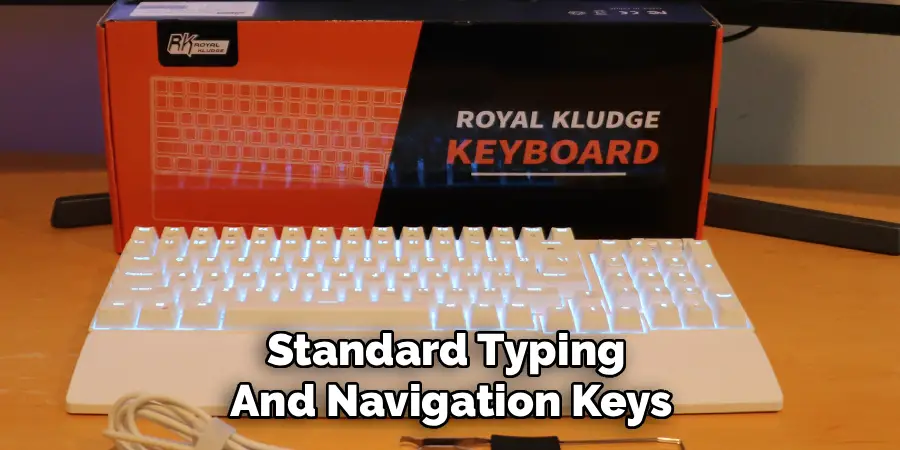
Yes. Royal Kludge keyboards pair with any device that supports standard Bluetooth HID, which includes iPads running iPadOS and Android tablets. The pairing process is identical to pairing with a computer. Some shortcut keys may function differently on iOS or Android since the key mappings are designed primarily around Windows and macOS layouts, but all standard typing and navigation keys work correctly without any additional configuration.
Conclusion
Pairing a Royal Kludge keyboard is a short process once you understand the channel system. The core steps are: charge the keyboard, switch it on, select a Bluetooth channel, enter pairing mode, locate the keyboard in your device’s Bluetooth settings, and confirm the connection. Most setups take under three minutes.
When something doesn’t work, the fix is almost always one of three things — the keyboard timed out of pairing mode, the battery is low, or stale pairing data needs to be cleared. All three are quick to resolve.
Now that you know exactly how to pair royal kludge keyboard, go ahead and get it connected. Set up all three channels while you’re at it — having your devices ready to switch between is one of the best features this keyboard offers, and it’s worth taking five extra minutes to configure from the start.
