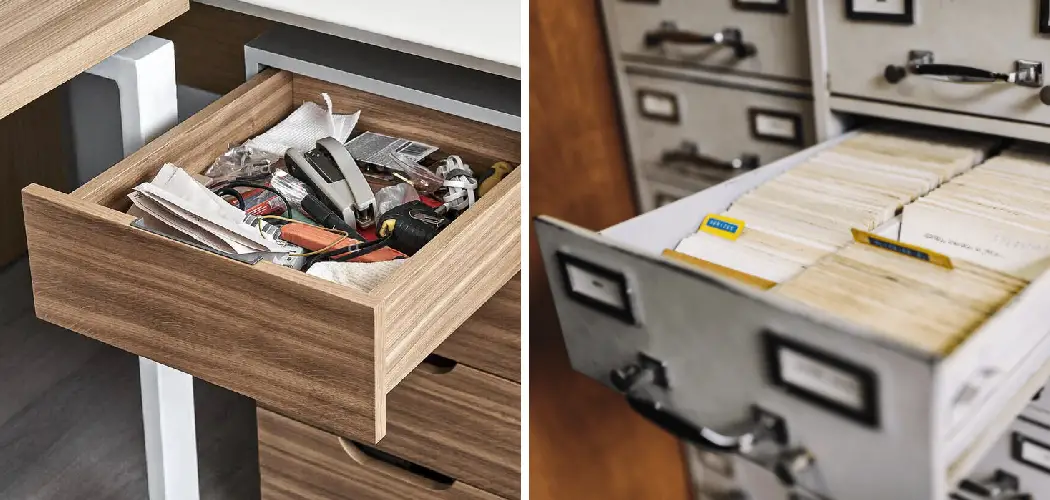
File cabinets are the unsung heroes of the organized office or home workspace. They keep our important documents safe, sorted, and accessible. But what happens when you need to move the cabinet, retrieve a lost item that slipped behind a drawer, or perform some maintenance? The thought of removing a heavy, fully-loaded drawer can seem daunting.
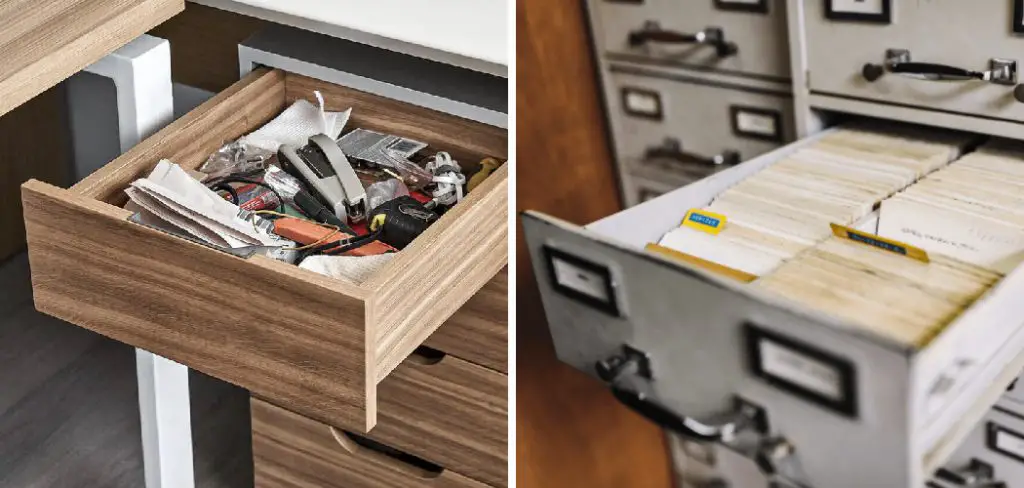
Fortunately, most file cabinets are designed for easy drawer removal. This guide will walk you through how to remove file cabinet drawers, making it simple to lighten the load for a move, clean the cabinet, or fix a sticky slide.
Learning this skill not only helps with immediate needs but also empowers you to better maintain your office furniture for years to come.
What Will You Need?
Before you begin, gathering a few simple tools will make the process much smoother. You likely have most of these on hand already.
- A flat-head screwdriver or a putty knife
- A flashlight (optional, but helpful for seeing into the mechanism)
- Work gloves to protect your hands
- Safety glasses (especially if dealing with older or rusted parts)
- A small container to hold any screws or small parts
Once you have these basic tools, you are ready to begin maintaining your office furniture.
10 Easy Steps on How to Remove File Cabinet Drawers
Removing a file cabinet drawer is usually a straightforward process. While designs can vary slightly between manufacturers, the core principles remain the same. Follow these detailed steps to safely and successfully remove your drawers.
Step 1: Empty the Drawer Completely
Your first and most important step is to remove all contents from the drawer you intend to take out. File cabinet drawers can become extremely heavy when filled with paper. Attempting to remove a full drawer is not only difficult but also a safety risk. It can strain your back and potentially damage the drawer, the cabinet, or the floor if it falls.
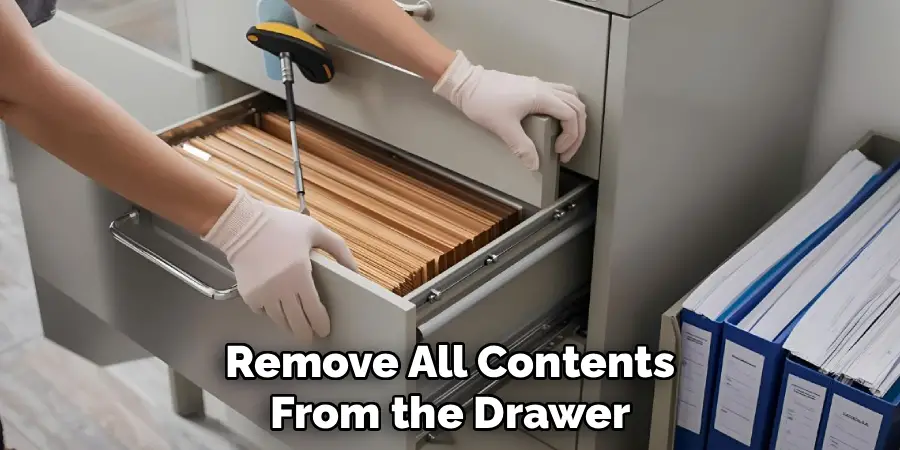
By emptying it first, you make the drawer light and manageable. This also prevents the contents from shifting and jamming the drawer slides during removal. Take this opportunity to sort through old files and declutter. Once empty, you have a clear and lightweight drawer ready for the next steps.
Step 2: Extend the Drawer Fully
Pull the drawer out as far as it will go. You need to extend it to its maximum length to gain access to the release mechanism on the slides. When you pull it all the way out, you should hear or feel a distinct “stop.” This indicates it has reached the end of its track.
This full extension is crucial because the release levers or tabs are almost always located at the very back of the drawer slide or the very front of the cabinet slide. If the drawer isn’t fully extended, you won’t be able to see or reach these components, making removal impossible.
Step 3: Identify the Drawer Slide Type
Now, look at the metal slides on both sides of the drawer. There are generally two common types of mechanisms. The first is a lever system, where small plastic or metal levers are located on the sides of the drawer rails. The second type is a tab system, which involves a small metal or plastic tab that you need to press or bend.
Identifying which system your cabinet uses is key to a successful removal. Take a moment to examine the slides closely. A flashlight can be very helpful here to illuminate the small parts of the mechanism. The lever is the most common type on modern office cabinets.
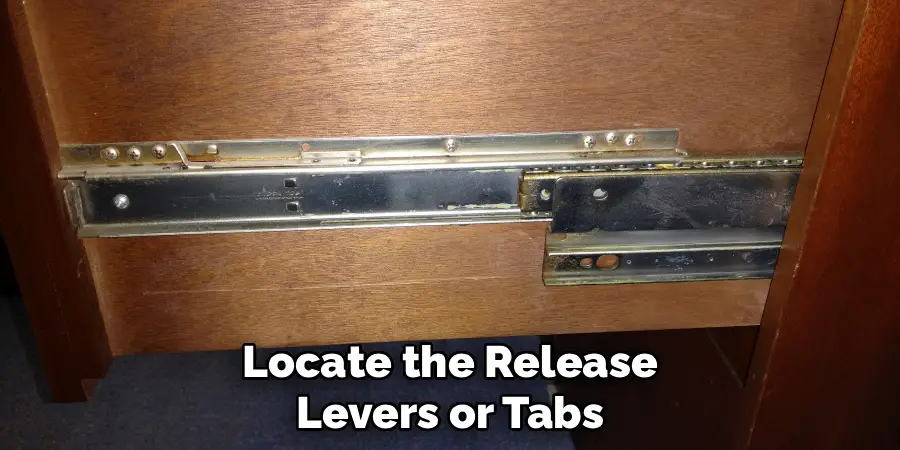
Step 4: Locate the Release Levers or Tabs
With the drawer fully extended, focus on the area where the drawer slide (the part attached to the drawer) meets the cabinet slide (the part attached to the cabinet frame). This is where you will find the release mechanism. For lever systems, you’ll see a small, often black, plastic lever on each side.
One lever will typically need to be pushed up, while the other needs to be pushed down. For tab systems, you will find a small, thin piece of metal or a plastic clip. This tab might be part of the slide itself and require a tool to gently bend or press.
Step 5: Disengage the Left-Side Lever
Let’s start with the left side of the drawer. Using your finger, press the release lever. In most cases, the lever on the left side needs to be pushed up. You should feel a slight click or release as you move it.
Hold the lever in this “up” position. If you have a tab system, you might need to use a flat-head screwdriver to gently press the tab inward or upward, depending on its design. The goal is to release the locking mechanism that holds the drawer slide within the cabinet slide.
Step 6: Disengage the Right-Side Lever
Simultaneously, while holding the left-side lever up, use your other hand to disengage the right-side lever. The lever on the right side usually needs to be pushed down. Again, you should feel a small click.
If your cabinet has two upward- or downward-facing levers, just follow their direction. The key is to disengage both sides at the same time. This coordination can be a bit tricky at first, but it is essential. Holding both levers in their released positions unlocks the drawer from the cabinet.
Step 7: Wiggle the Drawer Gently
With both levers or tabs disengaged and held in place, it’s time to start removing the drawer. Give the drawer a gentle wiggle from side to side. This slight movement helps to ensure that the ball bearings are fully dislodged from their tracks.
Sometimes, due to settled dust or slight misalignments, the drawer can stick a little even after the levers are released. A light jiggle is usually all it takes to break it free and prepare it for the final pull.
Step 8: Pull the Drawer Forward and Out
While still holding the levers in their release positions, firmly but gently pull the drawer straight toward you. It should now slide completely out of the cabinet. Be prepared to support its full weight as it comes free, even though it’s empty. Pulling straight is important to avoid twisting the drawer, which could damage the slides. If you feel resistance, stop and double-check that both levers are still fully disengaged. Do not force it.
Step 9: Set the Drawer Aside Safely
Once the drawer is completely free from the cabinet, place it on a flat, stable surface where it won’t be a tripping hazard. Setting it aside safely ensures you have a clear workspace for cleaning the cabinet, performing repairs, or removing other drawers.

This also prevents accidental damage to the drawer or its slide mechanisms while you work.
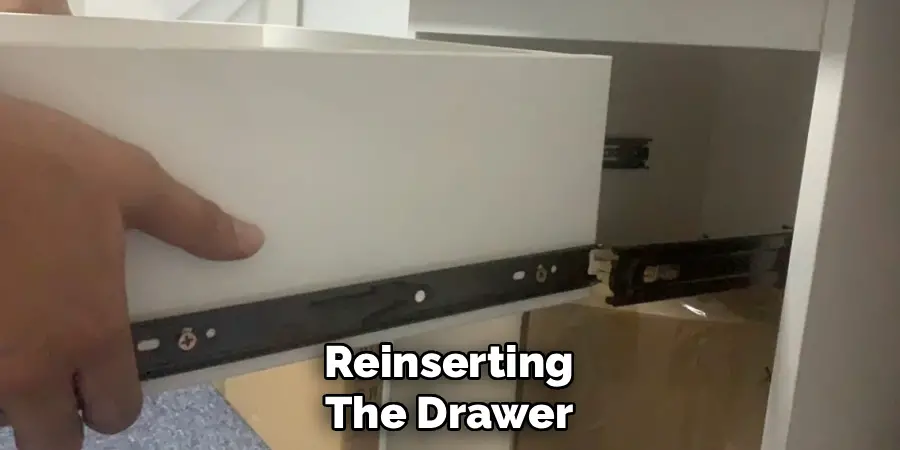
Step 10: Reinserting the Drawer
To put the drawer back, first align the drawer slides with the cabinet slides on both sides. Ensure the ball bearing retainers are pushed all the way to the front of the cabinet slides. Carefully slide the drawer in until you feel it stop.
At this point, you’ll need to give it a firm, steady push to re-engage the locking mechanism. You should hear a distinct “click” as the levers lock back into place. To confirm it’s secure, pull the drawer open and closed a few times. It should glide smoothly and stop properly when fully extended.
By following these steps, you can easily fix a sticking drawer and ensure it functions properly.
5 Things You Should Avoid
- Forcing the Drawer: If the drawer isn’t coming out, don’t use brute force. You likely missed a step or haven’t fully disengaged the release levers. Forcing it can bend the metal slides, making them impossible to repair.
- Removing a Full Drawer: Never try to remove a drawer that is still full of files. The weight makes it a safety hazard and increases the risk of damaging the cabinet, the drawer, or yourself.
- Working on an Uneven Surface: Ensure the file cabinet is on level ground before you begin. An unstable cabinet can tip over when a heavy drawer is removed, especially from the top.
- Misaligning the Slides on Reinsertion: When putting the drawer back, make sure the slides are perfectly aligned. Pushing a misaligned drawer can damage the ball bearings and the track, leading to a drawer that won’t open or close properly.
- Losing Small Parts: If your cabinet uses screws or clips, keep them in a small container. Losing even one small piece can compromise the function and safety of the drawer mechanism.
Conclusion
Removing a file cabinet drawer is a simple task that anyone can master with a little patience and the right technique.
By following these steps on how to remove file cabinet drawers—from emptying the drawer to carefully disengaging the levers and sliding it out—you can handle maintenance, moves, and cleaning with confidence. Remember to avoid common mistakes like forcing the drawer or leaving it full.
With this knowledge, you can keep your office furniture in top condition, ensuring your file cabinet remains a useful and reliable organizational tool for years to come.