

There’s something special about cutting the cord and switching to a clean, wireless setup. If you own a Skyloong keyboard, you already know it’s built for people who care about both performance and style. These keyboards are popular among gamers, writers, and everyday typists because they blend solid build quality with smart features.
Connecting your Skyloong keyboard through Bluetooth might sound technical, but it’s actually quite simple once you know the steps. Whether you’re pairing it with a laptop, tablet, or smartphone, the process takes just a few minutes.
In this guide on how to connect Skyloong keyboard Bluetooth, we’ll walk you through everything you need to know.
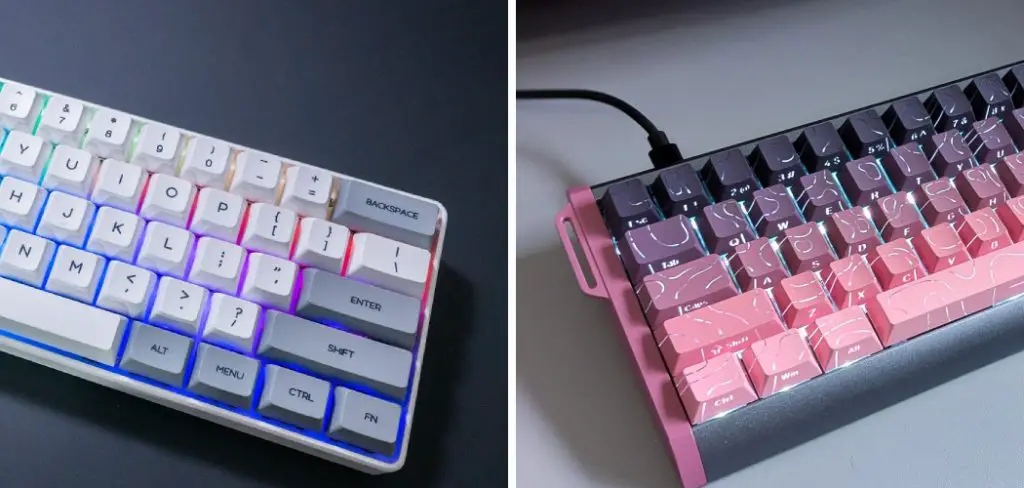
What Are the Benefits?
Going wireless with your Skyloong keyboard brings more advantages than you might expect. Beyond just removing a cable, Bluetooth connectivity changes how you work and play. Here are the key benefits worth knowing.
- A cleaner, tidier workspace. Cables can quickly turn a neat desk into a messy one. With Bluetooth, you remove the clutter and give yourself more room to breathe. Your setup looks sharper, and you spend less time untangling cords.
- Freedom to move around. Bluetooth gives you the flexibility to position your keyboard wherever feels comfortable. You can lean back on the couch, prop the keyboard on your lap, or move it across the desk without worrying about cable length. This freedom can make long typing or gaming sessions far more pleasant.
- Easy switching between devices. Many Skyloong keyboards support pairing with more than one device. This means you can switch from your laptop to your tablet to your phone with a quick button press. If you juggle multiple gadgets during the day, this feature saves a lot of time.
- Better portability. Without a cable to pack, your keyboard becomes easier to carry. If you travel often or work in different spots around your home, a Bluetooth keyboard slips into your bag and is ready to go.
- Reduced wear on ports. Plugging and unplugging cables can slowly wear down your device’s ports. Going wireless protects those ports and helps your gear last longer.
In short, Bluetooth gives you comfort, flexibility, and a cleaner setup. These small improvements add up to a much better daily experience.
What Will You Need?
Before you start pairing, it helps to gather everything in one place. Having the right items ready will make the process smooth and stress-free. Here’s a quick checklist of what you’ll need.
- Your Skyloong keyboard
- A charged battery
- A device to connect
- Bluetooth enabled
- The user manual (optional)
- A USB-C cable (optional)
Once you’ve got these items together, you’re ready to begin. Take a moment to confirm everything is charged and within reach. A little preparation goes a long way toward a fast, frustration-free connection.
10 Easy Steps on How to Connect Skyloong Keyboard Bluetooth
Now for the main event. Follow these ten steps in order, and you’ll have your keyboard connected in no time. Each step includes a clear explanation so you know exactly what to do and why.
Step 1: Charge Your Keyboard Fully
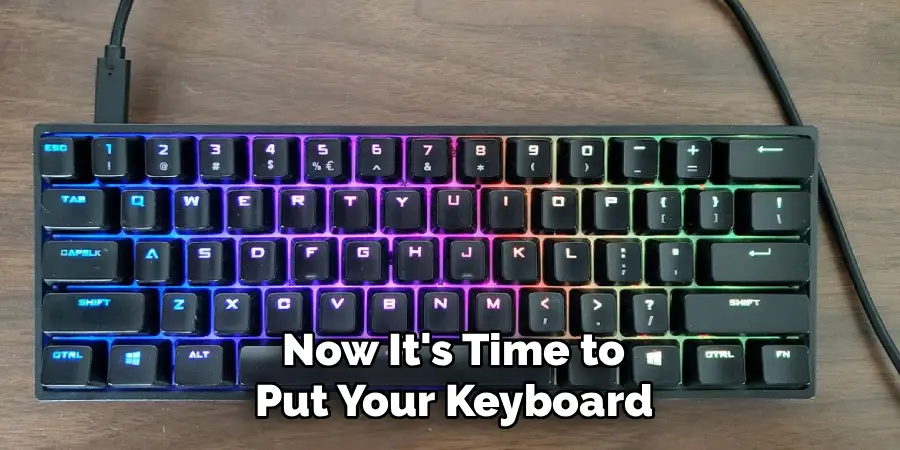
Before anything else, make sure your Skyloong keyboard has enough power. A low battery can cause pairing problems or sudden disconnections, which are frustrating to deal with. Plug in your keyboard using the USB-C cable and let it charge for a while. Most models show a small light that tells you the charging status. Once it’s full, you’re ready to move forward. Starting with a charged battery sets you up for a smooth, reliable connection that won’t drop out halfway through setup.
Step 2: Locate the Mode Switch
Most Skyloong keyboards have a switch or button that controls the connection mode. This switch usually toggles between wired, 2.4GHz wireless, and Bluetooth modes. Flip your keyboard over or check the side and back panels to find it. The switch is often labeled or marked with small icons. Knowing where this control sits is important, because you’ll need it to enable Bluetooth. If you can’t find it easily, glance at your user manual for the exact location. Taking a moment here saves confusion later in the process.
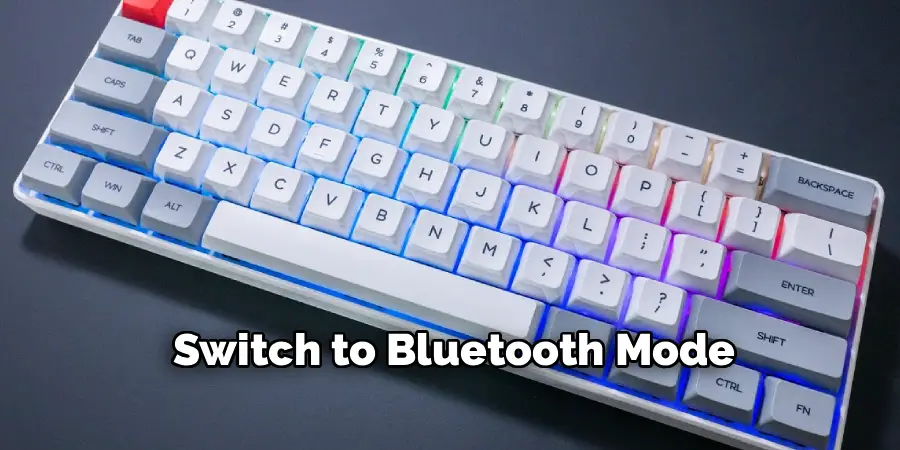
Step 3: Switch to Bluetooth Mode
Once you’ve found the mode switch, move it to the Bluetooth setting. On many Skyloong models, this is one of three positions on a slider, or it may be a key combination you press. When Bluetooth mode is active, the keyboard knows to broadcast a wireless signal that nearby devices can detect. You might notice a light change color or start blinking. This is your keyboard’s way of telling you it’s ready for the next step. If nothing happens, double-check that the switch is fully in the right position.
Step 4: Turn On the Keyboard
With Bluetooth mode selected, power on your keyboard if it isn’t already running. Some models turn on automatically when you flip the switch, while others have a separate power button. Look for a light or indicator that confirms the keyboard is awake and active. If your keyboard went to sleep to save battery, simply press any key to wake it. A powered-on keyboard is essential, since it can’t pair with anything while it’s off. This quick check keeps the process moving forward.
Step 5: Enter Pairing Mode
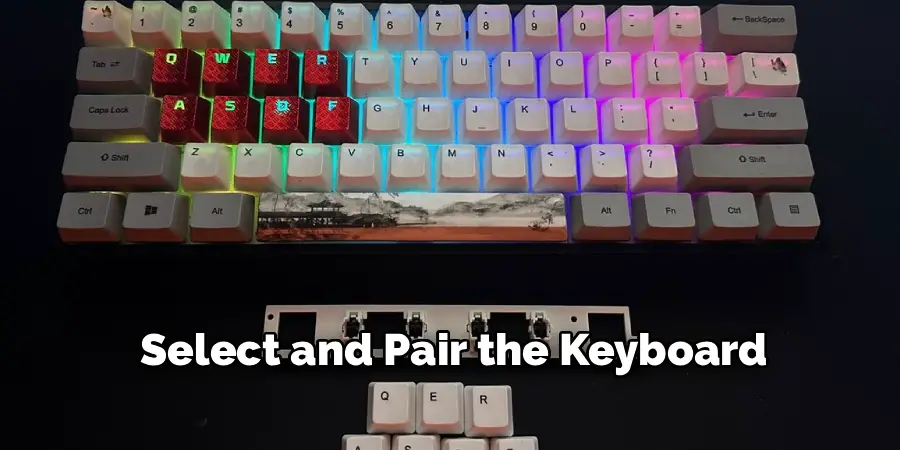
Now it’s time to put your keyboard into pairing mode. This is the moment your keyboard becomes visible to other devices. On most Skyloong keyboards, you do this by pressing a specific key combination, often the function key plus a number or letter key. Hold the combination for a few seconds until you see a fast-blinking light. That blinking signal means your keyboard is searching for a device to connect with. Pairing mode usually stays active for a limited time, so be ready to move to the next step quickly.
Step 6: Open Bluetooth Settings on Your Device
Turn your attention to the device you want to connect. Open its Bluetooth settings menu. On a Windows laptop, you’ll find this under Settings, then Devices, then Bluetooth. On a Mac, look in System Settings under Bluetooth. For phones and tablets, the option usually sits in the main settings menu. Make sure Bluetooth is switched on so your device begins scanning. Your device needs to be actively searching to spot your keyboard, so keep this window open and ready.
Step 7: Find Your Keyboard in the Device List
After a few seconds of scanning, your Skyloong keyboard should appear in the list of available devices. The name often includes the word “Skyloong” or the model number, like “GK61” or “SK Pro.” Look carefully through the list, since other nearby devices may show up too. If you don’t see your keyboard right away, give it a moment or refresh the scan. Once it appears, you’re just one tap away from a successful connection. Spotting the correct name here prevents accidental pairing with the wrong device.
Step 8: Select and Pair the Keyboard
Click or tap on your keyboard’s name in the device list to begin pairing. Your device will try to establish a connection, which usually takes only a few seconds. Sometimes a confirmation prompt appears, asking you to approve the pairing. If it does, simply accept it to continue. You may also be asked to enter a code, though many keyboards skip this step. Once the connection completes, the blinking light on your keyboard often turns solid. That steady light tells you the pairing worked.
Step 9: Confirm the Connection
Don’t assume the job is done just yet. Test your keyboard to make sure it’s truly connected. Open a notes app, document, or search bar and type a few words. If the letters appear on screen, congratulations, your keyboard is paired and working. If nothing shows up, the connection may not have fully formed. In that case, you might need to repeat the pairing steps. Testing now saves you from surprises later when you sit down to do real work.
Step 10: Save and Enjoy Your Wireless Setup
Most devices remember a paired keyboard automatically, so you won’t need to repeat this process each time. From now on, your Skyloong keyboard should reconnect on its own when both devices are powered on and nearby. Take a moment to enjoy your new wireless freedom. Move the keyboard around, clean up those extra cables, and settle into a tidier workspace. If your model supports multiple devices, you can repeat these steps to pair it with another gadget and switch between them with ease.
5 Things You Should Avoid
Even simple processes can trip you up if you’re not careful. Keep these common mistakes in mind to avoid frustration.
- Don’t ignore a low battery. Trying to pair with a nearly empty battery often leads to dropped connections. Always charge your keyboard before you begin.
- Don’t skip pairing mode. Some users turn on Bluetooth but forget to press the pairing key combination. Without active pairing mode, your device won’t find the keyboard.
- Don’t pair too far away. Bluetooth has a limited range. Keep your keyboard close to the device during setup, ideally within a few feet, to ensure a stable link.
- Don’t connect to the wrong device name. With many devices nearby, it’s easy to tap the wrong name. Double-check that you’re selecting your actual Skyloong model.
- Don’t forget to remove old pairings. If your keyboard was once linked to another device, lingering connections can cause conflicts. Unpair from unused devices to keep things clean and reliable.
Conclusion
How to connect Skyloong keyboard Bluetooth is easier than it might seem at first.
With a charged battery, the right mode selected, and a few simple steps, you can cut the cords and enjoy a cleaner, more flexible setup in just minutes. We’ve walked through everything from preparation to pairing, plus the mistakes to avoid and answers to common questions.
The real beauty of going wireless is the freedom it gives you. No more tangled cables, no more being stuck in one position, and no more worrying about cord length. You can move your keyboard wherever feels best and even switch between several devices if your model supports it.
