
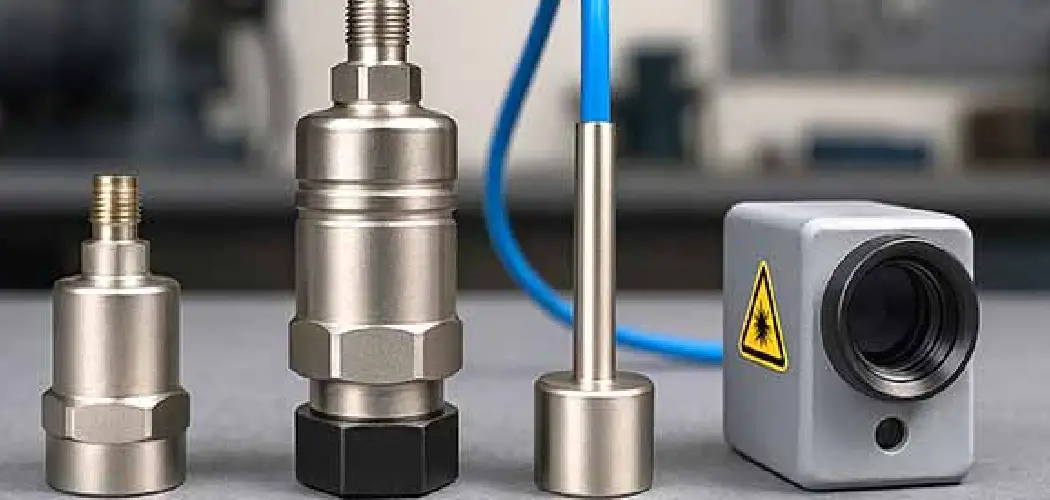
Your ADT motion sensor works hard to keep your home safe, but it can only do its job when the battery is fresh. When that little device starts beeping or flashing, it’s usually telling you one thing: the battery is running low. Ignoring it could leave a gap in your home security, and nobody wants that.
The good news? Swapping the battery is a simple task you can handle yourself in just a few minutes. You don’t need a technician, special training, or expensive tools. With a little guidance, you’ll have your sensor back online and protecting your space in no time.
Let’s dive into how to change battery in ADT motion sensor.

What are the Benefits?
Changing the battery yourself comes with more perks than you might expect. It’s not just about silencing an annoying beep. A small effort here pays off across your whole security setup.
- You keep your home protected around the clock. A dead sensor is a blind spot. By staying on top of battery changes, you make sure every corner of your home stays monitored, day and night.
- You save money. Calling a technician for a quick battery swap can cost you a service fee. Doing it yourself keeps that cash in your pocket, and the task takes only minutes once you know the steps.
- You avoid false alarms. A weak battery can cause a sensor to behave erratically, triggering false alerts or failing to respond at all. Fresh power keeps your system accurate and reliable.
- You gain peace of mind. Knowing your devices are fully charged means you can relax, travel, or sleep soundly without worrying about a security lapse.
- You extend the life of your equipment. Routine maintenance, like timely battery changes, helps your sensors last longer and perform better over the years.
In short, this quick chore protects both your home and your wallet.
What Will You Need?
Before you start, gather a few simple items. Having everything ready saves time and keeps the process smooth.
- A replacement battery. Most ADT motion sensors use a CR123A or CR2 lithium battery, though some models differ. Check your sensor’s label or manual to confirm the exact type.
- A small flathead screwdriver. You’ll use this to gently pry open the sensor cover. A coin or plastic opening tool can also work.
- A step stool or sturdy ladder. Many sensors sit high on walls or in corners, so you’ll need a safe way to reach them.
- A clean, dry cloth. This lets you wipe away dust before sealing the unit back up.
- Your ADT app or panel access. You may need this to disarm the system or clear any alerts after the swap.
A quick tip: buy your battery from a trusted brand. Cheap, off-brand batteries can drain faster and may not fit snugly, which leads to repeat trips up the ladder.
Once you’ve got these on hand, you’re ready to begin.
10 Easy Steps on How to Change Battery in ADT Motion Sensor

Follow these steps in order. Take your time, and don’t rush any part of the process. Working carefully helps you avoid damaging the sensor or triggering unwanted alarms.
Step 1: Identify Your Sensor Model
Start by finding the exact model of your ADT motion sensor. Look for a sticker on the back or side of the device, which usually lists the model number and battery type. This matters because different models use different batteries. Knowing your model helps you buy the right replacement and avoid frustration mid-task. If you can’t find a label, check your ADT account online or the original product manual for details.
Step 2: Put Your System in Test Mode
Before touching the sensor, put your security system into test mode. This step prevents the system from sounding a full alarm or alerting the monitoring center when you open the device. You can usually do this through your ADT app or the main control panel. Look for an option labeled “Test” or “Maintenance.” Activating it tells your system you’re doing planned work, so it won’t treat the open sensor as a break-in.
Step 3: Gather Your Tools and Battery
Now bring everything to the sensor’s location. Carry your screwdriver, the new battery, a cloth, and your step stool if needed. Setting up before you climb saves you from making extra trips. Place small items like the screwdriver in a pocket or pouch so you don’t drop them. Being organized at this stage keeps the whole job quick and stress-free.
Step 4: Safely Reach the Sensor
Many motion sensors sit high in corners or near ceilings. Set up your ladder or step stool on solid, level ground before climbing. Make sure it’s stable and won’t wobble. Never overreach or stand on your toes to save effort, as a fall isn’t worth it. If the sensor is especially high, ask someone to steady the ladder for you. Safety always comes first.
Step 5: Open the Sensor Housing
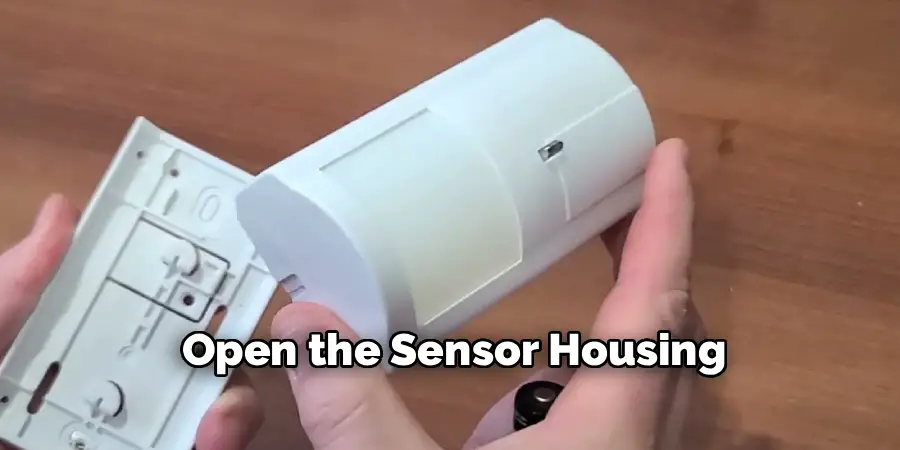
Most ADT motion sensors have a cover that either slides off or pops open with gentle pressure. Look for a small notch or seam along the edge. Insert your flathead screwdriver carefully into the notch and apply light pressure to release the cover. Some models have a tab at the bottom you push to detach the unit from its base. Work slowly to avoid cracking the plastic.
Step 6: Locate and Remove the Old Battery
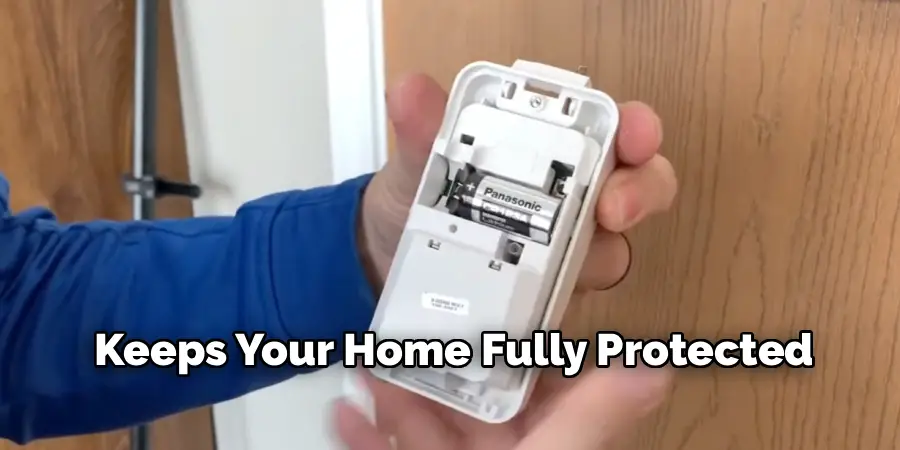
Once the housing is open, you’ll see the battery inside. Note how it sits, paying attention to the positive (+) and negative (–) ends. Snapping a quick photo with your phone can help you remember the correct orientation. Gently lift or slide the old battery out. If it’s held by a clip, ease the clip back and let the battery pop free. Don’t yank or force it.
Step 7: Insert the New Battery
Take your fresh battery and place it in the slot, matching the positive and negative ends exactly as the old one sat. This is where that photo comes in handy. A battery placed backward won’t power the sensor and may confuse later. Press it in firmly until it seats securely. You may hear or feel a slight click when it’s properly in place.
Step 8: Clean and Close the Housing
Before sealing everything up, wipe away any dust or cobwebs with your dry cloth. Dust on the lens can affect how well the sensor detects movement. Once it’s clean, line up the cover with the base and press or slide it back into position. You should hear a click or feel it lock into place. Make sure there are no gaps or loose edges.
Step 9: Test the Sensor
Now check that the sensor works. Walk in front of it and watch for a small indicator light, which usually blinks when it detects motion. This light confirms the device is powered and responsive. If you don’t see any reaction, double-check the battery orientation and make sure it’s seated correctly. A quick test now saves you from discovering a problem later.
Step 10: Restore Your System and Clear Alerts
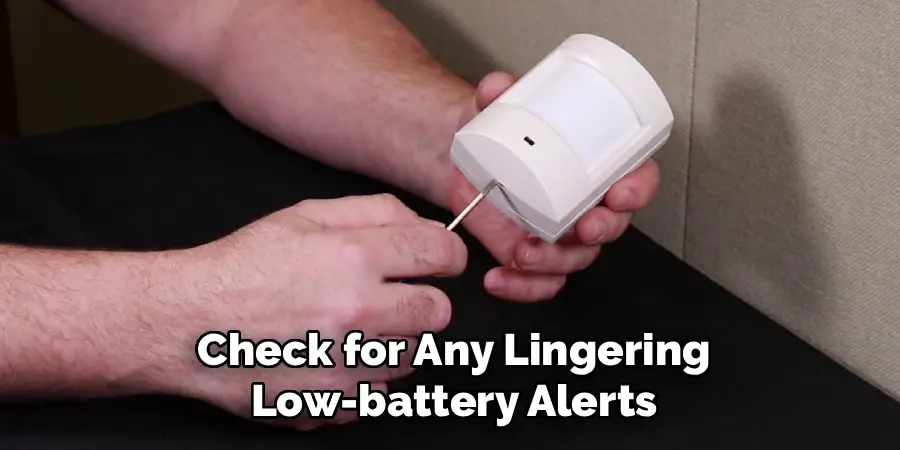
Finally, take your system out of test mode through the app or control panel. Then check for any lingering low-battery alerts and clear them. Your system should now show the sensor as active and healthy. Arm your system as usual to confirm everything functions normally. That’s it, your motion sensor is back on duty.
With these ten steps complete, your sensor is fully restored and ready to protect your home.
5 Things You Should Avoid
Even simple tasks can go sideways if you’re not careful. Keep these common mistakes in mind to make the job smooth and safe.
- Don’t skip test mode. Opening a sensor without disarming or putting your system in test mode can trigger a full alarm and alert your monitoring center. That leads to unnecessary calls and stress.
- Don’t force the housing open. The plastic covers are sturdy but not indestructible. Prying too hard can crack the case, leaving your sensor exposed to dust and damage. Use gentle, steady pressure instead.
- Don’t ignore battery orientation. Installing the battery backward is one of the most common errors. Always match the positive and negative ends to how the old battery sat. A reversed battery means a dead sensor.
- Don’t use the wrong battery type. Off-brand or incorrect batteries may not fit or could drain quickly. Stick to the type listed on your sensor, and choose a reputable brand for longer life.
- Don’t forget to test afterward. Closing everything up without checking leaves you guessing. A quick walk-by test confirms the sensor works before you walk away.
Avoiding these slip-ups keeps your security system reliable and your day hassle-free.
Conclusion
How to change battery in ADT motion sensor is a quick, money-saving task that keeps your home fully protected. By following the ten steps above, putting your system in test mode, swapping the battery correctly, and testing afterward, you can handle the whole job in just a few minutes.
Remember the key points: use the right battery, work gently, and always confirm the sensor responds before you finish. Avoiding common mistakes like skipping test mode or reversing the battery will save you time and stress.
Now that you know how easy it is, why wait for the next low-battery beep? Grab a fresh battery, follow this guide, and keep your security system running strong. Which sensor will you tackle first?
