
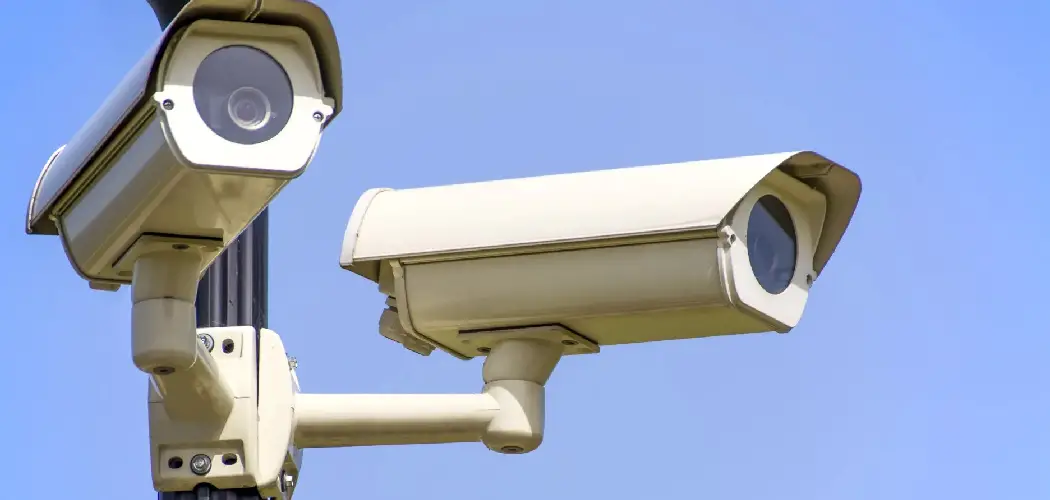
Keeping your home safe doesn’t have to mean hiring expensive professionals or wiring your whole house from scratch. Today’s security cameras are easier to set up than ever, and many homeowners can do the job themselves in an afternoon.
Whether you want to keep an eye on your front porch, watch over the backyard, or simply feel a little more secure when you’re away, installing your own cameras gives you control and peace of mind.
This guide on how to install security cameras walks you through everything you need to know. You’ll learn the benefits of home security cameras, the tools you’ll need, and ten simple steps to get your system up and running.
Benefits of Installing Security Cameras
Before you grab your drill, it helps to understand why so many homeowners are adding cameras to their property. The advantages go far beyond just catching a package thief.
- Deterring intruders. A visible camera near your door or driveway can make someone think twice before approaching your home. Many people looking to cause trouble move on when they spot a camera.
- Keeping watch while you’re away. With most modern systems, you can check live video from your phone no matter where you are. Heading out of town? You can still see who’s knocking at your door.
- Recording important moments. Cameras can capture footage of deliveries, visitors, or unexpected events. If anything happens, you’ll have a record you can review later.
- Peace of mind. Perhaps the biggest benefit is simply feeling more comfortable in your own home. Knowing you can check on things any time helps you relax, whether you’re asleep upstairs or working across town.
- Lower stress about the kids and pets. Many homeowners use indoor cameras to keep an eye on children, elderly family members, or pets during the day.
- Possible savings. Some home insurance providers offer discounts when you have a security system in place. It’s worth asking your provider what they offer.
What Will You Need?
Getting organized before you start makes the whole job smoother. Here’s a simple checklist of what to gather:
- Security cameras – wired or wireless, depending on your setup
- A power source – outlets nearby, or batteries for wireless models
- A drill and drill bits – for mounting brackets and feeding cables
- Screws and wall anchors – usually included in the box
- A screwdriver – manual or electric
- A ladder – sturdy and tall enough to reach your mounting spots
- Your smartphone or computer – to set up the app and view footage
- A strong Wi-Fi connection – for wireless and smart cameras
- Cable clips or conduit – to keep wires tidy on wired systems
- A pencil – for marking drill spots
- A storage solution – cloud storage or a memory card for recordings
Having these items ready means you won’t have to stop halfway through to run to the hardware store.
10 Easy Steps on How to Install Security Cameras
Follow these steps in order, and you’ll have your cameras working in no time. Take your time with planning, since good preparation makes everything else easier.
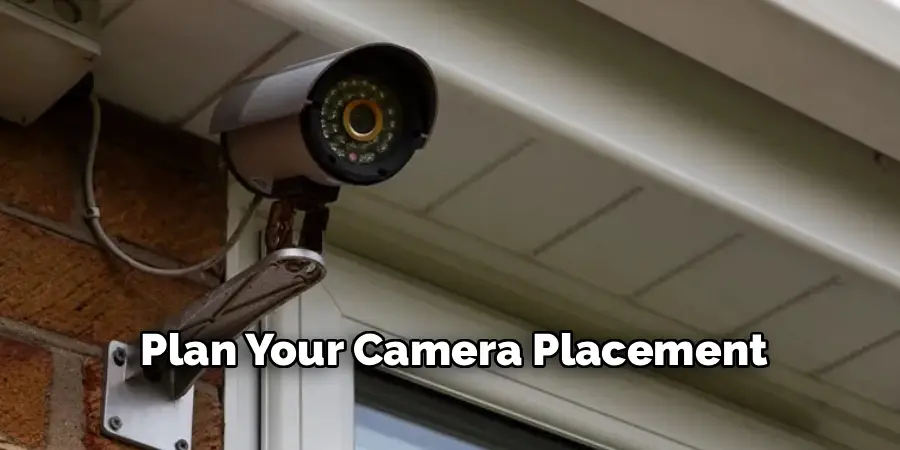
Step 1: Plan Your Camera Placement
Start by walking around your property and deciding where you want coverage. The most common spots are the front door, back door, garage, driveway, and any ground-floor windows. Think about the areas where someone might enter or where you most want to keep watch. Aim for spots about 8 to 10 feet off the ground. That height is high enough to stay out of reach but low enough to capture clear faces. Avoid pointing cameras directly at bright lights or the sun, which can wash out the image.
Step 2: Choose Between Wired and Wireless
Decide which type of system suits your home. Wired cameras offer steady, reliable video but require running cables, which takes more effort. Wireless cameras are much easier to install and can be placed almost anywhere, though they rely on a strong Wi-Fi signal and may need battery charging. Many beginners start with wireless models for simplicity. Pick the option that matches your comfort level and the layout of your home.
Step 3: Check Your Wi-Fi Signal
If you chose wireless or smart cameras, test your Wi-Fi at each planned location before mounting anything. Use your phone to check the signal strength where each camera will sit. Weak signals lead to choppy video and dropped connections. If a spot has poor coverage, consider moving the camera closer to your router or adding a Wi-Fi extender. A strong signal equals smooth, dependable footage.
Step 4: Mark and Prepare the Mounting Spots
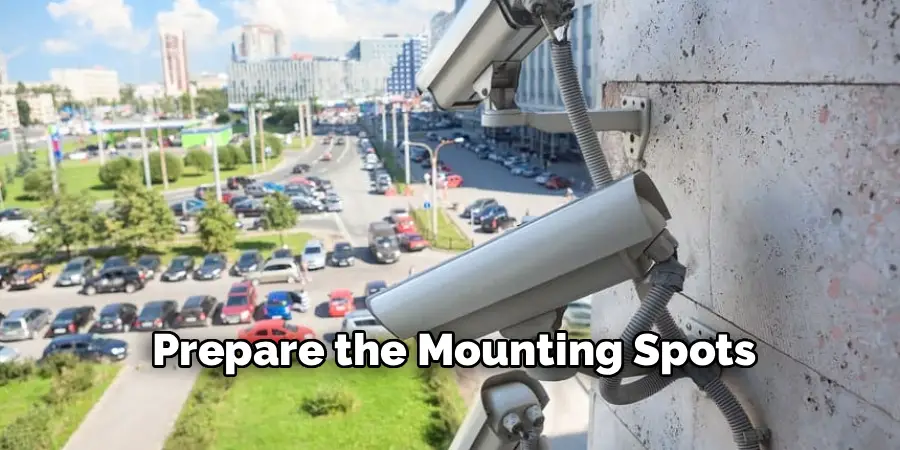
Hold the camera or its bracket against the wall and use a pencil to mark where the screws will go. Use a level to keep everything straight. Once your marks are set, drill pilot holes and insert wall anchors if you’re mounting on brick, concrete, or stucco. Anchors keep the camera secure and prevent it from loosening over time. Double-check your marks before drilling, since holes are hard to undo.
Step 5: Mount the Camera Bracket
Attach the mounting bracket to the wall using the included screws. Tighten them firmly so the bracket doesn’t wobble. Give it a gentle tug to make sure it’s solid. A loose bracket can cause the camera to droop and miss the view you wanted. Take a moment to confirm the bracket sits flush against the surface.
Step 6: Connect the Power or Wiring
For wired cameras, run the power and video cables from the camera to your recorder or power source. Use cable clips or conduit to keep the wires neat and protected from weather. For wireless cameras, plug them into a nearby outlet or insert and charge the batteries. If your camera is solar-powered, position the panel where it gets plenty of sunlight. Always tuck cables away from doors and windows where they could be tampered with.
Step 7: Attach and Position the Camera
Secure the camera onto the mounted bracket. Adjust the angle so it captures the area you planned in Step 1. Aim slightly downward to cover walkways and entrances rather than the sky or rooftops. If you have multiple cameras, try to slightly overlap their views so you don’t leave blind spots. Tighten any adjustment screws so the camera holds its position.
Step 8: Set Up the App or Software

Download the camera maker’s app on your phone or install the software on your computer. Create an account and follow the prompts to connect each camera to your network. Most apps walk you through scanning a code or entering a Wi-Fi password. Give each camera a clear name, like “Front Door” or “Backyard,” so you can tell them apart at a glance. This setup usually takes just a few minutes per camera.
Step 9: Test Every Camera
Now check that everything works. Open the app and view the live feed from each camera. Confirm the picture is clear, the angle is right, and the area you wanted is fully covered. Test the night vision after dark, and try the motion alerts if your camera has them. Walk through the camera’s view to make sure it triggers and records as expected. Adjust angles now while it’s easy to reach them.
Step 10: Maintain Your System
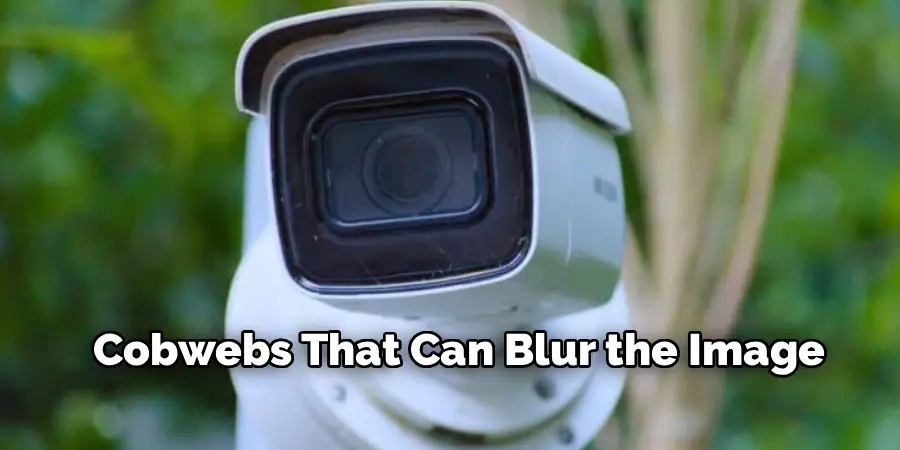
Your work isn’t quite done once the cameras are up. Wipe the lenses every few weeks to remove dust, rain spots, or cobwebs that can blur the image. Check battery levels on wireless models and recharge as needed. Keep the app updated so you get the latest features and security improvements. Review your footage settings now and then to confirm recordings are saving properly. A little upkeep keeps your system reliable for years.
5 Things You Should Avoid
Even a simple project can go sideways if you’re not careful. Steer clear of these common mistakes:
- Mounting cameras too high. Placing a camera way up under the eaves might feel safe, but it often captures only the tops of heads. Keep cameras at a height where you can clearly see faces.
- Ignoring weatherproofing. Outdoor cameras face rain, snow, and heat. Make sure yours is rated for outdoor use, and protect any exposed cables and connections from moisture.
- Forgetting blind spots. A single camera rarely covers everything. Walk your property and look for gaps where someone could slip past unseen.
- Using weak passwords. Your camera app holds private footage, so protect it. Choose a strong, unique password and turn on extra security features if they’re available.
- Skipping the test phase. Don’t assume everything works just because the camera turned on. Always check the live view, night vision, and alerts before calling the job finished.
Conclusion
How to install security cameras is one of the most rewarding home projects you can take on. With a bit of planning and a free afternoon, you can set up a system that watches over your property and gives you genuine peace of mind.
The key is to start with a solid plan, pick the right cameras for your needs, and take your time with placement and testing.
Remember the basics: mount cameras at a height that captures clear faces, cover all your entry points, keep your wiring and connections protected, and test everything before you finish. A little maintenance now and then will keep your system running smoothly for years to come.
