
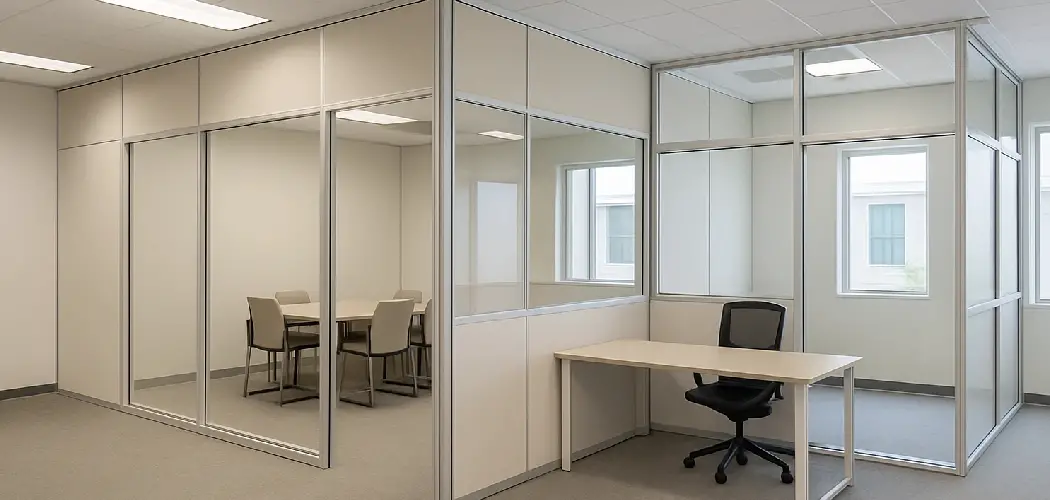
Office layouts change. Maybe your team is growing, you’re switching to an open-plan setup, or you simply need more space to breathe. Whatever the reason, removing cubicle walls is a project you can tackle yourself with the right approach. The good news? Most modern cubicle systems are designed to come apart almost as easily as they go together.
In this guide, you’ll learn exactly how to remove cubicle walls safely and efficiently. We’ll cover the benefits, the tools you’ll need, a clear 10-step process, and the common mistakes to avoid.
By the end, you’ll feel confident handling everything from disconnecting panels to managing wiring and deciding what to do with the parts. Let’s get started.

What Are the Benefits?
Removing cubicle walls offers more than just a cleaner-looking office. There are real, practical advantages that make the effort worthwhile.
- More usable space. Pulling down panels instantly opens up your floor plan. You can fit more desks, create collaborative zones, or simply give people more elbow room.
- Better communication. Open layouts encourage teams to talk, share ideas, and solve problems faster. Walls can create silos, and removing them helps break those barriers down.
- Improved lighting and airflow. Tall cubicle panels block natural light and trap stale air. Taking them out brightens the room and improves circulation, which can boost mood and energy.
- Cost savings. If you handle the removal yourself, you avoid hiring expensive contractors. You can also reuse or resell the components, recovering some of your original investment.
- Flexibility for the future. A modular layout lets you reconfigure the space as your needs change. Removing walls gives you a blank canvas to work with.
What Will You Need?
Before you start, gather your tools and supplies. Having everything on hand prevents frustrating mid-project trips to the hardware store. Here’s a basic checklist:
- Screwdrivers (both Phillips and flathead)
- Allen/hex key set (many cubicle connectors use hex bolts)
- Adjustable wrench or socket set
- Utility knife (for cutting tape, fabric, or zip ties)
- Cordless drill with assorted bits (speeds things up considerably)
- Step ladder (for reaching the tops of tall panels)
- Work gloves to protect your hands
- Safety glasses to guard against dust and debris
- Labels, masking tape, and a marker for tagging parts
- Sandwich bags or small containers to store screws and small hardware
- Furniture dolly or hand truck for moving heavy panels
- A helper or two — panels are awkward and heavy, so an extra set of hands is invaluable
Take a few minutes to confirm what type of fasteners your cubicle uses. This helps you grab the correct tools before you begin.
10 Easy Steps on How to Remove Cubicle Walls
Follow these steps in order. Each one builds on the last, so don’t skip ahead. Take your time, especially around wiring and heavy panels.
Step 1: Inspect the Cubicle System
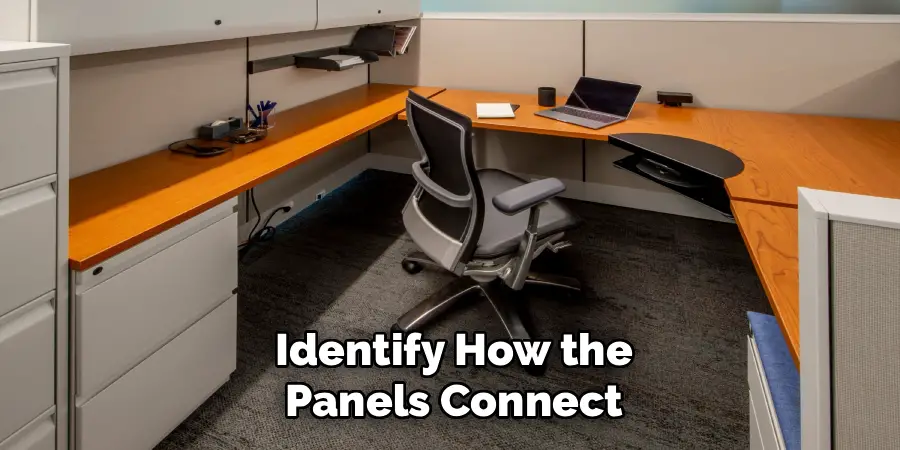
Start by examining your cubicles closely. Identify how the panels connect and how they attach to desks, shelves, and overhead bins. Look for the manufacturer’s name and model, which you can find on a label near the base or inside a panel. Knowing the system helps you find disassembly instructions and the right connectors. Take photos from several angles so you have a reference when it’s time to reassemble or reorganize. This quick inspection saves you guesswork later.
Step 2: Clear the Workspace
Empty everything from the cubicles before touching the walls. Remove monitors, keyboards, files, plants, and personal items. Take down anything mounted on the panels, such as whiteboards, hanging organizers, and shelving. Move chairs and rolling drawers out of the way. A clear space gives you room to work and prevents accidental damage to belongings. It also keeps walkways open so you and your helpers can move panels safely. The cleaner the area, the smoother the whole project goes.
Step 3: Cut the Power
Safety comes first, and electricity is no joke. Many cubicles have built-in power outlets, data ports, and lighting wired through the base of the panels. Before you disconnect anything, turn off the power to that section at the breaker. If you’re unsure which breaker controls the area, ask your facilities team or test the outlets to confirm they’re dead. Never assume a circuit is off. Unplug all devices and verify there’s no live current before moving forward. This single step prevents shocks and equipment damage.
Step 4: Disconnect Electrical and Data Wiring
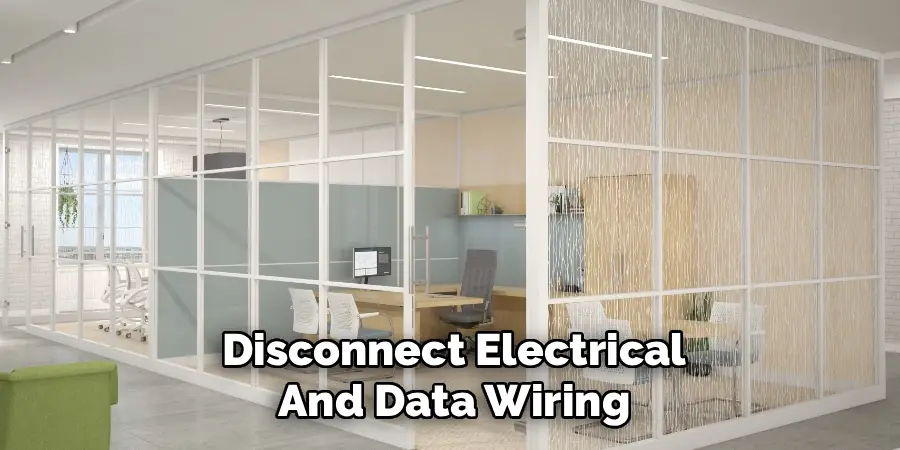
With the power off, carefully detach any wiring running through the panels. Cubicle systems often have power harnesses that snap or unplug from the base raceway. Disconnect data cables, phone lines, and power jumpers, and coil them neatly. If the wiring looks complicated or hardwired into the building, stop and call a licensed electrician. Don’t force or yank cables, as this can damage connectors. Label each cable so you know where it belongs later. Handling wiring slowly and carefully protects both you and your equipment.
Step 5: Remove Overhead and Attached Components
Now take off the heavier add-ons. Detach overhead storage bins, task lights, and shelf units that hang on the panels. These are usually held by brackets or hooks that lift up and off. Have a helper support each piece as you free it, since they can be heavier than they look. Set them aside in a safe spot. Removing these components first lightens the panels and makes the next steps much easier. It also prevents items from crashing down unexpectedly.
Step 6: Detach Work Surfaces and Desks
Cubicle desks usually mount directly to the panels with brackets or cantilever arms. Locate the screws or bolts holding each work surface in place and remove them. Support the desk with a helper as you loosen the last fastener so it doesn’t drop. Once free, lift the surface away and set it down carefully. Keep the mounting hardware together in a labeled bag. Freeing the desks separates the panels from the rest of the system, bringing you closer to the actual walls.

Step 7: Loosen the Panel Connectors
Panels link together with connectors at their seams, often hidden behind small covers or trim strips. Pop off these covers to reveal the bolts or clips holding panels together. Use your hex key or wrench to loosen each connector. Work from the top down, and have someone steady the panels as you go. Don’t fully remove a connector until you’re ready to separate the panels, since they help each other stand upright. Loosening them in order keeps the structure stable.
Step 8: Separate and Lower the Panels
With connectors loosened, you can now part the panels. Lift each panel straight up off its base or feet, depending on the design. Panels are heavy and unbalanced, so always lift with two people. Carry each one to your staging area and lay it flat or lean it securely against a wall. Avoid dragging panels across the floor, which can scratch surfaces and damage the panel edges. Move one panel at a time to stay in control and avoid injury.
Step 9: Label and Organize All Parts
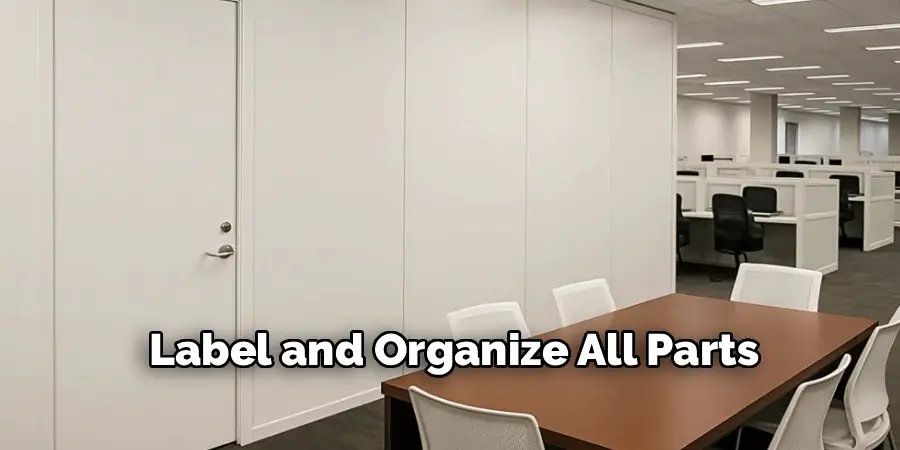
As you remove each piece, label it clearly. Use masking tape and a marker to note which panel, bracket, or connector goes where. Group matching hardware into bags and tape them to their related parts. This step feels tedious, but it’s a lifesaver if you plan to reinstall the cubicles elsewhere. Even if you’re disposing of them, organized parts are easier to sort and recycle. Good labeling now turns a future headache into a simple task.
Step 10: Clean Up and Decide on Next Steps
Once everything is apart, sweep the area and remove any leftover screws, dust, or debris. Inspect the floor and walls for marks or damage that need touch-ups. Now decide what to do with the components. You can reinstall them in a new layout, store them for later, sell them, or recycle them responsibly. Many panels contain metal and fabric that recycling centers accept. Finish by reconnecting power only after a professional confirms the area is safe. Congratulations — your cubicle walls are gone.
5 Things You Should Avoid
Even a straightforward project can go wrong if you rush. Steer clear of these common mistakes.
1. Skipping the power shutoff. Working near live wiring is dangerous. Always cut the power and confirm it’s off before touching any cables.
2. Working alone on heavy panels. Panels are bulky and unbalanced. Lifting them solo risks injury and damage. Always have a helper.
3. Forgetting to label parts. Loose, unmarked hardware leads to confusion and missing pieces. Label as you go, not after.
4. Forcing stuck connectors. If a bolt or clip won’t budge, don’t crank harder. Check for a hidden cover or release mechanism first to avoid breaking parts.
5. Ignoring the manufacturer’s guidance. Every system is a little different. Skipping the manual or model lookup can cause you to disassemble parts in the wrong order.
Conclusion
How to remove cubicle walls is a manageable project when you approach it with a clear plan and a focus on safety. We covered the benefits, from gaining open space and better lighting to saving money and improving teamwork. You learned which tools to gather, how to prepare your workspace, and the exact 10 steps to follow — from cutting the power and handling wiring to separating panels and organizing every part.
The keys to success are simple: cut the power first, work with a partner, label everything as you go, and never force stuck connectors. Following these habits protects you, your equipment, and the panels themselves.
Hopefully, this guide has empowered you to tackle any panel upgrade project with confidence.
