
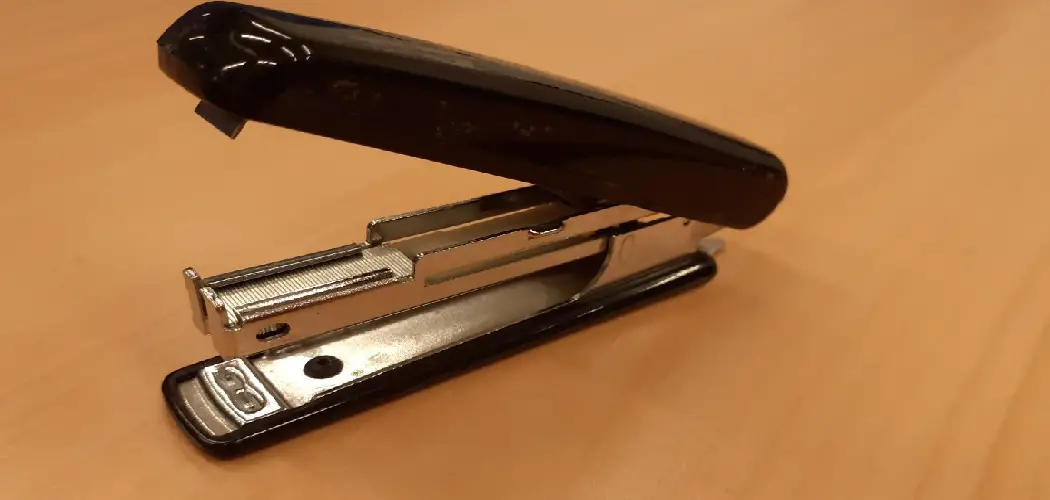
A stapler that refuses to work is one of those small annoyances that can derail an otherwise productive day. Whether it’s jammed with staples, misfiring, or simply not pushing staples through the paper, the problem is almost always fixable without buying a replacement. Knowing how to fix a broken stapler is a practical skill that takes just a few minutes and saves you the cost and frustration of a trip to the store.

This guide is written for anyone — from students and home office workers to teachers and admin staff — who wants a clear, no-nonsense walkthrough of the repair process. You don’t need any special tools or technical background. All you need is a steady hand, a bit of patience, and the steps laid out below.
Why Fixing A Broken Stapler Matters
A broken stapler might seem like a trivial problem, but the impact on your day adds up quickly. Replacing a stapler every time something goes wrong costs more than it should, especially when most issues are simple mechanical faults that anyone can resolve in under ten minutes.
There’s also the waste factor. Staplers are mostly metal and plastic, and throwing one away when a small fix would restore it contributes unnecessarily to landfill. Beyond the practical and environmental case, troubleshooting and repairing small tools builds a useful habit of problem-solving rather than replacing. Once you’ve worked through the repair once, you’ll handle the same issue faster every time it comes up. It’s a small win that compounds over time.
Step-By-Step Guide To Fixing A Broken Stapler
Step 1: Inspect The Stapler Before You Do Anything Else
Start by looking at the stapler carefully before you attempt any repair. Identify what’s actually wrong — is it jammed, misfiring, not feeding staples, or physically broken? Knowing the exact problem saves you from fixing the wrong thing and making the situation worse.
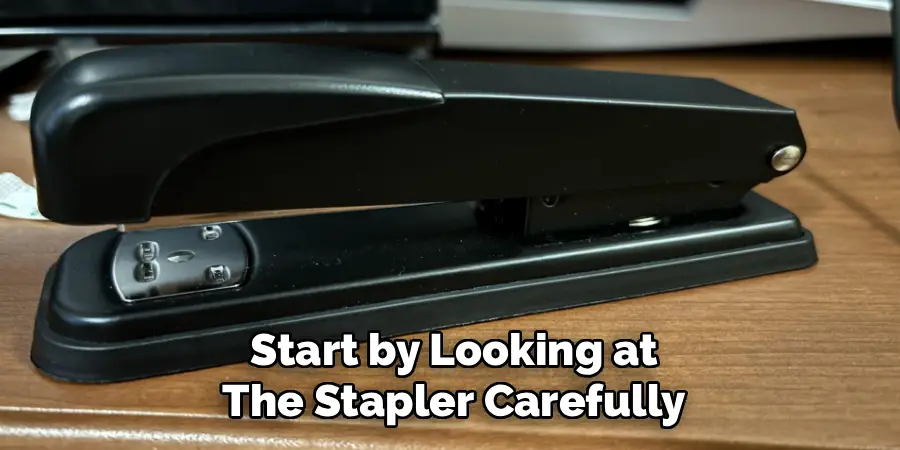
Hold the stapler up to the light and look into the throat where staples come out. Check whether there’s a visible jam, a bent staple, or an obvious mechanical issue like a broken spring. A clear diagnosis at this stage makes every following step faster and more effective.
Step 2: Open The Stapler Fully And Remove All Staples
Open the stapler as far as it will go, usually by pressing the release button or lifting the top arm until it locks back. Once it’s fully open, slide the staple tray out and remove any remaining staples by pushing the tray forward and tipping them out.
Don’t skip emptying the tray even if it looks mostly clear. A partial row of staples or a single misaligned strip is a common cause of jams and misfires. Set the staples aside and work with an empty stapler so you have full visibility and access to the internal parts.
Step 3: Clear Any Jammed Staples From The Throat
With the stapler open and emptied, look into the front throat area where staples exit. If you can see a jammed or bent staple, use a flat-head screwdriver or the tip of a pen to push it out from the inside toward the front. Work gently and avoid forcing anything.
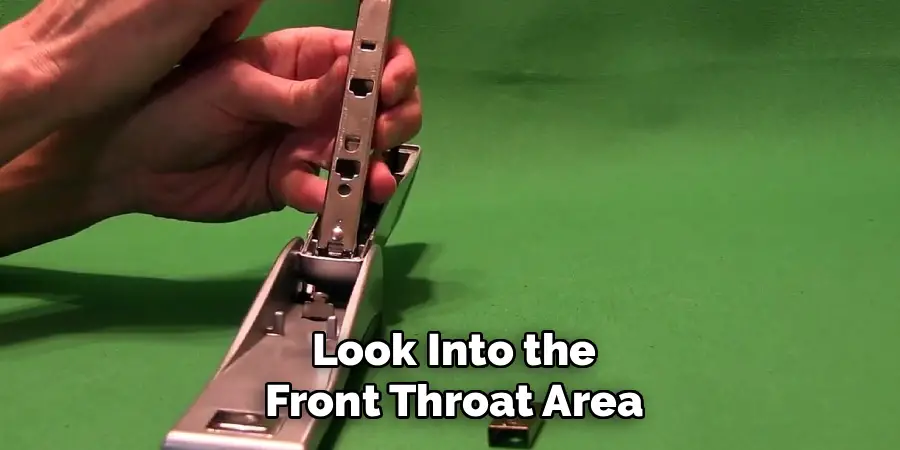
If the jam is tight, try pressing down on the stapler head slightly while pushing the obstruction forward. Never use excessive force, as this can bend the guide rail that staples travel along. Once the jam clears, check the throat for any remaining fragments before moving on.
Step 4: Check And Straighten The Staple Guide Rail
The guide rail is the narrow channel inside the stapler body that keeps staples aligned as they feed toward the front. Over time, this rail can become bent or shifted, causing staples to load crookedly and jam repeatedly. Learning how to fix a broken stapler often comes down to correcting this single component.
Look down the length of the rail from the back of the stapler. It should be perfectly straight and centered. If it’s bent slightly to one side, use a flat-head screwdriver or your thumbnail to gently press it back into alignment. Small adjustments make a big difference here, so work gradually rather than forcing it into place.
Step 5: Test And Adjust The Spring Tension
The spring inside your stapler provides the pressure needed to drive staples cleanly through paper. If the stapler feels weak, fires partially, or leaves staples bent, the spring may have lost tension or shifted out of position. Look for a small coil spring near the back of the staple arm or beneath the anvil plate.
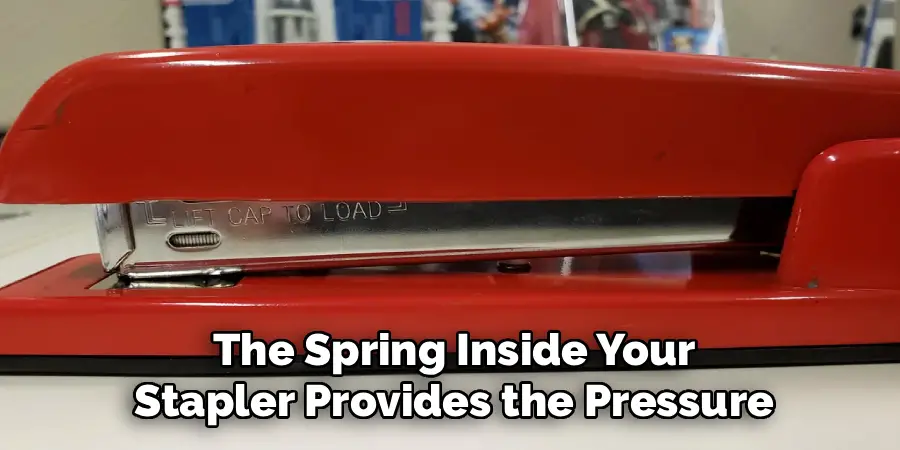
If the spring looks dislodged, use a thin screwdriver to reposition it carefully into its original seat. If the spring appears intact but the action still feels loose, try bending it very slightly outward to increase tension. Test the action by hand before reloading to confirm the spring is engaging properly.
Step 6: Reload Staples Correctly And Check Alignment
Now that the internal parts are clear and aligned, it’s time to reload. Slide a fresh strip of staples onto the guide rail with the points facing downward. Push the strip forward until it sits flush against the front stop inside the stapler, then replace the staple tray and close the arm until it clicks.
Proper loading is one of the most overlooked aspects of keeping a stapler working reliably — and fixing how to fix a broken stapler in the long run often starts here. Make sure the strip isn’t loaded backward or at an angle, as either mistake will cause an immediate jam. If the staple size doesn’t match your stapler’s rating, swap them out for the correct size.
Step 7: Test On Scrap Paper And Fine-Tune If Needed
Before you trust the stapler on anything important, test it on a few sheets of scrap paper. Start with two or three sheets and work up to the stapler’s maximum capacity. Watch how the staple exits — it should come out straight and fold flat on the underside cleanly and evenly.
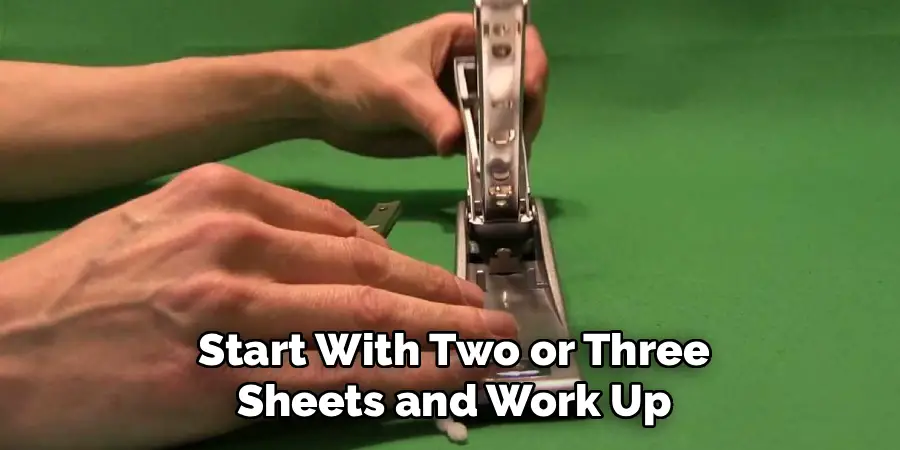
If the staple bends sideways or doesn’t fold properly, check that the anvil plate at the base is clean and free of debris. A small piece of paper or old staple fragment stuck under the anvil can throw off the entire exit process. Wipe it clean, retest, and adjust the guide rail again if necessary until the action is smooth and consistent.
Frequently Asked Questions
Why Does My Stapler Keep Jamming Even After I Clear It?
Repeated jamming usually comes down to one of three causes: the wrong staple size for your model, a bent guide rail, or a worn spring that no longer provides enough pressure to drive staples cleanly. Check your stapler’s manual or the label on the bottom for the correct staple gauge, and compare it to what you’ve been loading. Switching to the correct size resolves most chronic jamming issues immediately.
Can I Fix A Stapler That Has A Broken Plastic Body?
If the outer casing is cracked but the internal mechanism is intact, the stapler will usually still work. You can reinforce a cracked plastic body with strong adhesive or electrical tape as a temporary measure. However, if the break affects the hinge, the guide rail mounting point, or the spring housing, the structural damage may make a reliable repair difficult without a replacement part.
How Do I Know What Size Staples My Stapler Uses?
Most standard desktop staplers use either 26/6 or 24/6 staples, which are the most common sizes sold in office supply stores. Check the bottom of your stapler for a label or embossed marking that lists the compatible staple size. If there’s no marking, look at the width of the guide rail — 6mm staple legs are the most common, and most generic brands conform to this standard.
Is It Worth Fixing An Old Stapler Or Should I Just Replace It?
In most cases, a stapler is worth repairing if the mechanism is still structurally sound. Even older metal staplers from decades ago are built to last and respond well to basic maintenance. The only scenario where replacement makes more sense is if the guide rail is permanently bent, the spring is broken beyond adjustment, or the hinge has cracked through completely and affects function.
Why Are My Staples Bending Instead Of Going Through The Paper?
Staples that bend rather than penetrate usually mean one of two things: you’re stapling more sheets than the stapler’s rated capacity, or the spring tension has weakened and can’t drive the staple with enough force. Try reducing the number of sheets by half and testing again. If that doesn’t help, check the spring position and tension as described in Step 5 above, and make sure you’re using the correct staple gauge.
Conclusion
Fixing a stapler is a straightforward task once you understand what’s actually causing the problem. The most common issues — jams, misfires, and weak action — all have simple mechanical explanations and equally simple fixes. You’ve now covered how to diagnose the fault, clear jams, realign the guide rail, adjust the spring, reload correctly, and test the result.
The next time your stapler lets you down, resist the urge to toss it and start there. Knowing how to fix a broken stapler means you’re rarely more than ten minutes away from a fully working tool. Grab a screwdriver, follow the steps, and get it back in shape — it’s easier than you think.
