
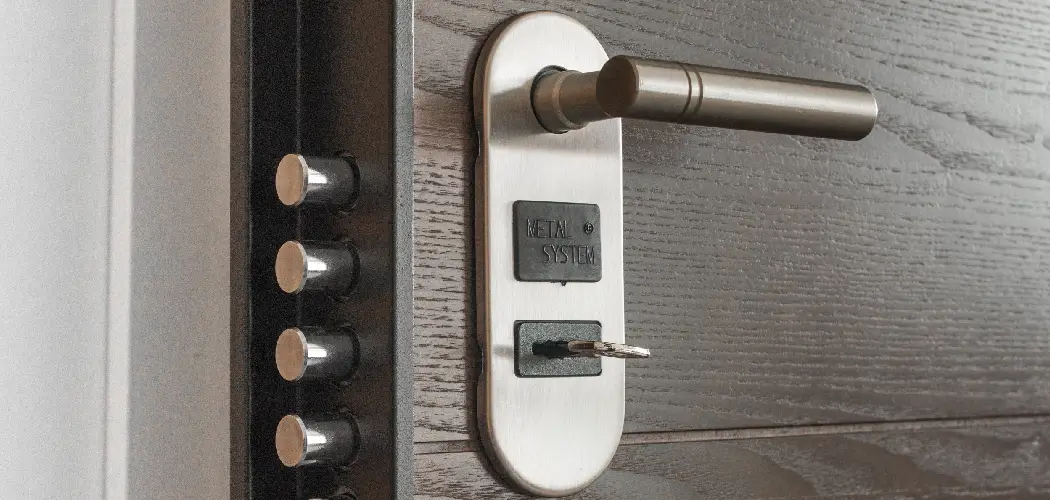
To polish metal door handles properly, remove the hardware from the door first. Wash each handle with warm, soapy water to clear away everyday dirt and hand oils. Then apply a metal-specific polish with a microfiber cloth, buff in small circular motions, wipe off every trace of residue, and reinstall the handles once they are clean and dry.
Metal door handles take more abuse than most people notice. They are touched dozens of times a week, sometimes dozens of times a day, and all that contact leaves behind oil, dust, moisture, and grime. Over time, the finish can start to look flat or cloudy, even if the rest of the room is well cared for.
Polishing them is not complicated, but the details matter. The wrong polish, too much pressure, or a skipped cleaning step can leave scratches, residue, or damage to plated finishes. This guide on How to polish metal door handles walks through the tools, the full eight-step process, the mistakes worth avoiding, and the basic cost of doing the job yourself.
What Tools and Materials Do You Need to Polish Metal Door Handles?
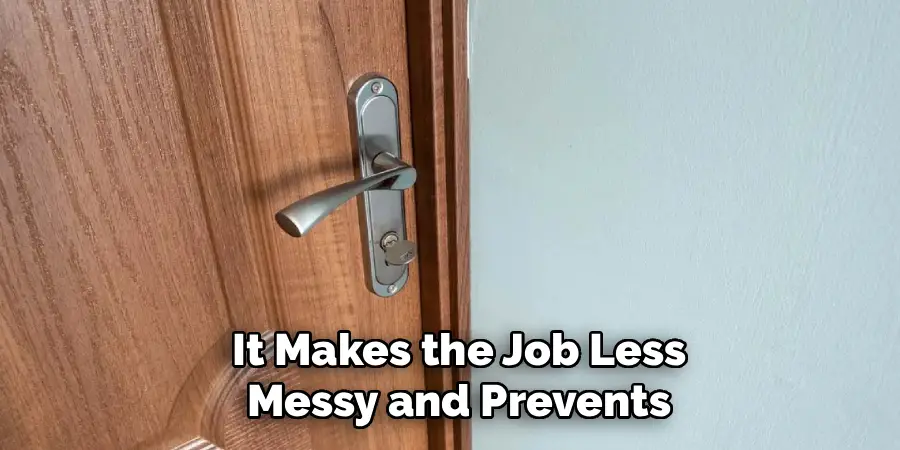
Start by gathering everything before you take the handle off the door. It sounds minor, but it makes the job less messy and prevents that awkward halfway point where one handle is off, the screws are rolling around, and the polish is still in a cupboard somewhere.
You will need:
- A Phillips or flathead screwdriver, depending on your door hardware
- Two or three clean microfiber cloths
- A bucket or bowl of warm water
- Mild dish soap
- A commercial polish made for your specific metal
- Nitrile gloves, if you want to protect your hands from polish
- A soft-bristled toothbrush for grooves, etching, or decorative details
The polish matters more than people often assume. Brass, copper, stainless steel, and plated metal do not all respond the same way to cleaning products. A polish that works well on solid brass may be far too aggressive for a thin plated finish. When in doubt, read the label slowly rather than trusting the front of the bottle.
A basic setup is enough for most handles. You do not need specialty equipment unless the tarnish is severe or the hardware has deep decorative crevices.
8 Simple Step-by-step Guidelines on How to Polish Metal Door Handles
Step 1: How Do You Prepare the Door Handle for Polishing?
Remove the handle from the door before you start polishing. It may feel like an extra chore, but it usually makes the work cleaner, safer, and more thorough.
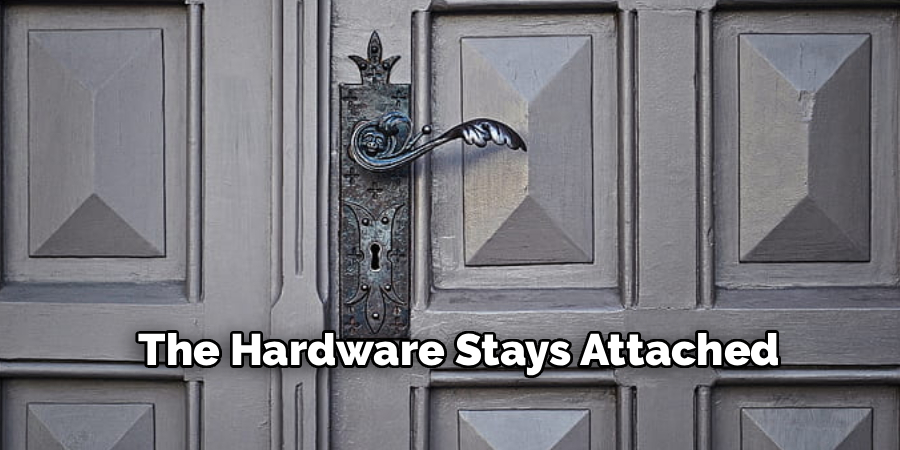
When the hardware stays attached, you have to work around the door surface. That makes it harder to reach the underside of the handle, the edges of the base plate, and the area near the screws. It also raises the chance that polish will smear onto painted or stained wood, where it does not belong.
Use the correct screwdriver to loosen the screws and separate the two sides of the handle. Place the screws in a small container so they do not disappear under a towel or roll off the table. Small parts have a way of vanishing at exactly the wrong moment.
Once removed, lay the handles on a flat, well-lit work surface. Cover the surface with an old towel or newspaper. This gives you room to apply steady pressure while buffing without worrying about scratching a table or staining a countertop.
The point of this first step is simple: make the handle easy to work on. A few minutes of setup can make the final finish look much more even.
Step 2: How Should You Clean the Metal Surface Before Polishing?
Clean the metal before you polish it. Skipping this step is one of the easiest ways to turn a simple polish job into a scratched or streaky mess.
Door handles collect finger oils, dust, and bits of household grime. If you apply polish directly over that layer, you may grind debris into the surface instead of removing tarnish cleanly. Warm, soapy water handles the first layer of dirt well enough in most cases.
Dip a microfiber cloth into the soapy water and wipe every exposed part of the handle. Use firm, controlled pressure rather than scrubbing wildly. If the handle has decorative grooves, etched lines, or raised details, use a soft toothbrush dipped in the same soapy water to loosen dirt from those tight areas.
After washing, rinse the handle under plain warm water to remove soap residue. Then dry it completely with a clean cloth.
Completely means completely. Polish works best on a dry surface, and leftover water can interfere with the finish. If the handle still feels damp or slippery, keep drying.
Step 3: What Is the Best Way to Select the Right Metal Polish?
Choose a polish made for the metal you are actually working with. This is the step where a little caution may save the finish.
Not all metal polishes use the same abrasives or chemical formulas. Solid brass, for example, can often tolerate a brass polish designed to remove oxidation. Stainless steel usually calls for something milder and non-abrasive, especially if the handle has a brushed or appliance-like finish.
Plated handles need the most restraint. These have a thin outer layer of metal over a less expensive core. If you use a harsh abrasive polish, you can wear through that surface and expose the duller metal underneath. Once that happens, polishing will not restore the original plated appearance.
Check the product label before applying anything. Look for the metal type and any warnings about plated surfaces. If the label does not clearly say the polish is safe for your hardware, it is better to pause than to gamble with the finish.
The takeaway: match the polish to the handle, not the other way around.
Step 4: How Do You Apply the Polish to the Metal Door Handle?
Shake the polish bottle first so the contents are evenly mixed. Then apply a small amount to a clean, dry section of microfiber cloth.
Do not pour or squeeze polish directly onto the handle. Applying it to the cloth gives you more control and helps prevent liquid from collecting near screw holes, seams, or internal mechanisms. A little polish usually goes farther than expected.
Rub the polish over the surface in a thin, even layer. Cover the top, bottom, sides, and any visible edges of the handle. At this stage, heavy pressure is not needed. You are mainly spreading the compound so it can begin working on tarnish and oxidation.
Let the polish sit briefly if the product directions call for it. In many cases, a minute or two is enough, but the label should guide the timing. Leaving polish on longer than directed does not automatically mean a better shine. Sometimes it just means more residue to remove.
Aim for control. Thin, even coverage is better than a thick coat that dries in corners.
Step 5: What Is the Proper Technique for Buffing the Metal?
Once the polish has had time to work, start buffing with a clean, dry part of your microfiber cloth. Press firmly and move in small circular motions.
This is where the shine begins to return. You may notice the cloth turning black or dark gray. That can look alarming at first, but it is usually a normal sign that the polish is lifting tarnish from the metal surface.
Keep moving around the handle instead of overworking one spot. When one section of the cloth becomes loaded with residue, switch to a clean section. If you keep buffing with a dirty patch of cloth, you can smear the residue back across the metal.
Circular motions help produce a more even finish and reduce obvious streaks. Long straight passes can sometimes leave lines, especially on polished brass or other reflective metals.
Badly tarnished handles may take several minutes each. That is normal. Rushing the buffing stage often leaves cloudy patches that only become obvious once the handle is back on the door.
You will know you are close when the surface feels smooth and the shine looks even from more than one angle.
Step 6: How Can You Remove Stubborn Tarnish and Deep Stains?
One pass is not always enough. If the handle has gone years without cleaning, dark spots or cloudy areas may remain after the first buffing.
Focus on those areas rather than coating the entire handle again. Add a small amount of polish to the stained section, let it sit slightly longer than the first application if the product directions allow, and buff again with steady circular motions.
For stubborn corrosion on solid brass or copper, some homeowners use a specialized polishing pad or very fine #0000 steel wool. This is where judgment matters. Steel wool can help with difficult tarnish, but it can also create tiny scratches if used too aggressively.
Use extreme caution. Work lightly, stay with circular motions, and avoid this approach on plated hardware unless the product guidance clearly says it is safe. Plated finishes can be thin, and once the top layer is damaged, the problem is no longer just tarnish.
After treating the stain, wipe the area again with a clean microfiber cloth. The goal is not to attack the metal. It is to remove what the polish and light abrasion can reasonably lift without damaging the surface underneath.
Step 7: How Should You Clean Up Excess Polish Residue?
Remove every bit of leftover polish before reinstalling the handle. Residue can leave a greasy, cloudy film, and that film tends to attract dust and fingerprints almost immediately.
Use a fresh, completely dry microfiber cloth for the final wipe. Go over the whole handle, including the base plate, edges, screw holes, and any decorative grooves. These small areas are where polish tends to hide.
If dried polish gets stuck in crevices, use a clean, dry toothbrush to loosen it. Do this gently. You are flicking out powdery residue, not scrubbing the finish again.
The handle should feel smooth and dry when you are done. If your fingers pick up a greasy feel, keep wiping with a clean part of the cloth. A high shine will not last long if the surface is still coated with polishing compound.
This final cleanup is not cosmetic fussing. It is part of the Polish job.
Step 8: How Do You Reinstall and Protect the Polished Handle?
Reinstall the handle only after it is fully clean and dry. Wash your hands first or put on a fresh pair of gloves so you do not immediately transfer skin oils back onto the polished metal.
Align the handle on both sides of the door, insert the screws, and tighten them with your screwdriver. Do not overtighten to the point that the mechanism binds. The handle should turn smoothly and sit securely against the door.
If you want the shine to last longer, you can apply a thin coat of clear carnauba wax. The wax creates a light protective barrier that helps repel moisture, finger oils, and airborne contaminants. It will not make the handle maintenance-free, but it may slow the return of tarnish.
Apply only a thin layer, then buff it with a clean cloth until the handle feels dry and polished. Too much wax can leave the same kind of cloudy film you just worked to remove.
At this point, the handle should look brighter, feel cleaner, and blend better with the rest of the room. Following these steps on how to polish metal door handles can help maintain the appearance and functionality of your door handles for years to come.
What Are the Most Common Mistakes to Avoid When Polishing Metal?
The most common mistake is skipping the first wash. Polish is not a substitute for cleaning. If dirt and grit are still on the handle, buffing can drag those particles across the metal and leave fine scratches.
Another frequent problem is using abrasive tools on plated hardware. Scouring pads, harsh polish, and heavy pressure may strip or dull the outer layer. Plated metal is less forgiving than solid brass or copper.
Leaving the handle attached to the door can also create trouble. It makes the job harder to control and increases the risk of getting polish on nearby paint or wood finish. A small smear may not seem serious until it dries or dulls the surrounding surface.
Watch out for these mistakes:
- Polishing before washing the handle
- Using the wrong polish for the metal type
- Scrubbing plated finishes with abrasive pads
- Letting polish collect in grooves or screw holes
- Reinstalling the handle while residue remains
- Forgetting to read the Polish label
The safest approach is not the fastest one. Clean first, polish carefully, and remove residue thoroughly.
How Much Will It Cost to Polish Metal Door Handles?
Polishing metal door handles is usually inexpensive, especially if you already have basic household supplies.
A good bottle of commercial metal polish typically costs between $7 and $15. One bottle often contains enough product to polish every handle in a standard-sized house several times. A pack of microfiber cloths may add about $10. Dish soap and an old toothbrush are items many people already have at home.
In most cases, you can restore the hardware throughout your home for under $30. That is far less than buying new replacement fixtures, which can cost hundreds of dollars depending on the style and number of doors.
The real cost is time. Removing, cleaning, polishing, buffing, and reinstalling each handle takes patience. Still, for hardware that is structurally sound but visually tired, polishing is often the more sensible first step.
Final Thoughts on Maintaining Your Metal Hardware
Polishing metal door handles is a small project with a noticeable payoff. Clean hardware makes a room feel better cared for, and regular maintenance can help keep tarnish from building into a larger problem.
The process is straightforward: remove the handle, wash it, choose the correct polish, buff with patience, clear away residue, and reinstall it carefully. None of the steps is difficult on its own. The finish depends on doing them in the right order.
Start with one handle, preferably in a well-lit area where you can see the difference clearly. Once you have the rhythm, the rest of the hardware will go faster. Thanks for reading this guide on how to polish metal door handles
