
Cubicle shelves are useful for files, decor, and office supplies, but they can become a problem when you need to move desks, reconfigure a workspace, replace panels, or reduce clutter. Many shelves look simple from the outside, yet they may be attached with hidden brackets, clips, screws, or rail systems.
Learning how to take off cubicle shelf safely helps you avoid cracked panels, bent hardware, scratched surfaces, and personal injury. It also makes the job faster because you know what to check before you start pulling or lifting.
This beginner-friendly guide walks you through the full process in clear steps. You will learn how to inspect the shelf, remove items, identify the mounting style, loosen the hardware, lift the shelf correctly, and protect the cubicle panels during removal. With a careful approach, you can take down the shelf without damaging the workstation or creating extra repair work.
Why Removing A Cubicle Shelf Matters
Removing a cubicle shelf the right way protects both the furniture and the workspace. Cubicle systems are often made from panels, rails, brackets, and connectors that depend on proper alignment. Pulling a shelf loose without checking how it is mounted can damage the panel fabric, crack plastic parts, or bend metal supports.
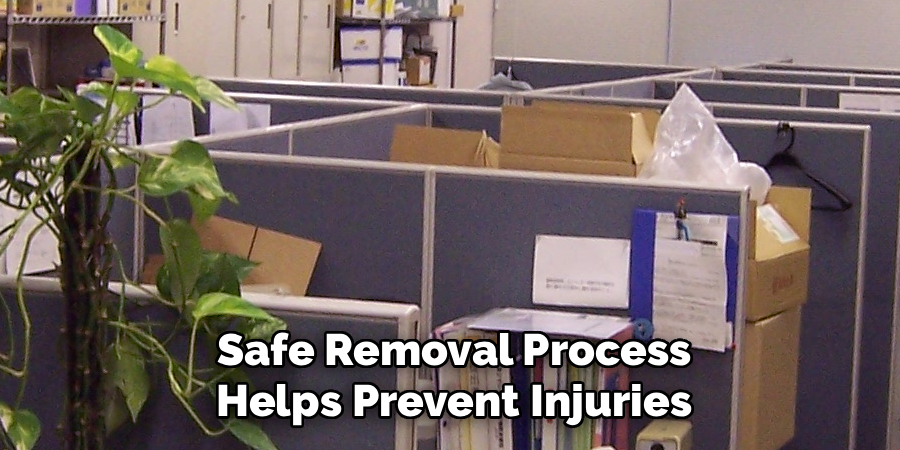
A safe removal process also helps prevent injuries. Shelves can be heavier than they look, especially if they are wide or mounted above shoulder height.
Taking your time makes future setup easier too. If the shelf, clips, and brackets stay in good condition, they can often be reused in another workstation. A careful removal saves money, reduces waste, and keeps the office looking neat.
Step-by-Step Guide To How To Take Off Cubicle Shelf
Step 1: Clear The Shelf And Surrounding Area
Start by removing everything from the shelf. Take down books, binders, trays, plants, electronics, and any loose office supplies. Even light items can fall while you are working, so do not leave anything in place.
Next, clear the desk surface below the shelf. Move monitors, keyboards, lamps, and personal items out of the way. This gives you space to work and prevents objects from getting scratched or knocked over.
If the shelf is above eye level, use a sturdy step stool instead of reaching from an awkward angle. A stable position helps you see the hardware and control the shelf during removal.
Step 2: Inspect The Shelf Mounting Style
Before touching any tools, look closely at how the shelf connects to the cubicle. Some shelves hang from vertical panel slots. Others use metal brackets, underside screws, side clips, or a rear rail. The mounting style determines how you should remove it.
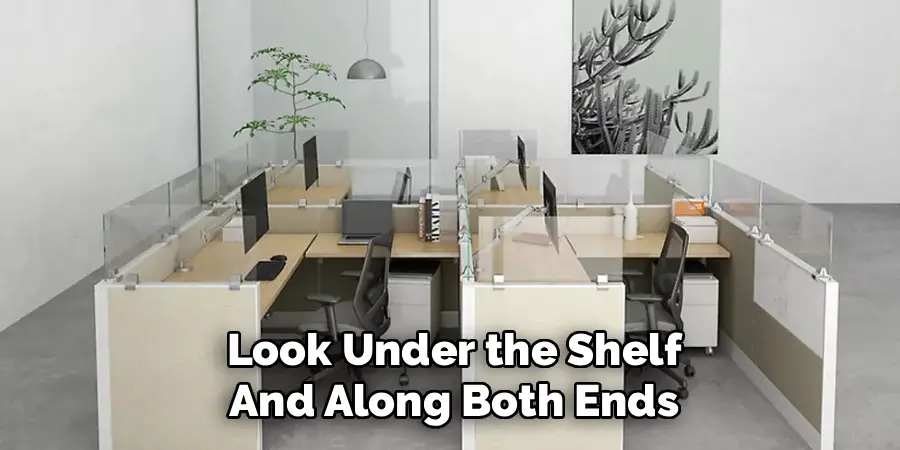
Look under the shelf and along both ends. Use a flashlight if the area is dark. If you searched for how to take off cubicle shelf because it feels stuck, the answer is often hidden hardware rather than force.
Do not pull hard at this stage. A shelf that does not move may still be locked into brackets or secured with screws.
Step 3: Check For Screws, Clips, Or Locking Tabs
Many cubicle shelves have safety features that keep them from lifting out during daily use. These may include small screws under the shelf, plastic locking tabs on the sides, or metal clips near the back edge.
Run your hand carefully along the underside of the shelf and feel for fasteners. If you find screws, check whether they require a Phillips screwdriver, flathead screwdriver, or hex key. Place removed hardware in a cup or small bag so it does not get lost.
If you see plastic tabs, press them gently rather than snapping them back. Older plastic can be brittle, especially in long-used office furniture.
Step 4: Support The Shelf Before Loosening Hardware
Support the shelf before you remove any fasteners. Cubicle shelves can shift suddenly once the last screw or clip is released. If the shelf is wide, ask another person to help hold the opposite side.
Place one hand under the shelf near the center or use both hands if you are working alone. Keep your body close to the work area so the weight does not pull you forward. If the shelf is large, do not try to balance it with one hand while using a tool with the other.
Good support keeps the shelf level and prevents damage to the panel connection points.
Step 5: Remove Or Loosen The Fasteners
Once the shelf is supported, begin removing the fasteners. Turn screws slowly and keep steady pressure on the tool so you do not strip the heads. If a screw feels tight, avoid forcing it. A small amount of gentle back-and-forth movement can help loosen it.
For clips or tabs, release one side at a time while keeping the shelf steady. Some systems require you to loosen the fastener without removing it fully. Pay attention to how each part moves so reinstallation will be easier later.
Set all parts aside in the order you remove them. This simple habit saves time if the shelf will be reused.
Step 6: Lift Or Slide The Shelf Free
After the hardware is loose, test how the shelf moves. Some shelves lift straight up from vertical slots. Others slide forward, tilt upward, or shift sideways before they release. Move slowly and watch both ends at the same time.
The safest way to approach how to take off cubicle shelf is to let the mounting system guide the movement. If it does not lift easily, stop and inspect again. There may be another screw, clip, or bracket still holding it.
Avoid twisting the shelf. Twisting can bend supports or tear the panel surface. Use smooth, even pressure until the shelf comes free.
Step 7: Remove Brackets Or Rails If Needed
After the shelf is off, decide whether the brackets, rails, or supports also need to be removed. If you are only cleaning or adjusting the shelf, you may be able to leave the hardware in place. If the workstation is being moved or redesigned, remove the supports carefully.
Check how each bracket is attached to the cubicle panel. Some hook into slots and lift out. Others are secured with screws or locking plates. Hold each bracket while releasing it so it does not drop.

If the panel fabric is delicate, avoid dragging metal parts across it. Lift hardware away from the surface instead.
Step 8: Clean, Store, And Inspect The Area
Once the shelf and hardware are removed, inspect the cubicle panel. Look for loose fabric, bent slots, missing screws, or scuffed areas. Small marks can often be cleaned with a soft cloth and mild cleaner, but avoid soaking fabric panels.
Wipe dust from the shelf before storing it. Keep brackets, clips, screws, and rails together in a labeled bag. Tape the bag to the shelf or place it in a storage box so the parts stay matched.
If the shelf will be reinstalled later, take a photo of the hardware layout. A quick photo can make the next setup much easier.
Frequently Asked Questions
Can One Person Remove A Cubicle Shelf Alone?
One person can remove a small cubicle shelf alone if it is light, easy to reach, and not tightly secured. However, a second person is safer for long or overhead shelves. Having help keeps the shelf level while screws or clips are released. It also lowers the risk of dropping the shelf onto the desk, panel, or nearby equipment.
What Tools Do I Need To Remove A Cubicle Shelf?
The tools depend on the shelf design, but most jobs require a Phillips screwdriver, flathead screwdriver, flashlight, and possibly a hex key. A small container is helpful for holding screws and clips. You may also need a step stool for higher shelves. Avoid using heavy prying tools unless you know the shelf is designed to release that way.
Why Will My Cubicle Shelf Not Come Loose?
A cubicle shelf may not come loose because a hidden screw, locking clip, or rear bracket is still engaged. It may also be stuck from years of pressure, dust, or slight panel movement. Do not force it. Check the underside, back edge, and side supports carefully. If possible, look up the cubicle brand or ask facilities staff for the correct release method.
Can Removing A Shelf Damage The Cubicle Panel?

Yes, damage can happen if the shelf is pulled, twisted, or pried off incorrectly. Fabric can tear, panel slots can bend, and plastic clips can break. The risk is much lower when you remove items first, support the shelf, find all fasteners, and move the shelf in the direction the mounting system allows. Slow, controlled movement is the key.
Should I Keep The Shelf Hardware After Removal?
Yes, keep the hardware unless you are sure the shelf will not be reused. Cubicle shelves often use specific brackets, clips, and screws that may be hard to replace later. Store every part in a labeled bag and keep it with the shelf. This makes reinstallation easier and helps avoid delays if the office layout changes again.
Conclusion
Removing a cubicle shelf is much easier when you slow down and follow a clear process. Start by clearing the area, then inspect the mounting style, find the hidden hardware, support the shelf, and release each fastener with care. Once the shelf is free, remove any extra brackets only if needed and store all parts together.
The main goal is to protect the cubicle system while keeping yourself safe. Never force a shelf that feels stuck, and ask for help if the shelf is large or mounted high.
Now that you know how to take off cubicle shelf, gather the right tools, check the hardware carefully, and work step by step for a clean, damage-free removal.
