

Chair rail molding can make a room look finished, balanced, and more custom. But the corners are where many beginner projects start to look uneven. A small gap, a reversed angle, or a rough cut can make even expensive trim look poorly installed.
Learning how to cut chair rail corners helps you create clean inside corners, sharp outside corners, and smooth transitions around a room. The process is not as hard as it may seem, but it does require careful measuring, correct saw setup, and a bit of patience.

This guide explains the project in simple steps. You will learn how to plan your layout, measure the wall, set up your miter saw, cut both inside and outside corners, test the fit, and finish the trim. With the right method, you can avoid wasted material and get a result that looks neat, professional, and ready for paint or stain.
Why Cutting Chair Rail Corners Matters
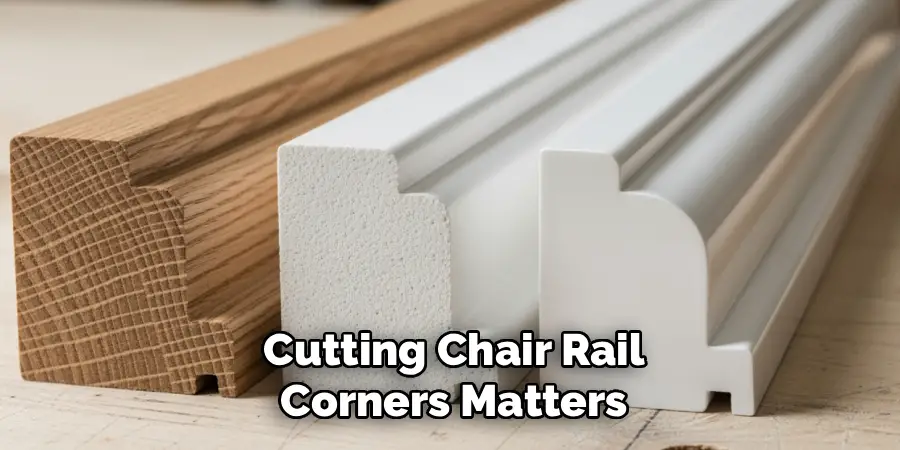
Cutting chair rail corners matters because corners control the overall look of the trim. Even if the straight pieces are installed perfectly, poor corner joints can leave visible gaps, uneven seams, and awkward angles.
Clean cuts help the molding sit tightly against the wall and connect smoothly from one piece to the next. This improves the appearance of the room and reduces the amount of caulk or filler needed later.
Good corner cuts also save time and material. When you understand how angles work, you make fewer mistakes and avoid repeated trips to the store. A careful approach gives your chair rail a polished finish and makes the whole room feel more complete.
Step-by-Step Guide To How To Cut Chair Rail Corners
Step 1: Study The Room And Mark The Layout
Start by looking around the full room before cutting any trim. Notice where the chair rail will begin, where it will end, and how many corners you need to handle. Most rooms have inside corners, but you may also have outside corners around columns, half walls, or entryways.
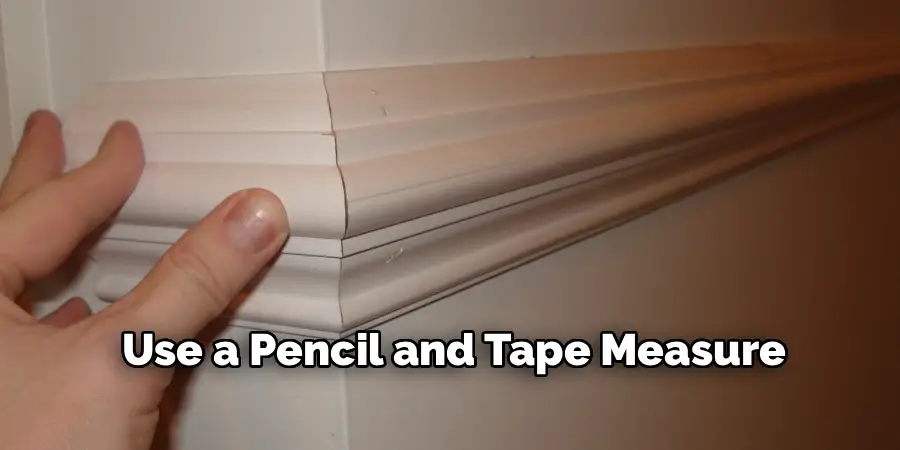
Use a pencil and tape measure to mark the chair rail height on the wall. A common height is about one-third of the wall height, but you can adjust it based on the room and furniture.
Check that your marks are level. If the layout is uneven, even perfect corner cuts will look wrong once installed.
Step 2: Choose The Right Tools And Safety Gear
You will get cleaner results with the right tools. A miter saw is the best option for most chair rail cuts because it lets you set accurate angles. You will also need a tape measure, pencil, level, coping saw, sandpaper, clamps, and a scrap piece for testing.
Wear safety glasses when cutting. Chair rail pieces are narrow, and small chips can fly from the blade. Keep your hands away from the cutting path and let the saw reach full speed before lowering it.
The key to how to cut chair rail corners is not force. It is accuracy, support, and a steady cutting motion.
Step 3: Understand Inside And Outside Corners
Before making cuts, learn the difference between inside and outside corners. An inside corner is where two walls meet inward, like the corner of a typical room. An outside corner points outward, such as the edge of a wall opening or a column.
For a standard 90-degree corner, each piece usually needs a 45-degree cut. The direction of that cut depends on whether the corner turns inward or outward.
This is where beginners often get confused. Use scrap trim to practice first. Hold the pieces against the wall after cutting so you can see how the angled faces meet.
Step 4: Measure Each Wall Section Carefully
Measure from one corner to the next along the wall where the chair rail will sit. Do not measure along the floor, since walls can be slightly uneven. Place the tape at the exact height of the molding for the most accurate result.
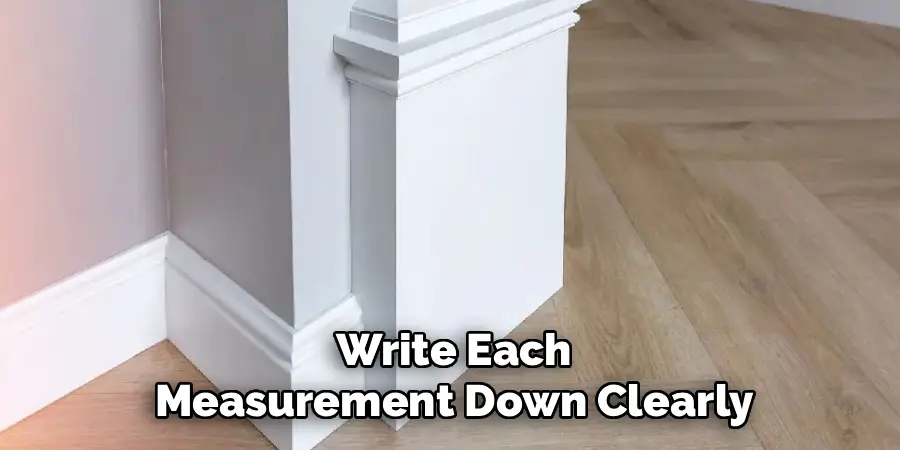
Write each measurement down clearly. Mark whether the piece ends at an inside corner, outside corner, door casing, or open end. This keeps you from cutting the wrong angle on the wrong side.
Measure twice before cutting. If you are unsure, cut the piece a little long first. You can always trim more, but you cannot add length back after cutting too short.
Step 5: Cut The First Corner Piece
Set your miter saw to 45 degrees for a standard square corner. Place the chair rail on the saw in the same orientation it will sit on the wall. This matters because many chair rail profiles are shaped, and flipping the trim can reverse the cut.
Hold the molding firmly against the fence. Lower the blade slowly and let it cut cleanly through the wood or MDF. Do not rush the cut, especially with detailed profiles.
After cutting, label the back of the piece. Mark the wall location and direction so you do not mix it up with another section.
Step 6: Cut The Matching Corner Piece
Now cut the second piece that will meet the first one. For a mitered corner, the angle usually mirrors the first cut. If the first piece was cut at 45 degrees to the left, the matching piece will often need a 45-degree cut to the right.
Test both pieces together before fastening them to the wall. Hold them at the correct height and check the joint. If the tips meet but the back has a gap, the wall may not be a perfect 90 degrees.
When learning how to cut chair rail corners, expect to make small adjustments. Real walls are rarely perfect, so fine-tuning is normal.
Step 7: Cope Inside Corners For A Tighter Fit
For inside corners, many trim installers prefer coping instead of using two miter cuts. Coping means one piece runs square into the corner, while the other is shaped to fit over its profile. This can create a tighter joint, especially if the wall is not perfectly square.
To cope a piece, first cut a 45-degree inside miter. This exposes the trim profile. Then use a coping saw to cut along that profile line. Work slowly and angle the saw slightly backward.
Test the coped piece against the square-cut piece. Sand small rough spots until the joint fits neatly.
Step 8: Test, Adjust, And Install The Trim
Before nailing anything, dry-fit the chair rail around the room. Check each joint, corner, and end point. Look for gaps, uneven height, or pieces that do not sit flat against the wall.
Make small adjustments with the miter saw, coping saw, or sandpaper. It is better to fix the fit now than after the trim is nailed in place. Once the pieces look right, apply a thin line of construction adhesive if desired, then fasten the chair rail with finish nails.
Set the nails slightly below the surface. Fill nail holes and small seams with wood filler or caulk, depending on the finish.
Frequently Asked Questions
What Angle Do You Cut Chair Rail Corners?
For most square rooms, chair rail corners are cut at 45 degrees so two pieces meet to form a 90-degree corner. However, not every wall is perfectly square. If the joint has a gap, use scrap pieces to test slightly different angles. A small adjustment, such as 44 or 46 degrees, can help the pieces meet more cleanly.
Should Inside Corners Be Mitered Or Coped?
Inside corners can be mitered, but coping often gives a better result. A coped joint hides small wall imperfections because one piece fits over the profile of the other. This is especially helpful in older homes where corners may not be square. Mitering is faster, but coping usually creates a tighter and more professional-looking inside corner.
Can I Cut Chair Rail Without A Miter Saw?
Yes, but a miter saw makes the job easier and more accurate. If you do not have one, you can use a miter box with a hand saw. This works well for small projects, though it takes more effort and patience. Make sure the trim is held firmly in place so it does not shift while cutting.
Why Do My Chair Rail Corners Have Gaps?
Gaps usually happen because the wall angle is not exactly 90 degrees, the trim moved during cutting, or the piece was measured slightly short. Decorative molding profiles can also make gaps more visible. Test cuts on scrap pieces can help you find the right angle before cutting your final trim. Small gaps can be filled, but large ones should be recut.
Do I Paint Chair Rail Before Or After Installing It?
You can do either, but many people prefer to prime and apply one coat of paint before installation. This makes it easier to cover the trim evenly. After the chair rail is installed, fill nail holes, caulk seams, and apply the final coat. This method saves time and gives the finished trim a cleaner appearance.
Conclusion
Chair rail corners may look challenging at first, but the process becomes much easier when you break it into simple steps. Start with a clear layout, measure at the correct height, understand the difference between inside and outside corners, and test each joint before installation.
Use scrap pieces when you are unsure, and do not rush the final cuts. Careful measuring and small adjustments will help you avoid gaps and wasted trim.
Now that you understand how to cut chair rail corners, gather your tools, practice on a few sample pieces, and begin with the most visible wall so your finished room looks clean and well planned.
