
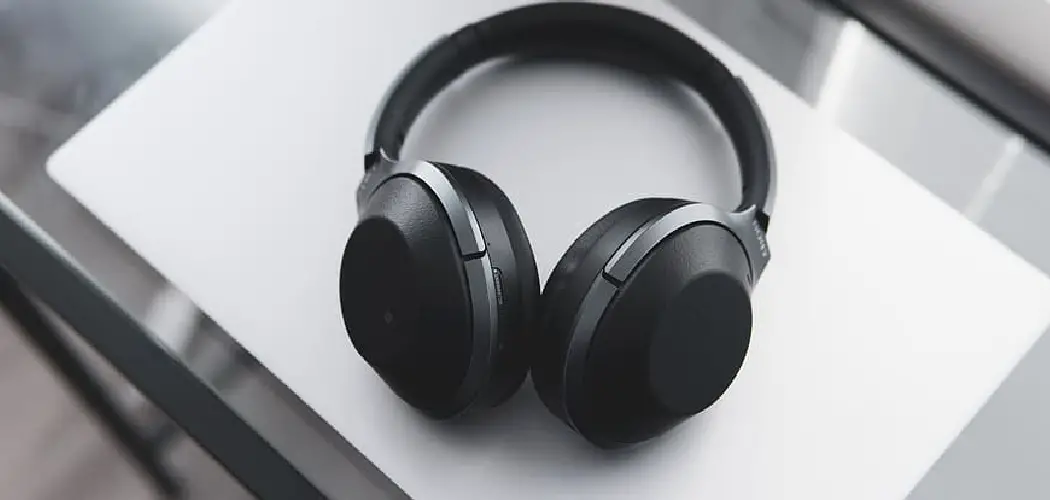
Sony headphones are known for their exceptional sound quality, noise cancellation, and long battery life. But even the best tech can run into problems. Maybe your headphones won’t connect to Bluetooth, the audio sounds off, or they simply stopped responding. Before you panic or rush to buy a new pair, a simple reset can often fix everything.
Resetting your Sony headphones wipes out any glitches, clears old Bluetooth pairings, and restores the device to factory settings. It’s one of the most effective troubleshooting steps you can take — and it takes just a few minutes.
This guide on how to reset Sony headphones walks you through the entire process, step by step, so you can get back to enjoying your music without frustration.
What Are the Benefits?
Resetting your Sony headphones comes with some real advantages:
- Fixes connectivity issues — Clears stubborn Bluetooth pairing errors that prevent your headphones from connecting to devices.
- Resolves audio problems — Fixes distorted sound, uneven volume, or complete audio dropout.
- Restores performance — Removes software glitches that slow down touch controls or noise cancellation.
- Prepares headphones for a new user — A full reset is ideal when selling or gifting your headphones.
- Gives you a fresh start — Sometimes a clean slate is all your device needs to work like new again.
What Will You Need?
Good news — you don’t need much to reset your Sony headphones. Here’s what to have on hand:
- Your Sony headphones (any model, including WH-1000XM5, WH-1000XM4, WF-1000XM4, or other series)
- The charging cable — Make sure the headphones have enough battery (at least 20% charge is recommended)
- A smartphone, tablet, or PC — Optional, but useful for re-pairing after the reset
- The Sony Headphones Connect app — Optional and helpful for confirming settings post-reset
- A few minutes of your time
No tools, no technical skills required. If you can press a button, you can do this.
10 Easy Steps on How to Reset Sony Headphones
Step 1: Charge Your Headphones First
Start by giving your headphones a decent charge. Plug them in and let the battery climb to at least 20–30% before you do anything else. A reset that gets cut short by a dead battery can leave your device in a confused state, so this step really matters. While they charge, take a moment to check that your cable and port are clean and free of dust. This is also a good time to grab your charging case if you’re working with earbuds like the WF series.

Step 2: Turn Off Your Headphones
Power down your headphones completely before you begin. For most over-ear models, press and hold the power button until you hear a voice prompt or the LED light fades out. Earbuds usually turn off when you place them back in the charging case and close the lid. Why does this matter? A reset works best from a clean, powered-off state. Starting from “off” helps the process run smoothly and avoids mixed signals from a device that’s still half-awake.
Step 3: Find the Right Button for Your Model
Sony spreads its reset controls across different spots depending on the model. Over-ear headphones like the WH-1000XM4 and WH-1000XM5 rely on the power button, sometimes paired with the custom or noise-cancel button. Earbuds such as the WF-1000XM4 often reset through the touch pads while seated in the case. Take a quick look at your specific model before you continue. Knowing exactly which buttons to use saves you from pressing the wrong combination and starting over.
Step 4: Press and Hold to Begin the Reset
Now comes the main action. For many over-ear Sony headphones, you’ll press and hold the power button for around seven seconds. Keep your finger steady and don’t let go too early. Some models ask you to hold two buttons at once, so check your model’s pattern from Step 3. Hold firmly and stay patient. The first few seconds may feel like nothing is happening, but the device is working in the background to trigger the reset.

Step 5: Watch the LED Indicator
Your headphones will talk to you through their LED light. As the reset starts, you’ll usually see the light blink in a specific pattern, often alternating blue and red. This blinking is your confirmation that the device heard your command. Keep your eyes on the light rather than the clock. The flashing pattern is a clearer signal than counting seconds, and it tells you the reset is genuinely underway.
Step 6: Release the Buttons
Once you spot the blinking pattern or hear a tone, let go of the button. The headphones will often shut down on their own at this point. Releasing at the right moment is important. If you keep holding, you may trigger a different function, such as pairing mode, instead of completing the reset. Trust the signal from Step 5 and lift your finger as soon as you see or hear it.
Step 7: Give It a Moment to Reset
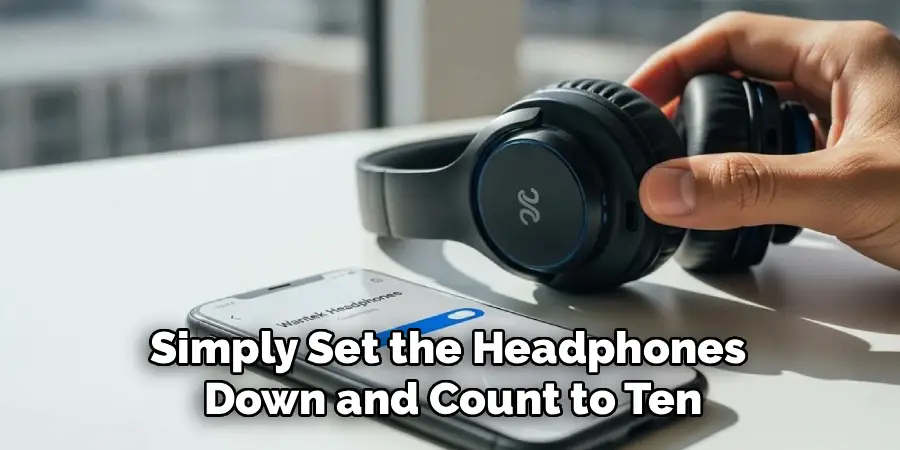
After you release the buttons, pause. Your headphones need a few seconds to clear their settings and settle into their default state. Resist the urge to press buttons or check the device right away. This short wait lets the internal process finish properly. Rushing here is one of the easiest ways to interrupt a reset, so simply set the headphones down and count to ten.
Step 8: Power the Headphones Back On
Now turn your headphones on again. Press the power button and listen for the familiar startup sound. When they boot up, they should feel like they did fresh out of the box. All custom settings and saved devices will be gone, which is exactly what you want. If you hear the startup chime and the light glows normally, your reset has done its job.
Step 9: Re-Pair With Your Device
Because the reset erased your old connections, you’ll need to pair your headphones again. Open the Bluetooth menu on your phone, tablet, or computer. Put your headphones into pairing mode, usually by holding the power button until you hear a “Bluetooth pairing” prompt and the light flashes quickly. Then select your headphones from the list of available devices. Once connected, your phone will remember them for next time.
Step 10: Test Everything Out
Finish by putting your headphones through a quick test run. Play a song and check that the sound is clear and balanced. Adjust the volume, try the touch or button controls, and switch noise cancellation on and off if your model has it. This final check confirms that the reset fixed your issue and that every feature is responding the way it should. If all works smoothly, you’re done and ready to enjoy your music again.

5 Things You Should Avoid
Keep these mistakes in mind to protect your headphones during and after the reset:
- Don’t reset on low battery — A dead battery mid-reset can corrupt firmware settings and cause bigger issues.
- Don’t force a reset repeatedly — If the first reset doesn’t fix your problem, don’t keep resetting. Diagnose the root cause first.
- Don’t skip the re-pairing step — After a reset, your headphones won’t automatically reconnect. Always re-pair before testing.
- Don’t ignore software updates — After a reset, check the Sony Headphones Connect app for firmware updates. Outdated firmware can cause the same problems to return.
- Don’t store with a full charge for long periods — This isn’t directly related to resetting, but it protects battery health long-term after you’ve done your reset.
Frequently Asked Questions
- Will Resetting My Sony Headphones Delete Everything?
Yes, a factory reset will erase all saved Bluetooth pairings and return the headphones to their original default settings. Any custom EQ settings or preferences saved through the Sony Headphones Connect app will also be cleared. You will need to re-pair all your devices and re-configure your preferences from scratch. It’s a clean slate, but it’s also the most effective way to resolve persistent issues. Don’t worry — the process is quick and painless. - How Do I Know if My Sony Headphones Have Been Successfully Reset?
After a successful reset, the LED indicator will stop flashing its reset sequence, and the headphones will either shut down or restart. When you power them back on, you’ll notice that no devices are automatically connected, which confirms all pairings were wiped. The startup behavior will feel like you just unboxed them for the first time. If you’re still experiencing the same issue after a reset, the problem may be hardware-related and worth a visit to Sony support. - Do I Need the Sony Headphones Connect App to Reset My Headphones?
No, you don’t need the app to perform a reset. The reset process is done entirely using the physical buttons on the headphones themselves. The Sony Headphones Connect app is optional, but it can be useful after the reset to restore your preferred sound settings, check the firmware version, and confirm that everything is running properly. If you don’t have the app installed, the reset will still work perfectly fine without it.
Conclusion
How to reset Sony headphones is one of the simplest and most effective fixes you can do at home.
Whether you’re dealing with Bluetooth dropouts, sound problems, or unresponsive controls, a factory reset gives your headphones a clean start. The process takes less than five minutes and requires no special tools or expertise.
Follow the 10 steps in this guide, avoid the common mistakes, and you’ll have your Sony headphones working like new in no time. And if a reset doesn’t solve your issue, it’s always worth reaching out to Sony’s customer support for further assistance. Your listening experience is worth protecting.
