
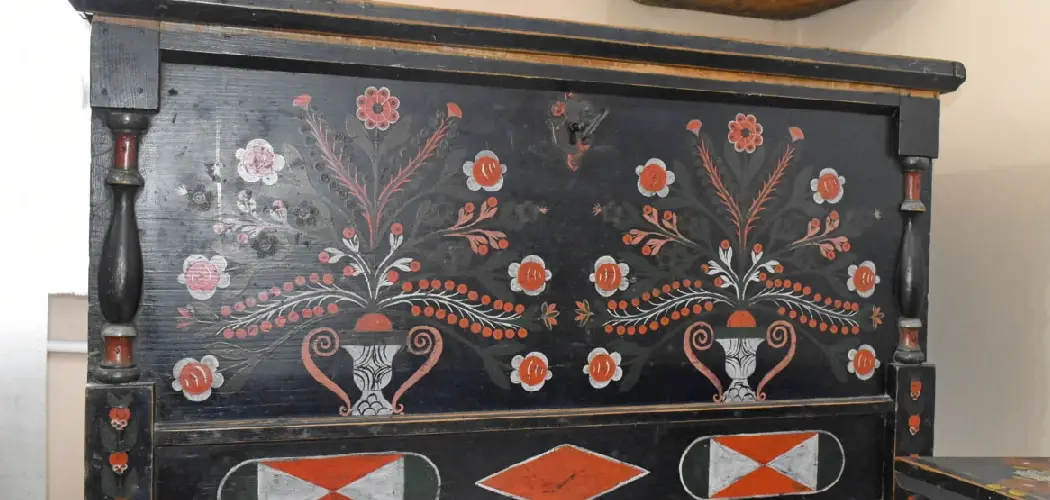
Giving a piece of furniture an aged, vintage look doesn’t require years of woodworking experience or expensive professional tools. With a little patience and the right technique, you can transform a plain painted surface into something that looks like it’s been sitting in a French farmhouse for decades.
This guide walks you through everything you need to know about how to antique painted furniture — from the supplies you’ll gather to the steps you’ll follow and the mistakes you’ll want to avoid.
Whether you’re refreshing an old side table or giving a thrift store find new life, this process is easier than you think.
What Are the Benefits?
Antiquing painted furniture isn’t just about aesthetics — it has some real, practical advantages too.
- Cost Savings: Transforming a cheap or second-hand piece costs a fraction of buying a genuine antique.
- Personalization: You control the color, level of distressing, and finish, so the result fits your space perfectly.
- Sustainability: Refinishing furniture instead of discarding it keeps usable pieces out of landfills.
- Increased Value: A well-executed antique finish can make an ordinary piece look genuinely collectible.
- Creative Satisfaction: It’s a hands-on project with a visible, rewarding result — great for beginners and experienced DIYers alike.
What Will You Need?
Gather these supplies before you start. Most are available at any hardware or craft store.
- Sandpaper (120-grit and 220-grit)
- Chalk paint or latex paint in your chosen base color
- Dark wax or antiquing glaze (brown or black tones work best)
- Clear protective wax or polyurethane topcoat
- Paintbrushes (a flat brush for painting and a round wax brush)
- Lint-free cloths or rags
- Painter’s tape
- Drop cloth or newspaper
- Wood filler (optional, for repairing surface damage)
- Tack cloth to remove dust between steps
Having everything ready before you begin makes the process smoother and helps you avoid stopping mid-project.
10 Easy Steps on How to Antique Painted Furniture
Step 1: Clean the Furniture Thoroughly
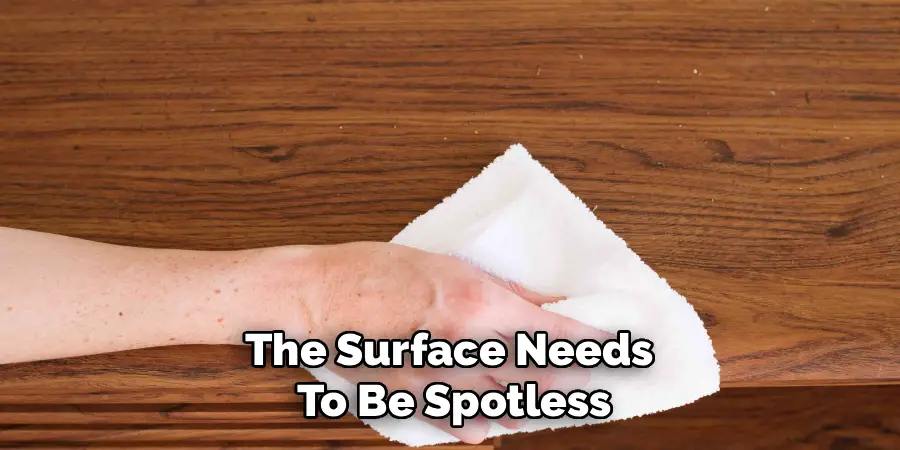
Before you touch a brush or piece of sandpaper, the surface needs to be spotless. Dust, grease, old polish, and grime all stop paint from sticking properly. Start by wiping the entire piece down with a damp cloth. For sticky spots or built-up residue, mix a little mild dish soap with warm water and gently scrub the surface.
Pay extra attention to areas that get handled often, like drawer fronts, handles, and the tops of legs — these collect oils from hands over the years. Once clean, rinse with a fresh damp cloth to remove any soap, then let the furniture dry completely. Skipping this step is one of the fastest ways to end up with peeling paint later.
Step 2: Sand the Surface
Sanding gives the paint something to grip. Grab your 120-grit sandpaper and lightly scuff the existing finish across the whole piece. You’re not trying to strip it down to bare wood — just rough up the surface enough to break the glossy seal.
Always sand in the direction of the wood grain to avoid leaving visible scratches. Take your time around curves, carved details, and edges, since these spots are easy to miss. When you’re finished, wipe away all the dust with a tack cloth or a slightly damp rag. A clean, dull surface is exactly what you want before painting.
Step 3: Fill Any Gaps or Damage
If your piece has dents, deep scratches, gouges, or old nail holes, now’s the time to fix them. Scoop a small amount of wood filler onto a putty knife and press it firmly into each flaw, smoothing the surface as you go. Wipe away any excess before it dries.
Follow the manufacturer’s drying time — rushing this leads to filler that crumbles or shrinks. Once it’s fully dry, sand the repaired spots smooth with 220-grit sandpaper until they’re flush with the surrounding surface. This step is optional, but it makes a real difference if you want a polished, professional-looking base. Wipe away the dust before moving on.
Step 4: Apply the Base Coat
This is the color that will peek through your distressing later, so choose it thoughtfully. Dip your flat brush into your chalk or latex paint and apply it in long, even strokes, working in one section at a time. Thin, smooth coats look far better than one thick, gloopy layer.
Chalk paint usually covers well in a single coat, while latex paint often needs two. Don’t overload your brush — it’s better to build up coverage gradually than to fight drips and brush marks. Keep your strokes going in the same direction for a consistent finish, and let the first coat dry before deciding whether you need a second.
Step 5: Let It Dry Completely
Patience pays off here. Touch-dry and fully cured are two very different things, and handling paint too soon is a common beginner mistake. Give your base coat at least 24 hours to cure, and longer if you’re working in a humid or cool space.
While you wait, resist the urge to test the surface with your finger or move the piece around. Properly cured paint is harder, more durable, and far easier to distress evenly. If you rush this step, the paint can smear, lift, or gum up under your sandpaper in the next stage. Use the time to clean your brushes and prep your antiquing supplies.
Step 6: Sand Lightly for a Worn Look
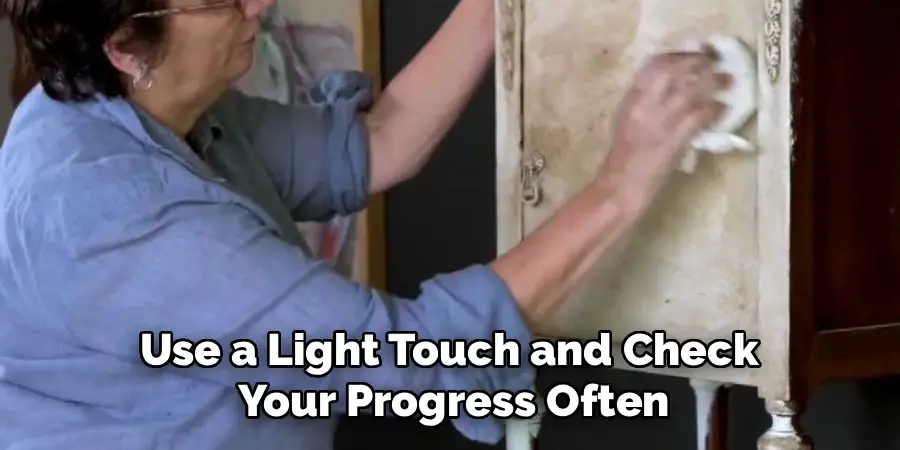
Now the antiquing really begins. With your 220-grit sandpaper, gently rub the painted surface to reveal hints of the wood or old paint underneath. The trick is to think about where natural wear would happen over decades of use.
Focus on edges, corners, raised carvings, drawer pulls, and the bottoms of legs — places hands and feet would naturally rub. Use a light touch and check your progress often, since it’s easy to remove more than you intended. Aim for small, irregular patches rather than long, uniform stripes. Step back now and then to make sure the wear looks believable and balanced across the whole piece.
Step 7: Wipe Away Sanding Dust
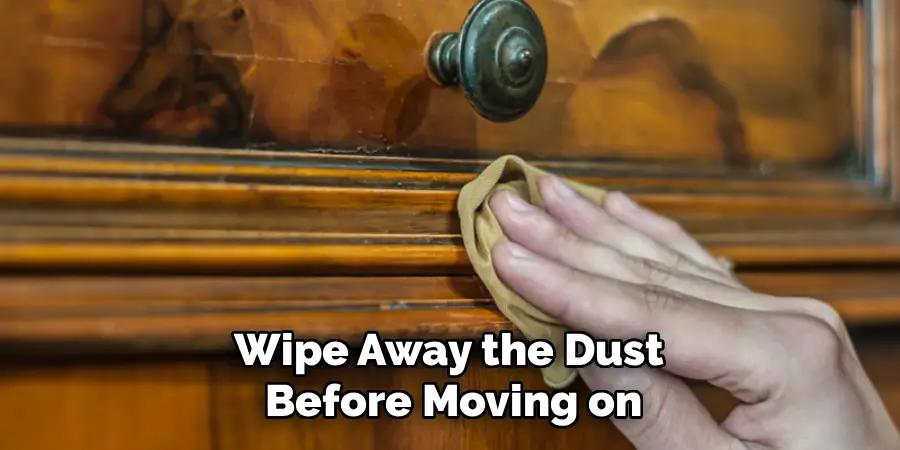
Before any antiquing medium touches the surface, every speck of dust needs to go. Sanding leaves behind fine powder that will mix into your wax or glaze and create a gritty, uneven finish.
Use a tack cloth for the best results, or a dry, lint-free rag if you don’t have one. Work over the entire surface, paying close attention to grooves, corners, and carved details where dust likes to hide. A quick pass with a soft brush can help dislodge dust from tight spots. Once the piece feels clean and smooth to the touch, you’re ready for the fun part.
Step 8: Apply the Antiquing Wax or Glaze
This is the step that gives your furniture its aged character. Load a small amount of dark wax or antiquing glaze onto a round wax brush or a folded cloth, then apply it in thin, circular motions. Work in small sections so the product doesn’t dry before you can blend it.
The dark pigment settles into grooves, cracks, and recesses, mimicking the buildup of years gone by. Don’t panic if it looks too dark or messy at first — you’ll blend it in the next step. Less is more here, so start light. You can always add more, but removing too much product is much harder.
Step 9: Blend and Remove Excess
While the wax or glaze is still workable, grab a clean, lint-free cloth and start buffing. Wipe away more product from flat, open surfaces and leave more tucked into corners, carvings, and edges — this contrast is what makes the finish look authentically old.
Blend in gentle, circular motions for a soft, natural transition between light and dark areas. Step back frequently to check the overall effect and make sure the shading looks even and intentional across the piece. If an area looks too heavy, a little extra buffing will lighten it. Take your time — this is the step that separates a convincing antique look from a muddy one.
Step 10: Seal the Finish
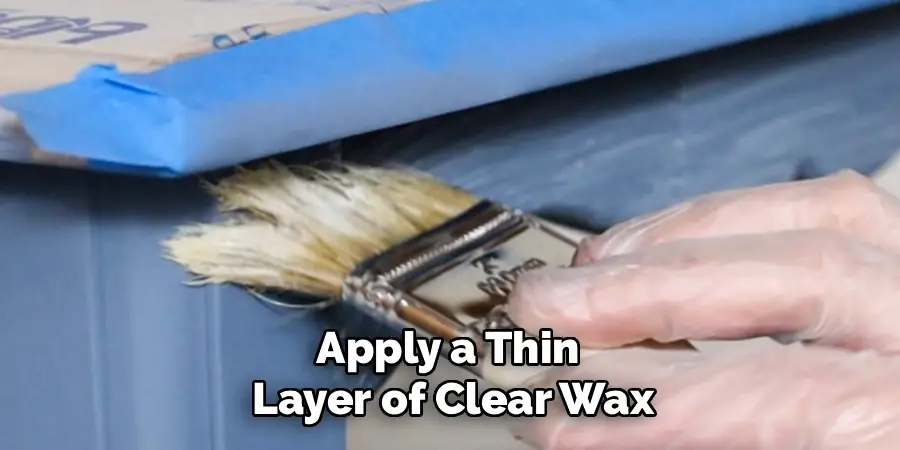
Once you’re happy with how everything looks, lock in your hard work with a protective topcoat. Apply a thin layer of clear wax or a water-based polyurethane using a clean brush or cloth, covering the entire surface evenly.
This seal protects the antiquing medium from scratches, moisture, and everyday wear, so your finish stays beautiful for years. If you used wax, you can buff it to a soft sheen once it sets. Let the sealer cure fully — check the product label for timing — before placing anything on the piece or putting it back into use. Then stand back and admire your beautifully aged, one-of-a-kind furniture.
Frequently Asked Questions
- Can I Antique Furniture That’s Already Painted?
- Yes, you can antique furniture that already has a painted finish. Lightly sand the existing surface to help the new paint adhere, then follow the steps above. You don’t need to strip the old paint completely unless it’s peeling or heavily damaged. The existing color may even add depth to your finished result.
- What’s the Difference Between Antiquing Wax and Antiquing Glaze?
Both products create a similar aged effect, but they behave differently. Wax dries slowly and gives a soft, matte finish that’s easy to blend — it’s ideal for chalk paint. Glaze is water-based, dries faster, and can be used over latex paint. Wax generally offers more control for beginners, while glaze suits larger surfaces or faster work. - How Do I Make the Antiquing Look More Subtle or More Dramatic?
The intensity of the effect depends on how much dark wax or glaze you leave on the surface after blending. For a subtle look, wipe away most of the product, leaving only a hint of color in the recesses. For a more dramatic, heavily aged look, leave more product in corners and grooves and apply a second layer once the first has dried.
Conclusion
Antiquing painted furniture is one of the most satisfying DIY projects you can tackle at home. It’s affordable, beginner-friendly, and the results speak for themselves. With the right materials and a steady hand, you can turn an unremarkable piece into something with real character and charm.
Start with a small, low-stakes piece — a picture frame, a small side table, or a wooden tray — to get a feel for the technique before moving on to larger furniture. Once you see the transformation, you’ll want to antique everything in sight.
Hopefully, this guide on how to antique painted furniture has inspired you to give antiqueing a try and add some personality to your home decor.
