
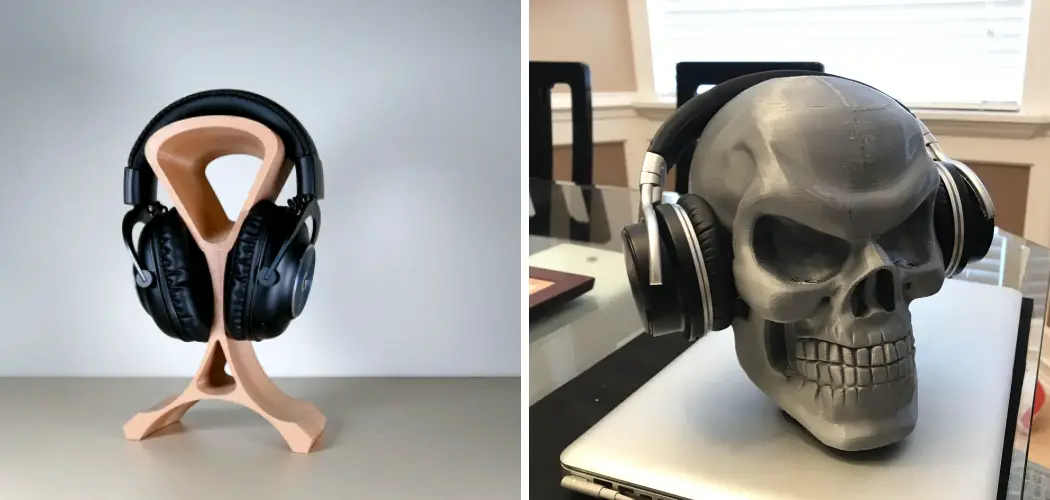
If you own a nice pair of headphones, you know the struggle. You set them down on your desk, they get tangled with cables, and before long they pick up dust or even small scratches. A dedicated headphone stand solves all of that. And here’s the fun part: you can make one yourself with a 3D printer.
3D printing a headphone stand is one of the best beginner projects out there. It’s small, it doesn’t use much filament, and it teaches you the core skills you’ll use on bigger prints later. You get a practical item at the end, not just a test cube collecting dust on a shelf.
In this guide on how to 3d print a headphone stand, we’ll walk you through everything. You’ll learn why making your own stand is worth it, what tools and materials you need, and the exact steps to print one from start to finish.
What Are the Benefits?
Before you fire up the printer, it helps to know why this project is worth your time. Here are the biggest perks.
- It saves you money. Store-bought headphone stands can cost anywhere from $15 to $50. A 3D-printed version uses only a small amount of filament, often less than a dollar’s worth. Once you own a printer, the cost per stand drops dramatically.
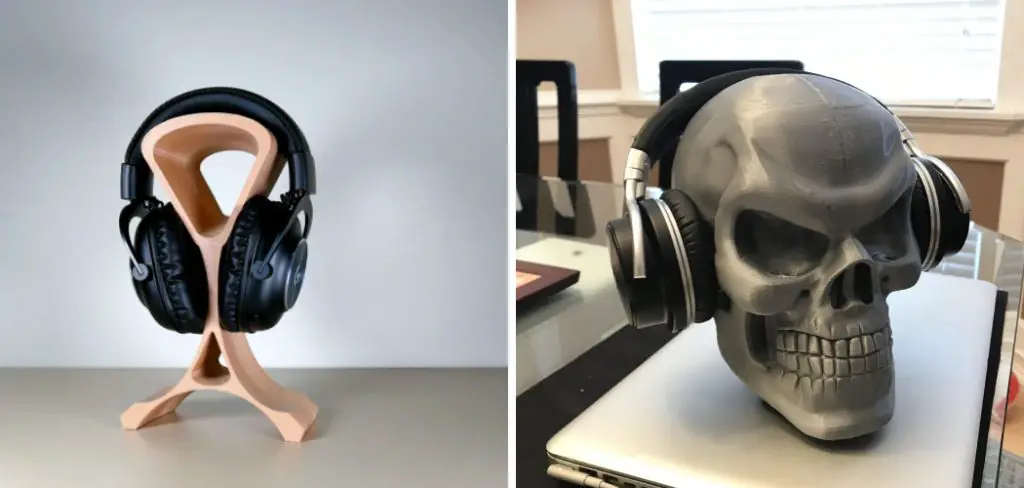
- You get full control over the design. Want a sleek minimalist hook? A bold geometric tower? A stand shaped like your favorite character? You can pick a design that matches your desk and personality. Thousands of free models exist online, and you can tweak many of them to fit your taste.
- It’s a perfect skill builder. A headphone stand is large enough to feel like a real object but simple enough that beginners can finish it without frustration. You’ll practice slicing, bed adhesion, and supports without risking hours of failed printing.
- It reduces wear on your headphones. Hanging your headphones keeps the headband in shape and the ear cups off rough surfaces. This protects the padding and helps your gear last longer.
- It’s customizable on the fly. Need a wider base for heavier cans? Want a cable hook on the side? You can adjust the model and reprint in an afternoon. Try doing that with a plastic stand from a store.
What Will You Need?
You don’t need a huge workshop to pull this off. Here’s the basic checklist.
- A 3D printer. Any FDM printer will do. Popular beginner models work great for a project this size.
- Filament. PLA is the easiest choice for beginners. It prints smoothly and doesn’t need a heated chamber. PETG is a good step up if you want extra durability. You’ll need roughly 50 to 150 grams depending on the design.
- A digital model (STL file). You can download a free one from sites like Thingiverse, Printables, or MakerWorld. Search for “headphone stand” and pick a design you like.
- Slicing software. Programs like Cura, PrusaSlicer, or Bambu Studio turn your model into instructions the printer understands. They’re free to download.
- A removal tool. A plastic or metal scraper helps you lift the finished print off the bed without damage.
- Basic finishing supplies. Side cutters or flush cutters trim away supports. Fine sandpaper smooths rough edges if you want a polished look.
- Optional extras. Glue for multi-part designs, felt pads for the base, and acrylic paint if you want to decorate.
Once you’ve gathered these, you’re ready to start.
10 Easy Steps on How to 3D Print a Headphone Stand
Step 1: Choose Your Headphone Stand Design
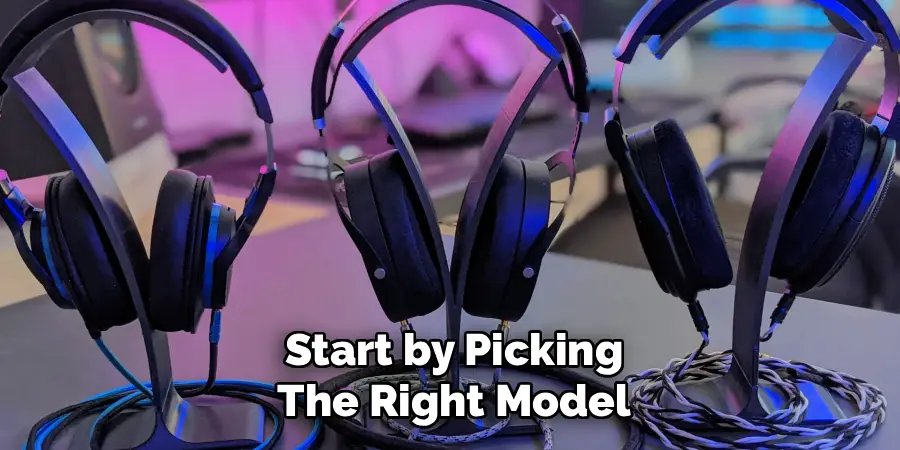
Start by picking the right model. Head to a free 3D model site and search for headphone stands. You’ll find hundreds of options, from simple curved hooks to detailed sculptures. As a beginner, pick something with a wide, flat base. A stable base prevents the stand from tipping when your headphones hang on it. Avoid designs with thin, tall sections or lots of fine detail for your first attempt, since those can be tricky to print. Read the comments and reviews on the model page. Other makers often share tips about which settings worked best for them. Download the STL file once you’ve decided.
Step 2: Inspect and Prepare Your 3D Printer
A clean, well-tuned printer makes the whole process smoother. Check that your print bed is clean and free of grease or dust. Wipe it down with isopropyl alcohol if needed. Confirm your nozzle isn’t clogged by checking a small test extrusion. If your printer hasn’t been used in a while, run a quick bed-level check. Most modern printers have an auto-level feature, but manual levelers should use the paper test, sliding a sheet of paper under the nozzle at each corner. A level bed is the single biggest factor in a successful first layer, so don’t skip this.
Step 3: Load Your Filament
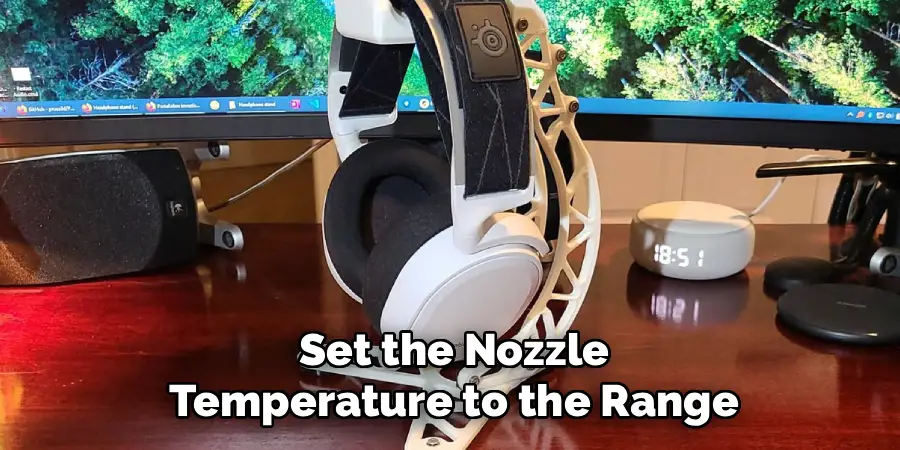
Pick your filament and load it into the printer. For your first stand, PLA is your best friend. Set the nozzle temperature to the range printed on the filament spool, usually around 200°C for PLA. Heat the nozzle, then feed the filament until you see a clean stream of plastic come out. Make sure the color flows evenly with no gaps or stutters. If the old color is still showing, keep extruding until the new color runs pure. A smooth load now prevents gaps and weak spots in your print later.
Step 4: Import the Model Into Your Slicer
Open your slicing software and import the STL file you downloaded. The model will appear on a virtual build plate. Take a moment to look at how it sits. Rotate the view and check that the orientation makes sense. Many headphone stand models come pre-oriented, but some don’t. You want the flattest, widest surface touching the bed for the best stability and adhesion. Use the rotate tool if you need to lay it down properly.
Step 5: Adjust Your Print Settings
This is where you fine-tune the print. For a sturdy headphone stand, set your layer height to 0.2mm, which balances speed and quality. Set infill to around 15 to 20 percent. The stand doesn’t need to be solid, but it does need enough strength to hold weight. Enable a brim if your base is small, since this adds extra grip to the bed. Set your print speed to a moderate level rather than maximum, especially while you’re learning. Slower prints tend to look cleaner.
Step 6: Add Supports If Needed
Look at your model for overhangs, which are parts that stick out into open air. If the design has steep curves or arms that jut out, you’ll need supports to hold them up while printing. Most slicers have a one-click support option. Choose “support on build plate only” if the overhangs are on the outside, or “everywhere” if they’re internal. Many simple stands need no supports at all, which makes cleanup easier. If you can avoid supports, do so.
Step 7: Slice and Preview
Click the slice button. The software will calculate the toolpaths and show you a preview. This step matters more than beginners realize. Scroll through the layer preview to spot any odd gaps, floating sections, or missing supports. Check the estimated print time and filament usage too. If something looks wrong, go back and adjust before wasting plastic. When the preview looks clean and complete, save the sliced file to an SD card or send it to your printer.
Step 8: Start the Print
Load the file on your printer and press start. Stay nearby for the first few minutes. The first layer is the most important part of any print. Watch as the nozzle lays down the base. The lines should stick to the bed and look smooth, not stringy or lifted. If the first layer looks great, the rest usually follows. If it’s peeling or not sticking, stop and re-level your bed. Once the first few layers look solid, you can step away and let the printer do its job.
Step 9: Remove the Finished Print
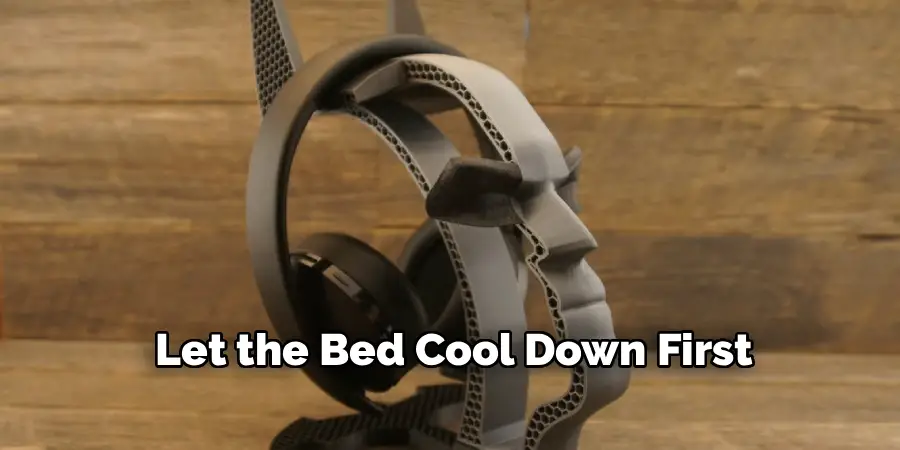
When the print finishes, let the bed cool down first. Cooling helps the print release on its own, especially on flexible or spring steel beds. Gently flex the plate or slide your scraper under an edge to pop the stand free. Take your time so you don’t crack the base. Never force it while the bed is still hot, since that can warp the part or damage the surface.
Step 10: Clean Up and Finish
Now for the final touches. Use flush cutters to snip away any supports or brim. Peel them off slowly to avoid leaving marks. Sand any rough edges with fine sandpaper if you want a smooth feel. Stick felt pads under the base to protect your desk and add grip. If you used a multi-part design, glue the pieces together now. Set your headphones on the stand and admire your work. You just printed something useful from scratch.
5 Things You Should Avoid
1. Skipping bed leveling. An unlevel bed is the number one cause of failed prints. Always check your bed before starting. A few minutes here saves you from peeling layers and wasted filament.
2. Printing too fast on your first try. High speeds can cause messy layers, weak walls, and ghosting. Slow down while you learn. You can always speed things up once you understand your printer’s limits.
3. Choosing an overly complex design. Detailed models with thin towers or tiny features set beginners up for failure. Pick something simple and sturdy for your first stand, then graduate to fancier designs.
4. Ignoring supports on overhangs. If your model has parts hanging in midair, they’ll droop or fail without supports. Always preview your slice and add supports where the plastic has nothing to rest on.
5. Forcing the print off a hot bed. Pulling a print too early or too hard can crack the base or scratch your build plate. Let it cool, then remove it gently.
Conclusion
How to 3d print a headphone stand is one of the most rewarding ways to start your 3D printing journey. It’s simple, affordable, and genuinely useful. You end up with something you’ll actually use every day, not just another test print gathering dust.
We’ve covered the whole process, from picking a design and prepping your printer to slicing, printing, and adding the finishing touches. The 10 steps give you a clear path to follow, and the tips on what to avoid will save you from the common beginner headaches.
The best part is that this project teaches skills you’ll carry into everything else you print. Once you nail the basics here, bigger and bolder projects feel a lot less intimidating. So download a design, load your filament, and give it a go. Your headphones and your desk will thank you. Happy printing.
