
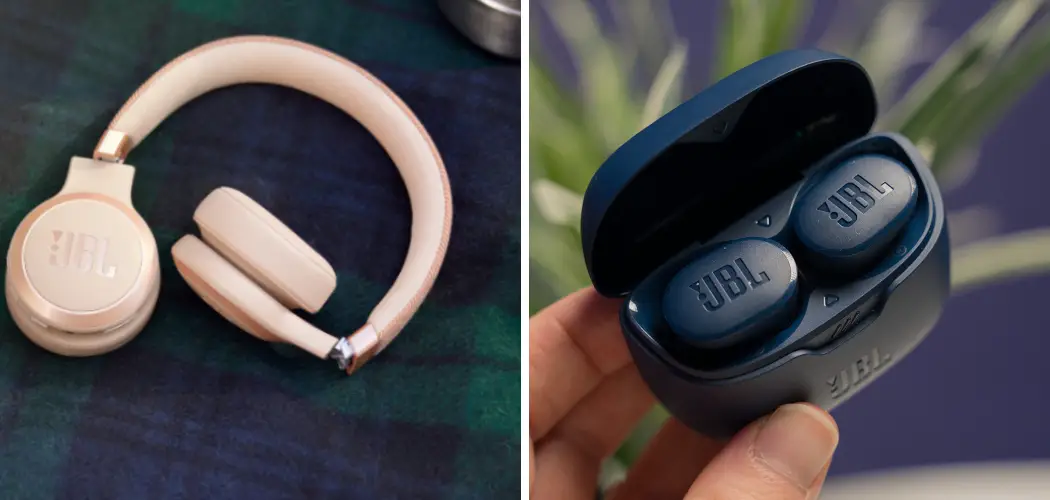
JBL headphones are known for their punchy bass, reliable build, and easy wireless connections. But before you can enjoy your music, podcasts, or calls, you need to connect your headphones to your device. That connection starts with one simple thing: pairing mode.
Pairing mode is the state your headphones enter when they search for a nearby Bluetooth device to link with. If you’ve just bought a new pair, or you want to connect your JBL headphones to a different phone, laptop, or tablet, knowing how to trigger pairing mode is essential. The good news? It’s quick and simple once you know what to do. This guide on how to put JBL headphones in pairing mode walks you through everything step by step.

What Are the Benefits
Putting your JBL headphones in pairing mode unlocks the full wireless experience. Here’s why it matters and what you gain from getting it right.
- True Wireless Freedom: Once paired, you can move around without being tied to a cable. Cook, exercise, or walk the dog while staying connected to your audio.
- Better Sound Quality: A stable Bluetooth connection means fewer dropouts and smoother playback. Pairing correctly helps maintain that clean signal.
- Multiple Device Support: Many JBL models let you pair with more than one device. You can switch between your phone and laptop with ease.
- Hands-free Calls: Paired headphones let you take calls, use voice assistants, and control music using built-in buttons or touch controls.
- Quick Reconnection: After the first successful pairing, your headphones usually reconnect automatically when they’re nearby. You only need to do the full process once per device.
- Access to App Features: Pairing also lets you use the JBL Headphones app, where you can adjust EQ settings, update firmware, and customize controls.
In short, pairing mode is the gateway to everything your JBL headphones can do. A few seconds of setup lead to hours of uninterrupted listening.
What Will You Need?
Before you begin, gather these few things. The process is simple, and you likely have everything ready already.
- Your JBL Headphones: Make sure they’re charged. Low battery can interfere with pairing.
- A Charged Bluetooth Device: This could be a smartphone, tablet, laptop, or smartwatch.
- A Power Source or Charging Cable: Useful in case your headphones need a quick boost before pairing.
- The JBL Headphones App (Optional): Available on the App Store and Google Play, this app makes managing your headphones easier.
- A Quiet, Interference-free Spot: Stay away from too many other Bluetooth devices during your first pairing to avoid confusion.
- A Few Minutes of Patience: That’s really all it takes.
With these on hand, you’re ready to move on to the actual steps.
10 Easy Steps on How to Put JBL Headphones in Pairing Mode
Follow these steps in order. Each one builds on the last, so take your time and don’t skip ahead.
Step 1: Charge Your Headphones
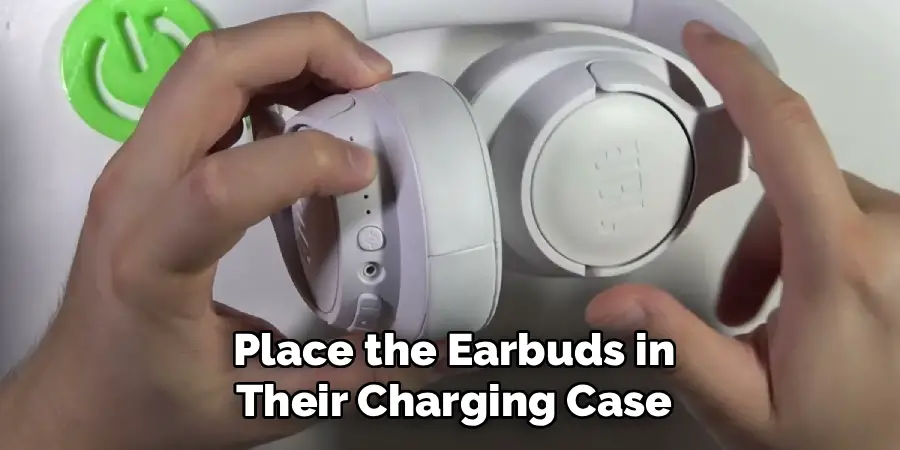
Start by making sure your JBL headphones have enough battery. Plug them into a charger using the included cable, or place the earbuds in their charging case. A low battery can stop the headphones from entering pairing mode or cause them to disconnect mid-setup. Wait until you see a steady charging light or a full charge indicator. Most JBL models show a small LED that changes color as they power up. Once charged, you’re ready for a smooth, reliable connection.
Step 2: Turn On Bluetooth on Your Device
Next, grab the device you want to connect. Open its settings and find the Bluetooth menu. On a phone, this is usually under Settings, then Bluetooth or Connections. On a laptop, look in the system tray or settings panel. Switch Bluetooth on if it isn’t already. Leaving this screen open helps, because your JBL headphones will appear here once they’re discoverable. Keeping Bluetooth active also speeds up the connection later.
Step 3: Power On Your JBL Headphones
Now turn on your headphones. Press and hold the power button until you see a light turn on or hear a startup tone. For wireless earbuds, simply opening the charging case may power them on automatically. The exact button placement varies by model, so check your packaging if you’re unsure. A glowing LED or a voice prompt usually confirms that your headphones are awake and ready for the next step.
Step 4: Locate the Pairing or Bluetooth Button
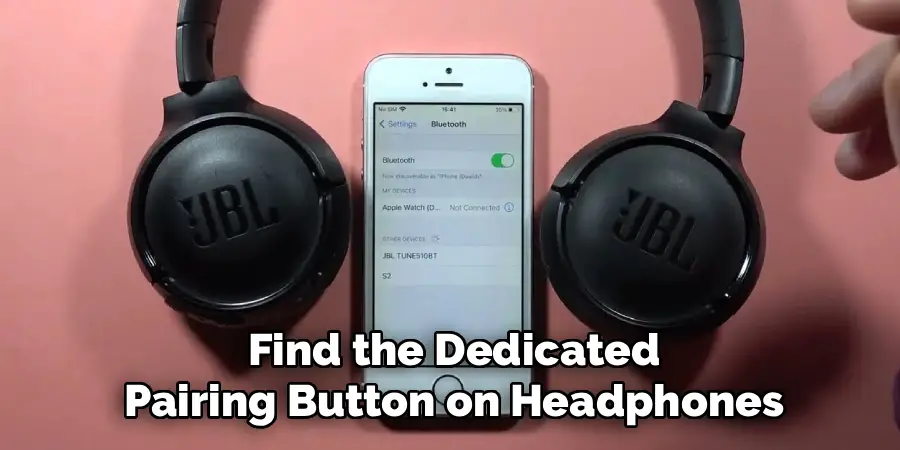
Find the dedicated pairing button on your headphones. On over-ear and on-ear JBL models, this is often the Bluetooth button, sometimes marked with the Bluetooth symbol. On earbuds, the touch surface or a small button on each bud serves this purpose. If your model has a single multi-function button, that’s the one you’ll use. Knowing exactly which button to press saves time and prevents accidental presses that could change other settings.
Step 5: Press and Hold to Enter Pairing Mode
Press and hold the pairing button for about three to five seconds. Keep holding until the LED begins flashing, usually in blue or alternating blue and white. You may also hear a voice say “pairing” or hear a short tone. This flashing light is the clearest sign that your headphones are now discoverable. If nothing happens, release the button and try again, holding slightly longer this time.
Step 6: Confirm Pairing Mode Is Active
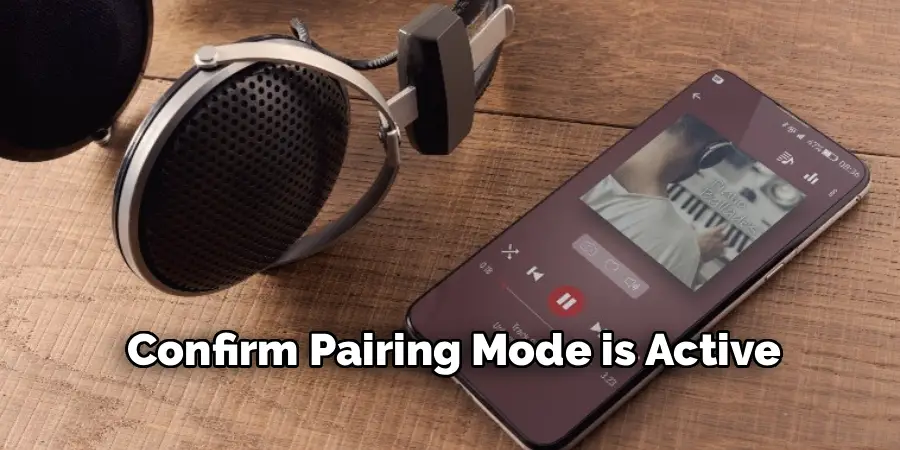
Look closely at the indicator light. A fast, repeating flash means your headphones are actively searching for a device. A slow or steady light usually means they’re already connected to something else or not in pairing mode. If you see a steady light, you may need to disconnect from another device first. Confirming this step now prevents frustration later when the headphones don’t show up on your screen.
Step 7: Find Your Headphones in the Bluetooth List
Return to the Bluetooth menu on your device. Within a few seconds, you should see your JBL headphones appear in the list of available devices. The name usually starts with “JBL” followed by the model name, like “JBL Tune 510BT.” If you don’t see it right away, give it a moment or tap the refresh or scan option. Make sure no other nearby devices are competing for the connection.
Step 8: Select Your Headphones to Connect
Tap the name of your JBL headphones in the Bluetooth list. Your device will begin connecting. This usually takes just a few seconds. You may hear a tone or a voice prompt that says “connected.” On your screen, the headphones will move from the available devices list to the connected or paired list. This confirms that the link is established and ready to use.
Step 9: Test the Connection
Play a song, video, or any audio to confirm the sound comes through your headphones. Adjust the volume using your device or the headphone controls. If the audio plays clearly with no skips, the pairing was successful. Try moving a few steps away to test the range. A strong, steady connection means everything is working as it should. If sound still comes from your device speaker, recheck the Bluetooth output setting.
Step 10: Save and Reconnect Automatically
Once paired, your JBL headphones remember the device. The next time you turn them on near that same device, they should reconnect on their own. To make things even easier, download the JBL Headphones app to manage settings and updates. If you ever want to connect to a new device, simply repeat the pairing steps. That’s it, you’re all set to enjoy your music.
5 Things You Should Avoid
A few simple mistakes can slow you down or cause connection trouble. Steer clear of these to keep things running smoothly.
- Pairing with a low battery. Trying to connect when your headphones are nearly dead often fails. Always charge first to avoid mid-setup dropouts.
- Staying too far from your device. Bluetooth works best within about 30 feet, and walls reduce that range. Keep your headphones and device close during pairing.
- Ignoring other connected devices. If your headphones are already linked to another phone or laptop, they may not enter pairing mode. Disconnect from the old device first.
- Rushing the button hold. Releasing the pairing button too soon stops the headphones from becoming discoverable. Hold steady until you see the flashing light.
- Skipping firmware updates. Outdated firmware can cause bugs and weak connections. Use the JBL app to keep your headphones current.
Avoiding these common slip-ups makes the whole process faster and far less frustrating.
Conclusion
How to put JBL headphones in pairing mode is one of the easiest parts of owning them, and now you know exactly how to do it. By charging your headphones, turning on Bluetooth, entering pairing mode, and selecting your headphones on your device, you can be listening in just a couple of minutes. The flashing light is your signal that everything is working, and a quick audio test confirms the connection is solid.
Remember to avoid the common mistakes, like pairing on a low battery or staying too far from your device. Keep your firmware updated through the JBL app, and take advantage of features like multipoint pairing if your model supports them.
Once you’ve paired a device, your headphones will reconnect automatically, making every future listening session effortless.
