
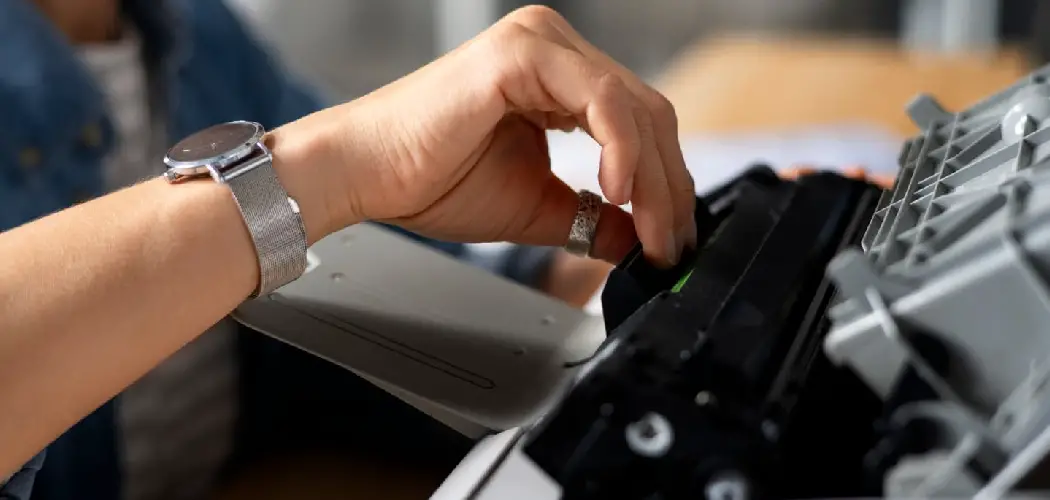
Your Canon printer works hard, and over time, dust, dried ink, and tiny paper bits can build up inside it. When that happens, you might notice streaky prints, smudged pages, or paper jams that seem to come out of nowhere. The good news? You don’t need to be a tech expert to fix these problems. A little regular cleaning can keep your printer running smoothly for years.
This guide on how to clean Canon printer walks you through everything you need to know to clean your Canon printer safely at home. We’ll cover the benefits, the supplies you’ll need, and ten simple steps you can follow without any special tools. By the end, you’ll feel confident keeping your printer in top shape and avoiding costly repairs or replacements.
Let’s get started.
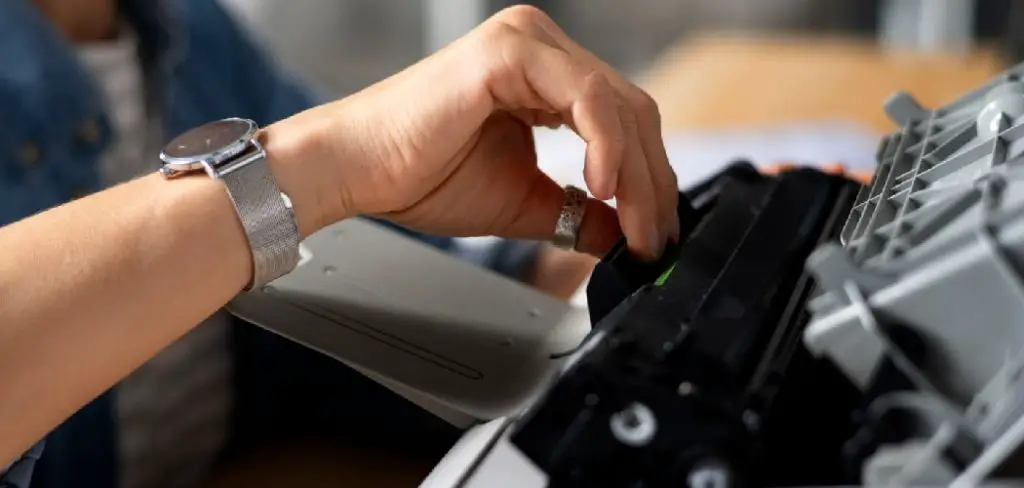
Benefits of Cleaning a Canon Printer
Cleaning your printer isn’t just about keeping it looking nice. It actually affects how well your machine performs. Here are the biggest reasons to make cleaning part of your routine.
- Better print quality. Dust and dried ink can clog print heads and nozzles. When that happens, your pages may come out faded, streaky, or with missing lines. A clean printer produces crisp text and bright, even colors every time.
- Fewer paper jams. Tiny paper fragments and dust collect on the rollers that pull paper through your printer. Over time, this buildup makes the rollers slip or grab paper unevenly. Cleaning them helps your printer feed paper smoothly.
- Longer printer life. Like any machine, a printer that’s well cared for lasts longer. Removing grime reduces wear on moving parts and keeps everything working as it should. That means you’ll spend less money replacing your printer down the road.
- Saved ink and money. A clogged print head wastes ink because it forces the printer to use more during cleaning cycles. Keeping things clean helps your cartridges last longer.
- Healthier workspace. Dust that gathers on and inside your printer can spread into the air around you. A quick wipe-down keeps your desk area cleaner and more pleasant.
What You Will Need?
Before you begin, gather a few simple supplies. You probably already have most of these around your home.
- Lint-free cloths or microfiber towels – These won’t leave fibers behind like paper towels can.
- Distilled water – Better than tap water, which can leave mineral spots.
- Cotton swabs – Great for reaching small, tight spots.
- Isopropyl alcohol (70% or higher) – Helps dissolve dried ink. Use sparingly.
- A soft, dry brush – A clean paintbrush or makeup brush works well for dust.
- Disposable gloves – Optional, but they keep ink off your hands.
- A small dish of warm water – Useful for soaking cleaning supplies if needed.
- The printer’s manual or built-in cleaning function – Most Canon printers have a self-cleaning cycle in the settings.
Set everything out on a clean, flat surface before you start. Having your supplies ready makes the whole process faster and less messy.
10 Easy Steps on How to Clean Canon Printer
Follow these steps in order. Take your time, work gently, and never force any part of the printer.
Step 1: Turn Off and Unplug the Printer
Safety comes first. Before you touch anything inside the printer, power it down completely. Press the power button and wait for the machine to shut off. Then unplug it from the wall outlet. This protects you from electric shock and prevents the printer from starting a print job while your hands are inside. If your printer connects to your computer with a USB cable, unplug that too. Give the machine a minute or two to cool down, especially if you’ve been printing recently. The print head can get warm during use, and you’ll want it cool before you handle it.
Step 2: Clear the Work Area
Move your printer to a clean, flat surface with plenty of light. A kitchen table or desk works well. Lay down some old newspaper or a paper towel to catch any dust or ink that falls out. Make sure you have room to open all the printer’s panels and trays. Good lighting helps you spot grime in hard-to-see corners. Keep your cleaning supplies within easy reach so you don’t have to walk away mid-task. A tidy workspace makes the job quicker and keeps ink stains off your furniture.
Step 3: Dust the Exterior
Start with the outside of the printer. Use your soft, dry brush or a microfiber cloth to gently sweep away dust from the top, sides, and back. Pay attention to the vents and any small gaps where dust likes to settle. For sticky spots or fingerprints, lightly dampen a cloth with distilled water and wipe the surface. Never spray water or cleaner directly onto the printer. Instead, apply liquid to your cloth first. Wipe gently and dry the surface afterward. This simple step keeps your printer looking fresh and stops dust from working its way inside.
Step 4: Open the Printer and Inspect Inside
Carefully open the printer’s cover or front panel. Most Canon models have a clear way to access the inside, often by lifting the top or pulling down a front door. Look inside and take note of where dust and ink have collected. You might see buildup near the print head, on the rollers, or along the paper path. Don’t touch anything yet. Just get familiar with the layout. If you’re unsure where a part is, check your printer manual. Knowing what you’re looking at makes the rest of the cleaning safer and easier.
Step 5: Handle the Ink Cartridges Carefully
Gently remove the ink cartridges if your model lets you. Lift them out slowly and set them on a paper towel with the nozzles facing up. This stops ink from leaking onto your work surface. Avoid touching the metal contacts or the nozzle area with your fingers, since oils from your skin can cause problems. If you spot dried ink on the cartridge contacts, lightly dab them with a cotton swab dipped in a tiny bit of isopropyl alcohol. Let them dry fully before putting them back. Be patient here. Cartridges are delicate, and rough handling can damage them.
Step 6: Clean the Print Head
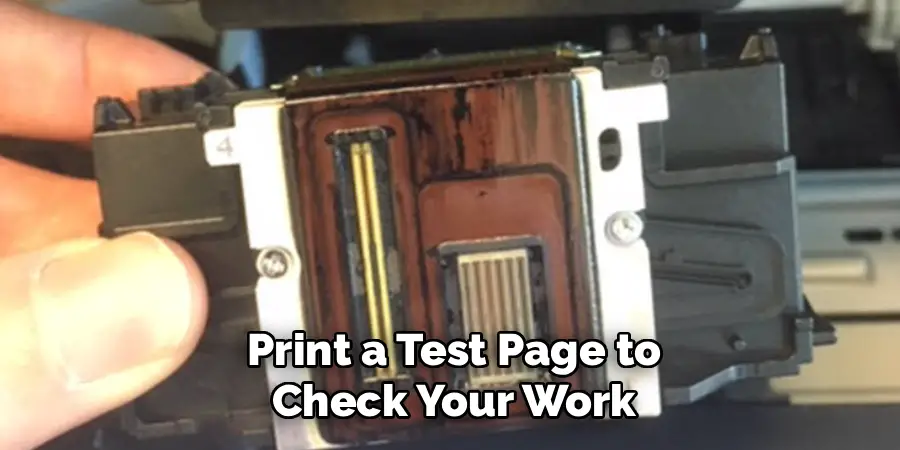
The print head is the part that sprays ink onto your paper, so keeping it clean matters a lot. If your Canon printer has a removable print head, take it out gently. Dampen a lint-free cloth with distilled water and wipe away any visible ink residue. For stubborn dried ink, use a cotton swab with a small amount of isopropyl alcohol. Be gentle and avoid scrubbing. Never use sharp objects to scrape the nozzles. If the print head doesn’t come out, don’t force it. You can clean it instead using the printer’s built-in cleaning cycle, which we’ll cover in Step 9.
Step 7: Clean the Rollers
The rollers are the rubber wheels that pull paper through your printer. Over time, they pick up dust and paper fibers, which can cause jams. Find the rollers along the paper path. Lightly dampen a lint-free cloth with distilled water and wipe them clean. If you can rotate the rollers by hand, do so slowly so you can reach the whole surface. Avoid using too much liquid, since rollers need to stay dry to grip paper properly. Let them air dry completely before you move on. Clean rollers help your printer feed pages without slipping or jamming.
Step 8: Clean the Scanner Glass
If your Canon printer is an all-in-one with a scanner, don’t forget the glass. Lift the scanner lid and look for smudges, dust, or fingerprints on the glass surface. Spray a small amount of glass cleaner or distilled water onto a microfiber cloth, never directly on the glass. Wipe in gentle circles until the surface is clear and streak-free. Dry it with a clean part of the cloth. A clean scanner glass means sharper scans and copies. Take care around the edges where dust likes to hide.
Step 9: Run the Built-In Cleaning Cycle
Once the inside is clean, reassemble everything. Put the ink cartridges and print head back in place, making sure they click securely. Plug the printer back in and turn it on. Now open your printer settings, either on the printer screen or through the software on your computer. Look for a maintenance or cleaning option. Canon printers usually offer a print head cleaning cycle that clears clogged nozzles. Run it once, then print a test page. If the page still looks streaky, run the cycle one more time. Avoid running it too many times in a row, since it uses ink.
Step 10: Test and Finish Up
Print a test page to check your work. Look for clear text and even colors with no missing lines or streaks. If everything looks good, you’re done. If not, you may need to repeat the print head cleaning cycle or check that the cartridges are seated correctly. Wipe down your work area and store your cleaning supplies. Place the printer back in its spot and reconnect any cables. Pat yourself on the back. Your Canon printer is now clean and ready to work like new.
Conclusion
How to clean Canon printer doesn’t have to be a chore. With a few simple supplies and a little patience, you can keep your machine printing clear, sharp pages for years to come. Regular cleaning saves you money on ink and repairs, cuts down on frustrating paper jams, and keeps your prints looking their best.
Remember the basics: always turn off and unplug your printer before you start, use gentle, lint-free cloths, handle ink cartridges with care, and never force any parts. When in doubt, let the printer’s built-in cleaning cycle do the heavy lifting.
Make printer cleaning part of your routine, and you’ll rarely have to worry about poor print quality or unexpected breakdowns. Your Canon printer works hard for you, so give it the simple care it needs. Now that you know exactly how to clean it, you’re ready to tackle the job with confidence. Happy printing!
