
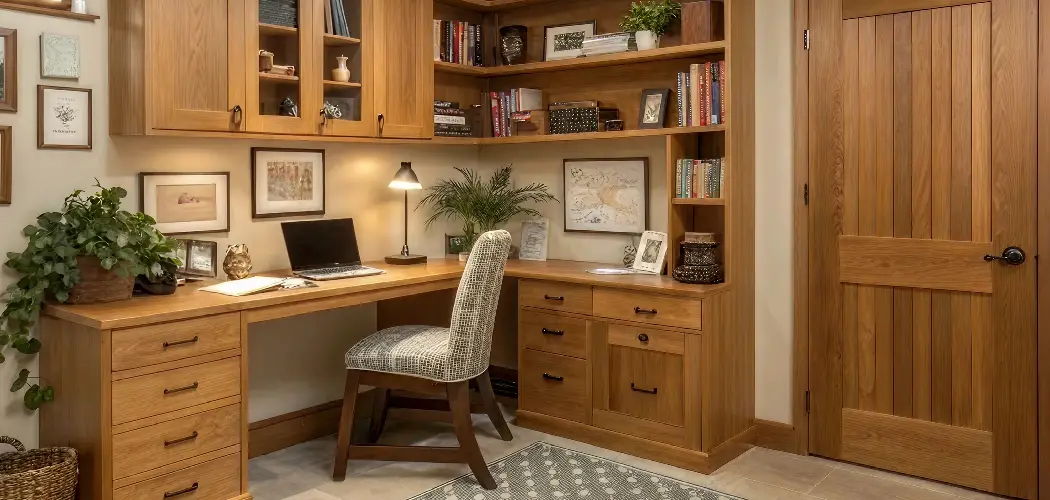
How to build a desk with drawers is one of those projects that pays off in more ways than one. You get a piece of furniture that fits your exact space, suits your workflow, and costs a fraction of what you’d spend at a furniture store.
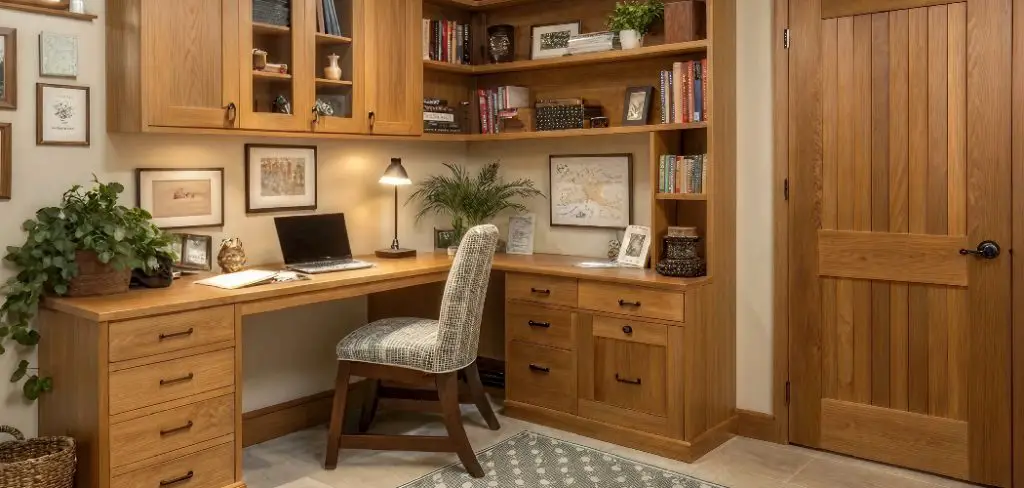
Whether you’re setting up a home office or adding a workspace to a bedroom, this guide walks you through everything—from materials to the final finishing touches.
By the end, you’ll know exactly what to buy, what to build, and what to avoid so the project goes smoothly the first time.
Why Build a Desk with Drawers?
Before you pick up a saw, it helps to understand what you’re getting out of this project. Here are the main reasons DIYers choose to build rather than buy.
- Custom fit. Store-bought desks come in standard sizes. A DIY desk fits your room, your height, and your storage needs exactly.
- Cost savings. A solid wood desk with drawers can cost $400–$800 retail. Building one yourself often runs $100–$200 in materials.
- Better materials. You choose the wood, hardware, and finish. No particleboard unless you want it.
- Skill building. This project teaches measuring, cutting, joinery, and finishing—skills you’ll use on every future project.
- Satisfaction. There’s something different about sitting at a desk you built with your own hands.
What Will You Need?
Gather your materials and tools before you start. Running back to the hardware store mid-project wastes time and breaks momentum.
Materials:
- 3/4-inch plywood or solid wood boards (for the desktop and drawer boxes)
- 1×4 or 2×4 lumber (for the frame and legs)
- Drawer slides (full-extension, 16–18 inches)
- Drawer pulls or knobs
- Wood screws (1-1/4 inch and 2-inch)
- Wood glue
- Sandpaper (80, 120, and 220 grit)
- Wood filler
- Paint, stain, or polyurethane finish
Tools:
- Circular saw or miter saw
- Drill and drill bits
- Screwdriver
- Tape measure
- Carpenter’s square
- Clamps
- Level
- Pencil
- Safety glasses and hearing protection
10 Easy Steps on How to Build a Desk with Drawers
This is the heart of the project. Take your time with each step—rushing leads to crooked drawers and wobbly legs. Read through all 10 steps once before you start cutting anything.
Step 1: Plan Your Design and Take Measurements
Start with a sketch. Decide on the overall dimensions of your desk—width, depth, and height. A standard desk is 28–30 inches tall, 24 inches deep, and 48–60 inches wide, but adjust for your space. Decide how many drawers you want, where they’ll sit (one side, both sides, center), and how tall each drawer box needs to be.
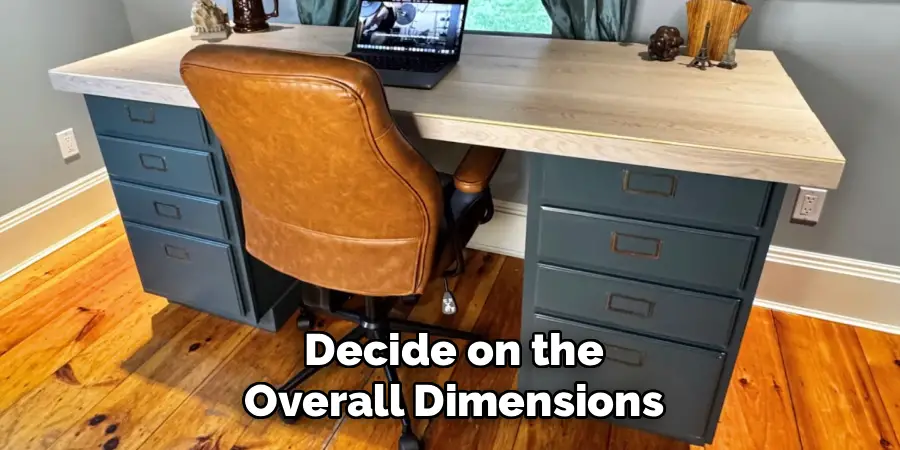
Write every dimension down before you buy materials. A few minutes of planning here prevents expensive mistakes later. Use a tape measure to confirm the space where the desk will live and check for any obstructions like outlets, baseboards, or vents.
Step 2: Cut Your Lumber to Size
With your measurements in hand, cut all your pieces at once. This includes the desktop, side panels, back support, and drawer box parts. Label each piece with a pencil as you cut it—”left side,” “drawer front,” and so on.
Use a circular saw with a straight-edge guide or a miter saw for clean, accurate cuts. Always cut on the waste side of your pencil line. Safety note: Wear safety glasses and keep fingers away from the blade path. Let the blade stop completely before moving the workpiece.
Step 3: Build the Desk Frame
The frame is the skeleton that holds everything together. Cut your 2×4 or 1×4 legs and horizontal supports to length. Attach the horizontal supports between the legs using wood glue and 2-inch screws. Pre-drill holes to avoid splitting the wood.
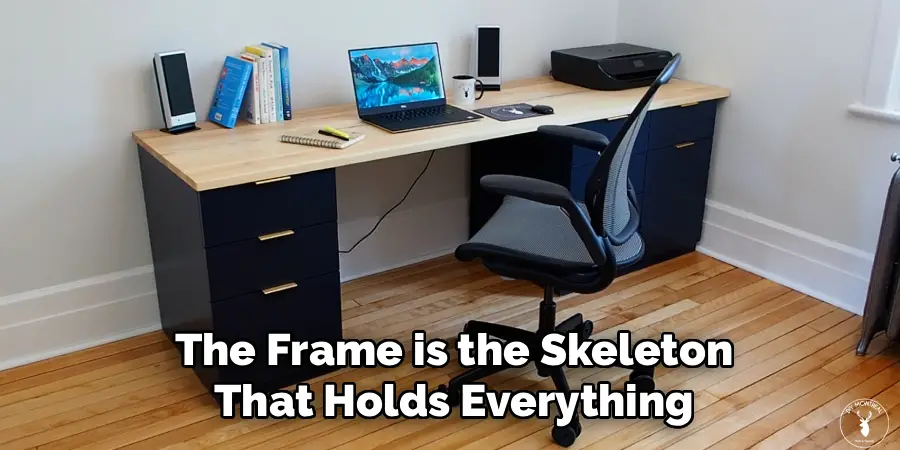
Check that the frame is square by measuring diagonally corner to corner—both measurements should match. Use a carpenter’s square at each joint before the glue dries. A square frame means straight drawers later.
Step 4: Attach the Side Panels
If your design includes side panels (recommended for a desk with drawers, since they give you a surface to mount the drawer slides), attach them to the frame now. Use wood glue along the edge, clamp the panel in place, and drive screws through the frame into the panel.
Keep the panels flush with the front of the frame—this ensures the drawer faces will align correctly when you get to that step.
Step 5: Install the Drawer Slide Mounting Rails
Before you attach the desktop, it’s much easier to work inside the desk cabinet. Mark the height of each drawer slide on the side panels using a tape measure and pencil. Use a level to make sure the marks on both sides are at the same height—even a 1/8-inch difference will cause the drawer to bind.
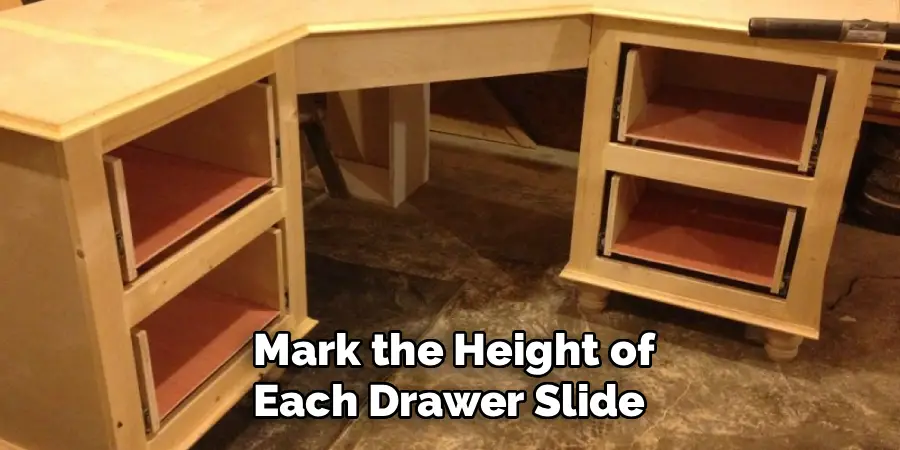
Screw a horizontal rail (a 1×2 strip of wood) across the inside of the frame at each drawer height on both sides. These rails give you a solid surface to mount the metal drawer slides.
Step 6: Mount the Drawer Slides
Attach the cabinet-side portion of each drawer slide to the mounting rails you just installed. Follow the manufacturer’s instructions—most slides attach with three screws. Use a square to confirm each slide is perfectly horizontal before driving the final screws.
Tip: Full-extension drawer slides are worth the extra few dollars. They let you access the entire drawer without having to reach in blind, which makes a real difference for a desk you’ll use daily.
Step 7: Build the Drawer Boxes
Each drawer box consists of four sides and a bottom panel. Cut the pieces from 1/2-inch or 3/4-inch plywood. The box should be about 1 inch narrower than the opening to allow for the slides on both sides.
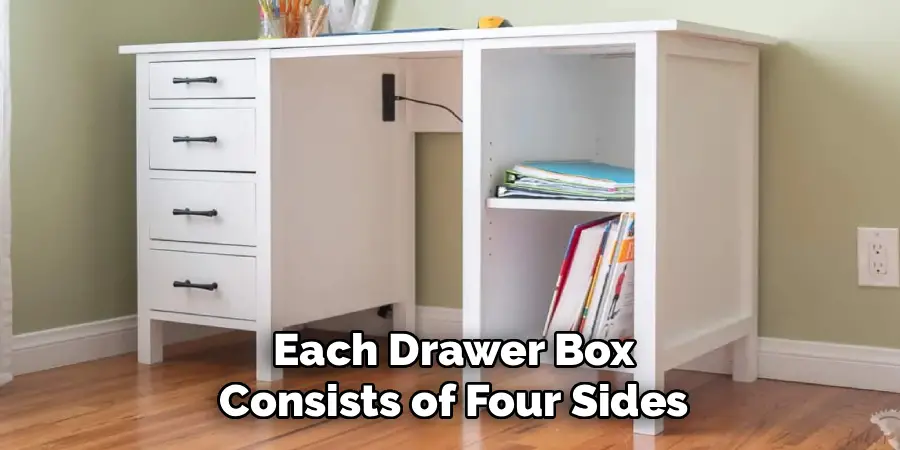
Assemble each box by gluing and screwing the sides together, then attach the bottom panel. Make sure each box is square before the glue dries—set it on a flat surface and check all four corners. A drawer box that’s even slightly out of square will jam once it’s installed.
Step 8: Attach the Drawer Boxes to the Slides
Extend the drawer slides fully and clip or screw the drawer-side portion of each slide to the outside of the drawer box. Then slide the box into place on the cabinet-side rails. Test the action—it should glide smoothly with no binding.
If a drawer drags or catches, adjust the slide position slightly. Most slides have slotted screw holes that allow small up, down, left, and right adjustments without removing the whole assembly.
Step 9: Attach the Desktop
Flip the desktop panel onto the frame and check the overhang on all sides. Use clamps to hold it in place while you drive screws up through the top frame rails into the underside of the desktop. This keeps the screw heads hidden.
If you’re using solid wood, allow for wood movement by using slotted screw holes in the frame—wood expands and contracts with humidity, and rigid attachment can cause cracking over time. Plywood is more stable and can be screwed directly.
Step 10: Sand, Fill, and Finish
Start with 80-grit sandpaper to knock down any rough edges or uneven joints. Fill screw holes and any gaps with wood filler, let it dry, then sand again with 120-grit. Finish with 220-grit for a smooth surface before applying your finish.
Apply paint, stain, or polyurethane in thin, even coats. Let each coat dry fully before adding the next. Two to three coats of finish give you durability that holds up to daily use. Attach the drawer pulls last—mark and drill pilot holes to keep the hardware centered and level.
5 Things You Should Avoid
Even with a solid plan, certain mistakes show up repeatedly in DIY desk builds. Watch out for these.
- Skipping the squaring step. If your frame or drawer boxes aren’t square, nothing will line up. Check square at every assembly stage—not just at the end.
- Using the wrong drawer slides. Cheap slides wear out fast and stick under load. Invest in quality, full-extension slides rated for the weight you expect to put in the drawers.
- Not pre-drilling screw holes. Driving screws into wood without pre-drilling splits the wood, especially near edges. Always pre-drill, especially in solid lumber.
- Rushing the finish. Applying a second coat of paint or stain before the first is fully dry causes bubbling, peeling, and a streaky result. Follow the dry time on the product label.
- Ignoring the measurements twice, cut once rule. Measure every piece twice before cutting. A board that’s 1/2 inch too short can’t be uncut, and buying replacement wood adds cost and delay.
Frequently Asked Questions
- What Type of Wood is Best for a DIY Desk With Drawers?
Plywood is the most practical choice for most builders—it’s stable, resists warping, and takes paint or stain well. For a more refined look, hardwoods like oak, maple, or poplar work great for the desktop and drawer faces. Pine is affordable and easy to work with if you’re on a budget, though it dents more easily. Avoid MDF for structural parts like legs and frames; it’s heavy and doesn’t hold screws well over time. Match your wood choice to your budget, finish preference, and how much wear the desk will see. - How Long Does It Take to Build a Desk With Drawers From Scratch?
For a first-time builder working on weekends, expect to spend roughly 10–15 hours total across two to three sessions. That includes planning, cutting, assembly, and finishing. The finishing stage alone often takes a full day because of drying time between coats. Experienced DIYers can complete the build portion in a single day. Don’t try to rush it into one session—taking breaks between glue-up and finishing stages actually produces a cleaner result. - Do I Need a Lot of Tools to Build This Desk?
You can build this desk with a modest set of tools. A circular saw, drill, tape measure, square, and clamps cover most of the work. A miter saw makes cleaner angle cuts but isn’t required. If you don’t own a saw, many lumber yards will cut boards to your dimensions for a small fee—which is a perfectly valid option for a first project. The key tools you don’t want to skip are the square (for checking alignment) and a level (for drawer slide installation).
Conclusion
How to build a desk with drawers is a rewarding project that’s well within reach for a motivated beginner. You get a workspace that’s sized right, built well, and finished exactly the way you want it. The 10 steps in this guide take you from a blank sketch to a functional, polished desk without unnecessary complexity.
The biggest takeaway: measure carefully, check square often, and don’t rush the finish.
Follow those three rules, and you’ll end up with a desk that lasts for years. Ready to start? Pull out your tape measure, sketch your dimensions, and head to the lumber yard. Your best workspace is one you build yourself.
