
JBL headphones are a favorite for music lovers, gamers, and remote workers alike. They deliver crisp sound, deep bass, and the kind of comfort that makes long listening sessions a breeze. But before you can enjoy any of that, you need to get them connected to your laptop. And if you’ve ever fumbled with Bluetooth settings or stared at a tangle of audio cables wondering where everything plugs in, you know the process isn’t always as smooth as it should be.
The good news? Connecting your JBL headphones to a laptop is easier than you might think. Whether you have a wireless pair that links up over Bluetooth or a wired set with a standard audio jack, the steps are straightforward once you know what to do. In this guide on how to connect JBL headphones to laptop, we’ll walk you through everything from start to finish.
What are the Benefits?
Pairing your JBL headphones with your laptop opens up a world of convenience and quality. Here are some of the biggest perks you’ll enjoy:
- Better sound quality. Laptop speakers are often tinny and flat. JBL headphones bring rich, detailed audio that makes music, movies, and games sound the way they were meant to.
- Privacy and focus. Headphones keep your audio to yourself. That’s perfect for shared spaces, libraries, offices, or late-night listening when others are asleep.
- Clearer calls and meetings. Many JBL models include built-in microphones, so your voice comes through clean on video calls and online meetings.
- Freedom to move (with wireless). Bluetooth JBL headphones let you step away from your desk without yanking out a cable. Grab a coffee or stretch while staying connected.
- Reduced distractions. Noise-isolating designs help block out background sounds so you can concentrate on what matters.
- Comfort for long sessions. With cushioned ear cups and lightweight builds, JBL headphones are easy to wear for hours at a time.
Whether you’re working, relaxing, or playing, the upgrade in audio experience is well worth the few minutes it takes to connect.
What Will You Need?
Before you begin, gather a few simple things. Having these ready will make the process quick and stress-free:
- Your JBL headphones, fully charged (for wireless) or in good working condition (for wired).
- A laptop with Bluetooth capability, or an available headphone jack or USB port.
- The charging cable for your wireless headphones, in case the battery is low.
- An audio cable or adapter if you’re using a wired connection and your laptop doesn’t have a 3.5mm jack.
- A few minutes of patience. Most connections happen in under five minutes.
- The user manual (optional), which can help with model-specific button locations.
Once you’ve got everything within reach, you’re ready to connect.
10 Easy Steps on How to Connect JBL Headphones to Laptop
Follow these steps in order. We’ve covered both wireless Bluetooth pairing and wired setups, so you can pick the path that matches your headphones.
Step 1: Charge or Prepare Your Headphones
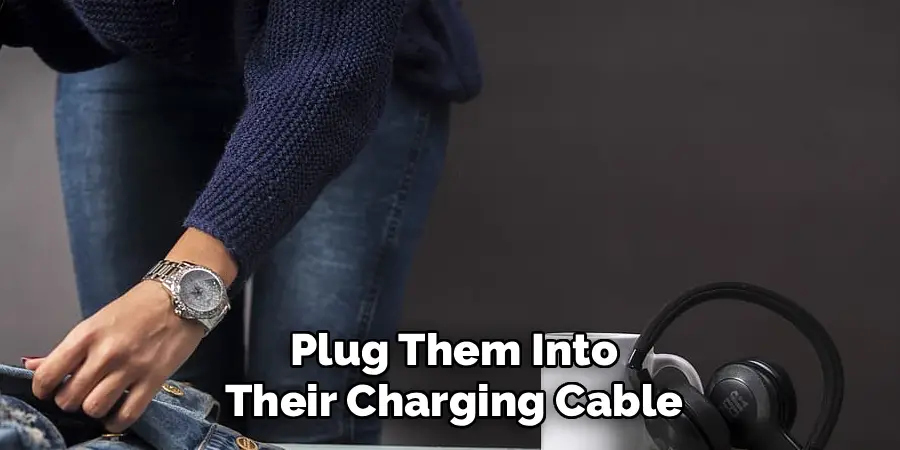
Start by making sure your headphones are ready to go. For wireless JBL models, plug them into their charging cable and let the battery fill up. A low battery can cause the connection to drop or fail. Most JBL headphones show a light indicator that turns solid or changes color when fully charged. If you’re using wired headphones, simply check that the cable isn’t frayed or damaged. A quick inspection now saves you frustration later.
Step 2: Turn On Your Laptop’s Bluetooth
For a wireless connection, your laptop’s Bluetooth must be switched on. On Windows, click the Start menu, open Settings, then go to Devices (or Bluetooth & devices on newer versions). Flip the Bluetooth toggle to On. On a Mac, click the Apple menu, choose System Settings, then select Bluetooth and turn it on. You can also use the quick-access icons in the taskbar or menu bar. Once Bluetooth is active, your laptop is ready to search for nearby devices.
Step 3: Put Your JBL Headphones in Pairing Mode
This is the step many people miss. Your headphones need to be in pairing mode so your laptop can find them. Press and hold the power button or the dedicated Bluetooth button for a few seconds. Watch for a flashing light, usually blue or a blue-and-red blink, which signals that the headphones are now discoverable. You may also hear a voice prompt saying “pairing” or a short tone. Hold the button until you see or hear this confirmation.
Step 4: Find Your Headphones in the Device List
Go back to your laptop’s Bluetooth settings. On Windows, click Add device or Add Bluetooth or other device, then choose Bluetooth. On a Mac, your headphones should appear automatically in the Bluetooth list. Wait a moment while your laptop scans. Your JBL headphones will show up with a name like “JBL Tune,” “JBL Live,” or a similar model label. If you don’t see them right away, give it a few extra seconds.
Step 5: Select and Pair Your Headphones
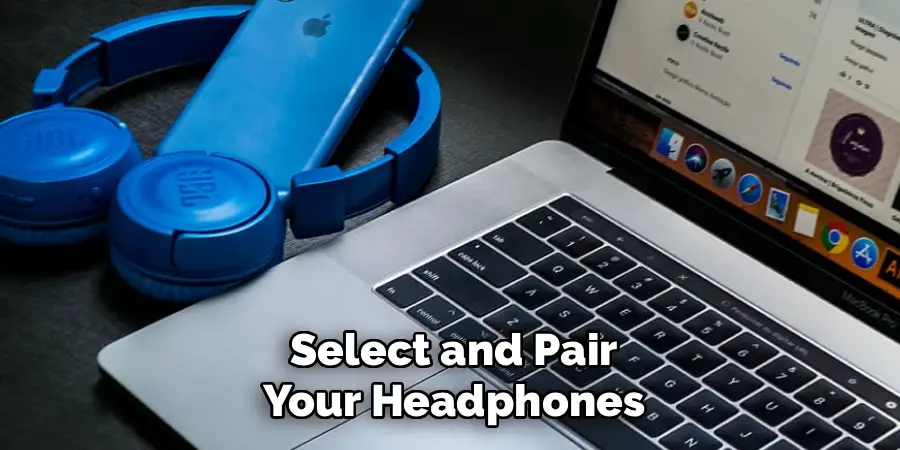
Click on your JBL headphones in the list to begin pairing. Your laptop will connect, and you may see a “Connecting” message followed by “Connected” or “Paired.” Some models play a confirmation sound in your ears once the link is complete. If your laptop asks for a passcode, enter 0000 or 1234, which are the most common defaults. After pairing once, your headphones will usually reconnect automatically the next time you turn them on.
Step 6: Set JBL as the Default Audio Device
Connecting isn’t always enough. Sometimes your laptop keeps playing sound through its speakers. To fix this, set your JBL headphones as the default output. On Windows, right-click the speaker icon in the taskbar, choose Sound settings, and pick your JBL headphones under output. On a Mac, open System Settings, go to Sound, click the Output tab, and select your headphones. Now all audio routes straight to your ears.

Step 7: Test the Sound
Play a song, a video, or any audio clip to confirm everything works. You should hear clear sound through your headphones, not the laptop speakers. Adjust the volume using both the laptop controls and the buttons on your headphones if your model has them. If the audio sounds off or one side is silent, double-check that the correct output device is selected from Step 6.
Step 8: Connect Wired JBL Headphones
If you have wired JBL headphones or prefer a cable connection, this part is simple. Locate the 3.5mm headphone jack on your laptop, usually on the side. Plug the headphone cable firmly into the jack until it clicks into place. Your laptop should detect the headphones instantly and switch audio over. If your laptop only has a USB-C port, use a USB-C to 3.5mm adapter to make the connection.
Step 9: Adjust Settings for the Best Experience
Take a moment to fine-tune your setup. If your JBL headphones come with a companion app, like the JBL Headphones app, download it to access equalizer settings, sound profiles, and firmware updates. You can boost the bass, tweak the treble, or pick a preset that matches your listening style. Updating the firmware also fixes bugs and improves performance, so it’s worth checking now and then.
Step 10: Troubleshoot Common Connection Problems
If something isn’t working, don’t panic. Most issues have quick fixes. If your headphones won’t pair, turn Bluetooth off and on again, then retry. If sound won’t play, confirm the correct output device is chosen. For wired setups, try a different jack or test the cable on another device. Restarting your laptop clears up many glitches. As a last resort, “forget” the device in your Bluetooth settings and pair it fresh from Step 3.
5 Things You Should Avoid
Steer clear of these common mistakes to keep your connection smooth and reliable:
- Skipping pairing mode. Simply turning on your headphones isn’t enough for Bluetooth. Always activate pairing mode so your laptop can detect them.
- Ignoring the battery. A low charge causes drops and weak connections. Keep wireless headphones charged before long sessions.
- Forgetting to set the default output. Don’t assume sound automatically switches to your headphones. Check your audio settings if you hear nothing.
- Connecting to too many devices. Many JBL headphones remember multiple devices and may link to your phone instead of your laptop. Disconnect from other gadgets if you run into trouble.
- Using a damaged cable or wrong adapter. A frayed wire or incompatible adapter leads to crackling or no sound at all. Always use quality cables that fit your ports.
Conclusion
How to connect JBL headphones to laptop doesn’t have to be complicated. Once you understand the basics, the whole process takes just a few minutes. Start by charging your headphones, turn on your laptop’s Bluetooth, put your headphones in pairing mode, and select them from the device list. After setting them as your default audio output, you’re ready to enjoy crisp, immersive sound. And if you prefer a wired setup, plugging in a cable is even faster.
The key is to remember the small details that often trip people up, like activating pairing mode, keeping your battery topped off, and choosing the right output device. Avoid the common mistakes we covered, and you’ll rarely run into problems. When issues do pop up, a quick restart or a fresh pairing usually does the trick.
Hopefully, this guide has demystified the process of connecting and using Bluetooth devices.
