
A half wall ledge is one of those overlooked spots in an office that holds incredible potential. It sits at the perfect height to catch the eye, yet so many people leave it bare or pile it with random clutter. With a little planning, that empty surface can become a focal point that shapes the mood of your entire workspace.
Think about it. You spend hours at your desk each day, and your surroundings affect how you feel and work. A thoughtfully styled ledge brings warmth, personality, and a sense of order to a room that might otherwise feel cold or impersonal.
This guide on how to decorate a half wall ledge for office walks you through everything, from the benefits to the exact steps, the common mistakes, and answers to the questions people ask most.
What are the Benefits?
Decorating a half wall ledge does more than fill space. It delivers real value to your daily work life, and the payoff often surprises people once they see the finished result.
- It boosts your mood and motivation. Plants, art, and personal mementos create a space that feels welcoming. When you enjoy looking at your surroundings, you tend to feel more positive and focused throughout the day.
- It adds storage and organization. A ledge gives you a place to hold books, files, supplies, or small bins. This frees up your desk and keeps frequently used items within easy reach.
- It strengthens your professional image. Whether you meet clients in person or on video calls, a tidy, styled ledge sends a message that you care about details. It reads as polished and put-together.
- It makes the room feel bigger and more balanced. A bare wall can feel flat and unfinished. Layering objects at different heights draws the eye upward and adds depth, which makes the whole space feel more complete.
- It reflects your personality. Your office should feel like yours. A ledge gives you a small canvas to show what you love, whether that is travel souvenirs, framed quotes, or a favorite color palette.
- It is flexible and easy to refresh. Unlike permanent fixtures, ledge décor can change with the seasons or your mood. Swap a few items, and the space feels brand new without any major effort.
What Will You Need?
Before you start, gather your supplies. Having everything on hand makes the process smooth and saves you from running back and forth. Here is a simple list to work from:
- Measuring tape to know your exact ledge dimensions
- A small notebook or your phone for sketching layouts and jotting ideas
- Picture frames in a few sizes for photos or art prints
- Small plants or succulents, real or faux, for a touch of life
- Decorative boxes or bins to hide clutter and add structure
- Books or magazines to stack and add height
- A few small sculptures or objects for visual interest
- A clock, lamp, or other functional item to blend style with purpose
- Microfiber cloth and cleaner to prep the surface
- Adhesive strips or museum putty to keep items secure
- A neutral tray or runner to anchor groupings
- Soft lighting, such as a small LED strip or desk lamp, to highlight your display
You do not need every item on this list. Choose what fits your style and the size of your ledge. The goal is to have options so you can mix and match until the look feels right.
10 Easy Steps on How to Decorate a Half Wall Ledge for Office
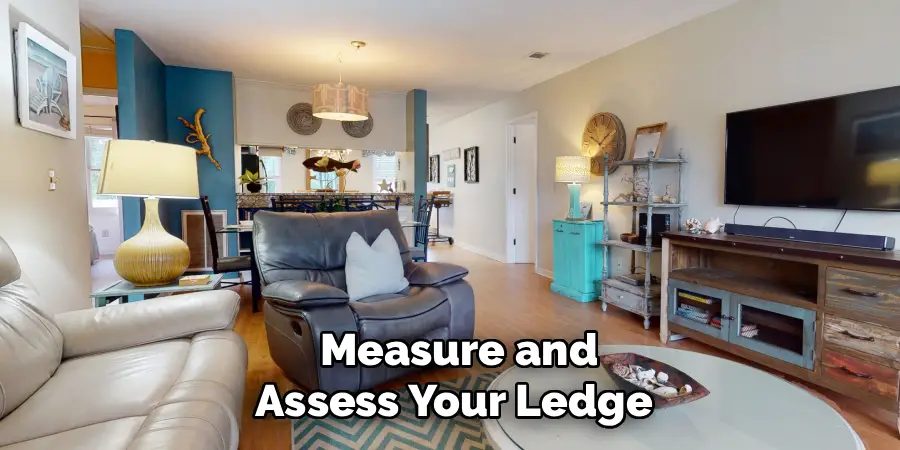
Step 1: Measure and Assess Your Ledge
Start by grabbing your measuring tape and noting the length, depth, and height of the ledge. Depth matters most, because a narrow ledge limits how much you can display safely. Write these numbers down so you can shop and plan with confidence. Take a moment to study the spot too. Notice how light hits it during the day and what you see when you sit at your desk. This quick assessment shapes every choice you make next, so do not skip it.
Step 2: Clear and Clean the Surface
Remove everything from the ledge and give it a thorough wipe. Dust, fingerprints, and grime build up fast, even on a surface you rarely touch. Use a microfiber cloth and a gentle cleaner suited to the material, whether it is wood, laminate, or stone. A clean base lets your décor shine and protects the items you place on it. Starting fresh also helps you see the space clearly, free from old clutter that may have crept in over time.

Step 3: Define Your Style and Color Palette
Decide on a look before you place a single item. Do you want calm and minimal, warm and cozy, or bright and energetic? Pick two or three colors that work together and pull from your existing office tones. A consistent palette ties everything into a cohesive whole and prevents a scattered, busy feel. Save a few inspiration photos to guide you. Having a clear direction keeps you focused and stops you from buying pieces that clash once you bring them home.
Step 4: Choose Your Anchor Piece
Every good display needs one standout item to build around. This anchor might be a piece of framed art, a tall plant, a sculpture, or a small lamp. Place it first, usually off-center, to create natural balance rather than a stiff, symmetrical line. The anchor sets the scale for everything else and gives your eye a place to land. Choose something you love and that matches your style, since this piece will define the feel of the entire ledge.
Step 5: Add Height with Books and Stacks
Flat displays look dull, so introduce height to add interest. Stack a few books horizontally to create small platforms, then set a smaller object on top. Vertical books with attractive spines work well too. Vary the heights across the ledge so the display flows rather than sitting in one flat line. Books also bring texture and color, and they make a workspace feel thoughtful and lived-in. Mix sizes and orientations to keep the arrangement feeling natural and relaxed.
Step 6: Bring in Greenery
Plants breathe life into any space and soften hard edges. A small succulent, a trailing pothos, or a sleek faux plant all work beautifully on a ledge. Greenery adds color, texture, and a calming presence that pure objects cannot match. If you choose live plants, make sure the spot gets enough light and that watering will not damage the surface. For low-maintenance options, quality faux plants look convincing and need no care, which keeps your display effortless.
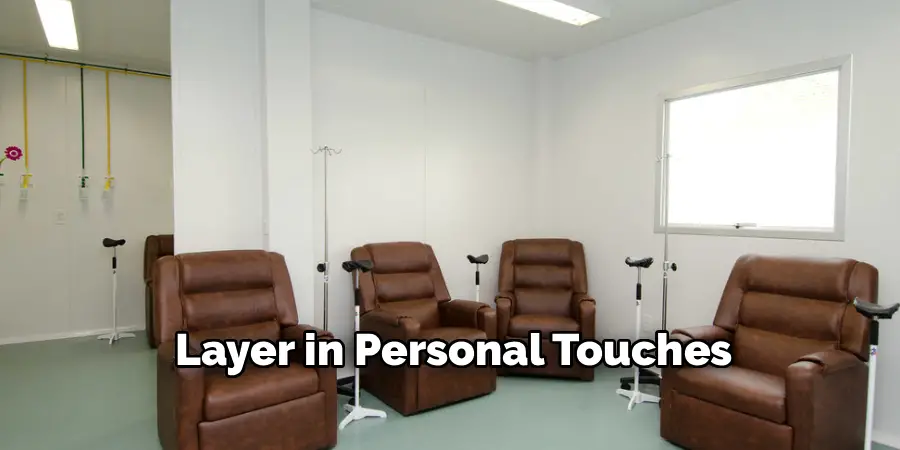
Step 7: Layer in Personal Touches
Now add the items that make the space yours. Include a framed photo, a travel keepsake, a meaningful quote, or a small piece of art. These personal touches give the ledge warmth and tell your story. Keep them limited, though, since too many small items create clutter. Pick a few that you truly connect with and let them stand out. This step transforms a generic display into something that feels personal and genuinely reflects who you are.
Step 8: Use Containers for Smart Storage
Blend function with style by adding decorative boxes, bins, or a small tray. These hold supplies, cables, sticky notes, or odds and ends while keeping them out of sight. Choose containers that match your color palette, so they look like part of the design rather than an afterthought. A tray also groups smaller items, which creates order and makes the whole arrangement feel intentional. Smart storage keeps your ledge tidy and your desk clear at the same time.
Step 9: Balance and Adjust the Arrangement
Step back and look at the full display. Does it feel balanced, or is one side too heavy? Move pieces around until the visual weight spreads evenly across the ledge. Aim for variety in height, shape, and texture while keeping breathing room between items. Negative space matters just as much as the objects themselves. Take a photo with your phone, since a picture often reveals imbalances your eye misses. Keep tweaking until the layout feels relaxed and pleasing.
Step 10: Add Lighting and Secure Everything
Finish with light to highlight your work. A small LED strip, a desk lamp, or even a candle adds warmth and draws attention to your display, especially in the evening. Once you are happy with the look, secure loose or top-heavy items with adhesive strips or museum putty. This step prevents accidents and protects your décor from bumps or vibrations. With everything in place and lit just right, your half wall ledge is complete and ready to enjoy.

5 Things You Should Avoid
Even a great plan can go wrong with a few common mistakes. Steer clear of these pitfalls to keep your ledge looking its best.
- Overcrowding the space. Packing too many items together creates visual chaos and defeats the purpose of a styled display. Leave room to breathe, and let each piece have its moment.
- Ignoring scale and proportion. Tiny objects on a long ledge look lost, while oversized pieces overwhelm a narrow one. Match the size of your décor to the dimensions of the surface.
- Forgetting safety. A ledge sits above the floor, and falling objects can cause damage or injury. Avoid placing heavy or fragile items near the edge, and secure anything that could tip.
- Sticking to one height. Lining up items at the same level looks flat and boring. Vary heights with books, stands, and plants to add the depth that makes a display interesting.
- Neglecting upkeep. Dust gathers fast, and dead plants or faded photos drag down the whole look. Wipe the ledge regularly and refresh your pieces so the space always feels cared for.
Conclusion
A half wall ledge is a small space with big potential. With the right approach, you can turn a plain, overlooked surface into a styled display that lifts your mood, supports your work, and shows off your personality. The process is simple when you break it down.
Remember to keep balance in mind and avoid the common traps of overcrowding, poor scale, and skipped maintenance. A little restraint goes a long way, and the breathing room between your pieces is what makes the whole arrangement feel polished.
Hopefully, this guide on how to decorate a half wall ledge for office has given you some inspiration and tips to create a stylish and functional space.
