

Electric recliners bring comfort straight to your living room. With the press of a button, you can kick back, raise your feet, and relax after a long day. But here’s something many owners discover: these chairs are big, bulky, and sometimes refuse to fit through doorways or up the stairs.
That’s where removing the back comes in handy. Whether you’re moving to a new home, squeezing your recliner into a tight space, or trying to reach a hidden motor for repairs, knowing how to detach the backrest is a real lifesaver. It sounds tricky, but most electric recliners are designed with this exact task in mind.
This guide on how to take the back off an electric recliner walks you through every step, points out the mistakes to avoid, and answers the questions people ask most. Let’s get started.

What are the Benefits?
Learning how to remove the back of your electric recliner offers more value than you might expect. Here are the main reasons this skill is worth having.
- Easier moving and transport. A fully assembled recliner is heavy and awkward. By taking the back off, you split the chair into smaller, lighter pieces. This makes it far simpler to carry through narrow hallways, fit into a car or truck, and protect from damage during a move.
- Fits through tight spaces. Standard doorways are about 32 inches wide. Many recliners are wider than that when assembled. Removing the back instantly slims down the chair so it can slide through doors, around corners, and up staircases without scratching walls or getting stuck.
- Simpler repairs and maintenance. Electric recliners have motors, wires, and mechanisms hidden inside. When something stops working, the problem often sits behind the backrest. Detaching the back gives you direct access to these parts, making repairs faster and cheaper.
- Better cleaning. Crumbs, dust, and coins love to hide in the cracks between the seat and the back. Once you remove the backrest, you can vacuum every corner and wipe down areas you normally can’t reach.
- Saves money. Hiring movers or repair techs costs money. When you can disassemble the chair yourself, you avoid those extra fees and gain confidence handling your own furniture.
In short, this one skill makes your recliner more flexible, easier to care for, and cheaper to own over time.
What Will You Need?
Before you begin, gather a few basic supplies. Having everything ready makes the job smooth and stress-free.
- A clean, open work area – Give yourself room to move around all sides of the chair.
- A flashlight or headlamp – The locking mechanisms often sit in dark spots behind the back.
- A flathead screwdriver – Useful for prying up locking levers or tabs.
- A Phillips screwdriver – Some models use screws to secure the back.
- A pair of work gloves – These protect your hands and improve your grip.
- A soft blanket or towel – Lay parts on this to prevent scratches and dents.
- Your owner’s manual – If you still have it, keep it close for model-specific notes.
- A helper (optional) – An extra set of hands makes lifting and balancing easier.
- A small container – Hold any screws or pins so you don’t lose them.
Most electric recliners use a tool-free locking system, so you may not need every item. Still, it’s smart to have them nearby just in case.
10 Easy Steps on How to Take the Back Off an Electric Recliner
Step 1: Unplug the Recliner
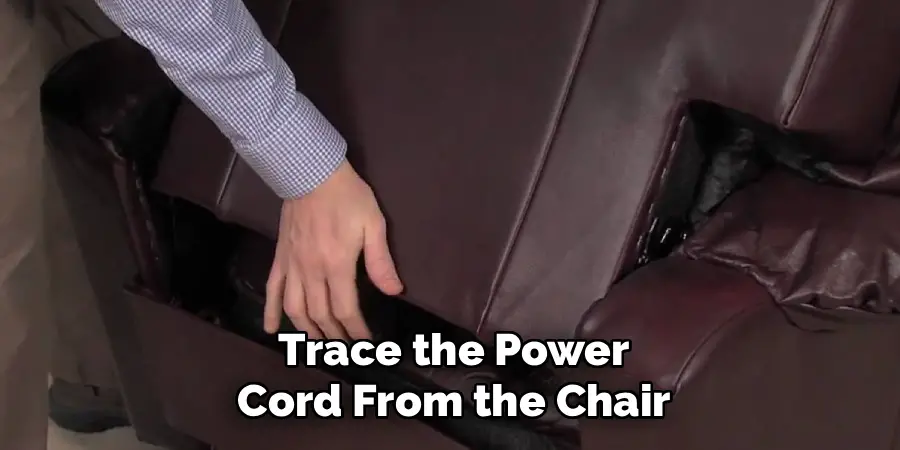
Safety always comes first. Before you touch anything, unplug the recliner from the wall outlet. Electric recliners run on power, and you don’t want the motor to move while your hands are inside the frame. If your chair uses a battery pack, disconnect that too. Trace the power cord from the chair to the outlet and pull it free gently. Set the cord aside so it stays out of your way during the rest of the process. This single step prevents shocks, pinched fingers, and accidental movement. Never skip it, even if you’re in a hurry.
Step 2: Clear and Prepare Your Space
Give yourself plenty of room to work. Move coffee tables, lamps, rugs, and anything else near the recliner. You’ll need space to walk around all four sides of the chair and to set the backrest down once it’s free. Lay your soft blanket or towel on the floor where you plan to rest the removed back. A clear space lowers the risk of tripping and keeps your furniture safe from scratches. Good lighting helps too, so open the curtains or turn on extra lamps.
Step 3: Tip the Chair Forward Slightly
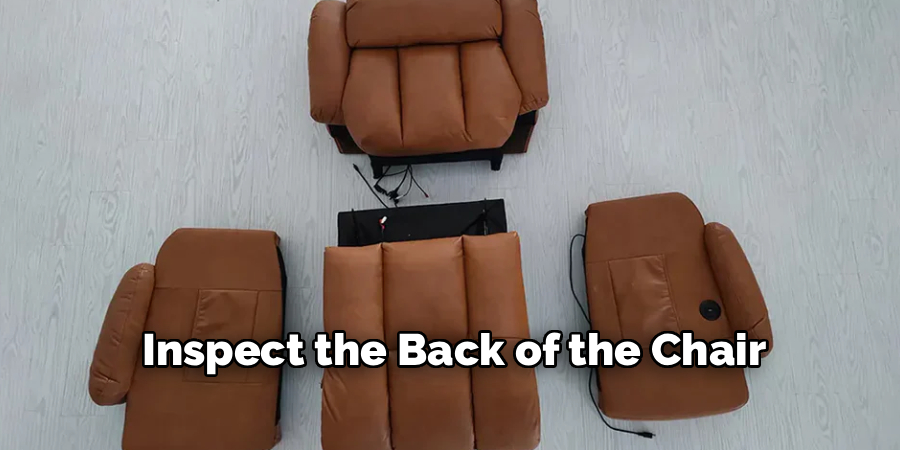
To find the locking mechanisms, you’ll usually need to look at the back of the chair from behind. Gently tip the recliner forward or pull it away from the wall so you can access the rear. Don’t lay it all the way down yet. You just need enough room to reach behind the backrest. If the chair is heavy, ask your helper to steady it while you look. Take your time here, since rushing can lead to slips.
Step 4: Locate the Locking Mechanisms
Now grab your flashlight and inspect the back of the chair. Most electric recliners attach the backrest with two metal locking levers, brackets, or tabs. These sit on the left and right sides where the back meets the seat frame. Some models hide them under a fabric flap, so lift any loose material gently. Look closely until you spot both levers. They often look like small curved hooks or sliding latches. Knowing exactly where they are makes the next steps quick and easy.
Step 5: Release the Locking Levers
Once you’ve found the levers, it’s time to unlock them. Most levers flip up or slide to the side. Use your fingers or a flathead screwdriver to push each one in the direction that releases it. You may feel or hear a small click. Work on one side at a time and keep track of which way each lever moves. If your model uses screws instead of levers, switch to your Phillips screwdriver and remove them carefully, placing each screw in your small container.
Step 6: Disconnect Any Wiring
Some electric recliners have wires that run from the seat motor up into the backrest, often for features like heat, massage, or extra controls. Before you lift the back off, check for these wires. Look for a plastic connector clip where two cables join. Press the small tab on the clip and gently pull the two halves apart. Never yank the wires, as this can damage them. If your chair has no wiring in the back, you can skip this step and move on.
Step 7: Loosen the Backrest
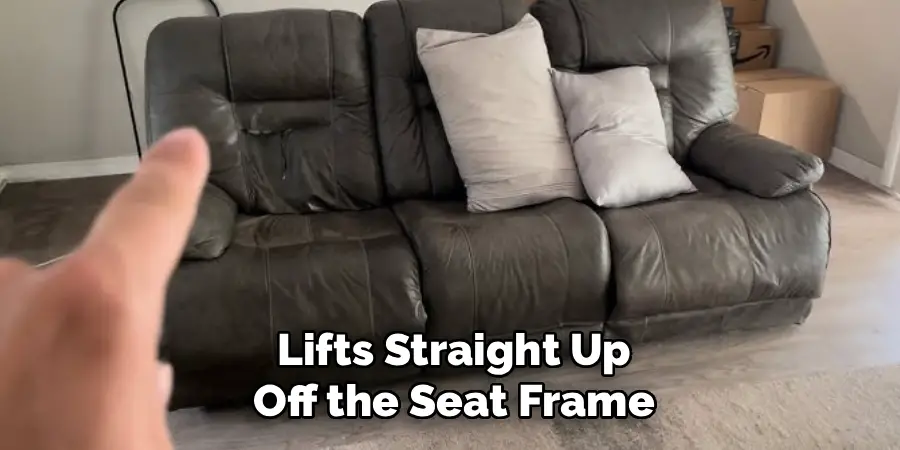
With the levers released and wires disconnected, the backrest should now feel loose. Give it a gentle wiggle to confirm it’s free. The back typically lifts straight up off the seat frame. If it still feels stuck, double-check that both locking levers are fully released. Don’t force it. A stuck backrest usually means a lever is still engaged or a screw remains in place. Patience here protects both you and the chair.
Step 8: Lift the Back Straight Up
Now comes the main event. Stand behind the chair, grip the backrest firmly on both sides, and lift it straight upward. Keep your back straight and lift with your legs to avoid strain. The back should slide off the mounting brackets smoothly. If you have a helper, have them lift the other side at the same time so the weight stays balanced. Move slowly and steadily, and watch out for any wires you may have missed.
Step 9: Set the Backrest Down Safely
Carry the detached backrest to your prepared blanket or towel. Lay it down gently with the cushioned side facing up to protect the fabric. Avoid leaning it against sharp corners or rough surfaces. If you’re moving the chair, this is the perfect time to wrap the back in a moving blanket for extra protection. Keeping the piece padded prevents scratches, dents, and tears during transport or storage.
Step 10: Inspect and Store the Parts
Take a moment to look over both the backrest and the seat base. Check the locking levers, brackets, and any wires for damage or wear. Gather all screws, pins, and small parts into your container and label it so you remember where they belong. If you’re storing the chair, keep the pieces together in one spot. When you’re ready to reassemble, simply reverse these steps: line up the brackets, lower the back into place, reconnect the wires, and lock the levers. You’re all done.

5 Things You Should Avoid
Mistakes can damage your recliner or hurt you. Steer clear of these common errors.
- Forgetting to unplug the chair. Leaving the power connected risks electric shock and sudden motor movement. Always disconnect it first.
- Forcing the backrest off. If the back won’t budge, don’t yank or pry it hard. A stuck back usually means a lever or screw is still holding it. Forcing it can crack the frame or strip the brackets.
- Ignoring the wiring. Pulling the back off without disconnecting the wires can rip cables and break features like heat or massage. Always check for connectors first.
- Lifting with your back. Recliner backs are heavier than they look. Bending and lifting incorrectly can hurt your spine. Bend your knees and lift with your legs instead.
- Losing the small parts. Screws and pins are easy to misplace. Without them, you can’t reassemble the chair properly. Keep every piece in one labeled container.
Conclusion
How to take the back off an electric recliner is far simpler than it first appears. With a clear space, a few basic tools, and the ten steps in this guide, you can detach the backrest safely in just minutes. The key is to work slowly, unplug the chair first, and never force any part that feels stuck.
This handy skill makes moving easier, opens up tight doorways, simplifies repairs, and helps you give your chair a deep clean. Just remember to keep your small parts safe and lift with your legs, not your back.
Now that you know exactly how it’s done, you can tackle the task with confidence. Grab your tools, follow the steps, and enjoy the freedom of a recliner that’s ready to move, fix, or clean whenever you need. You’ve got this.
