

A bulletin board is one of the most useful tools in any classroom, office, or home. It keeps important notices in view, brightens up a wall, and helps share information at a glance. But a great display starts with one simple skill: knowing how to attach your materials securely.
Tape can peel, pins can fall out, and tacks can leave a mess. A stapler, on the other hand, holds paper firmly against a cork or fabric surface and keeps your display looking crisp for weeks. Whether you’re a teacher setting up a seasonal theme, an office manager posting schedules, or a parent organizing a family calendar, stapling is fast, clean, and reliable.
This guide on how to use stapler on bulletin board walks you through everything you need to know. You’ll learn the benefits of stapling, the tools you’ll need, and a clear ten-step process to get professional results.
What Will You Need?
Gather these items before you begin. Having everything ready makes the whole job smoother.
- A stapler – A standard desk stapler works for most jobs. For thick cork boards, consider a heavy-duty stapler or a staple gun.
- Staples – Choose the correct size for your stapler. Standard 1/4-inch staples suit most paper tasks.
- A staple remover – Useful for fixing mistakes and updating your display later.
- The materials to post – Papers, photos, notices, posters, or decorations.
- A measuring tape or ruler – Helps you space items evenly and keep lines straight.
- A pencil – For light marking before you staple.
- A level (optional) – Ensures your display sits perfectly straight.
- Scissors – To trim paper or borders as needed.
- A flat, sturdy work surface – For laying out and prepping your materials.
10 Easy Steps on How to Use Stapler on Bulletin Board
Step 1: Choose the Right Stapler and Staples
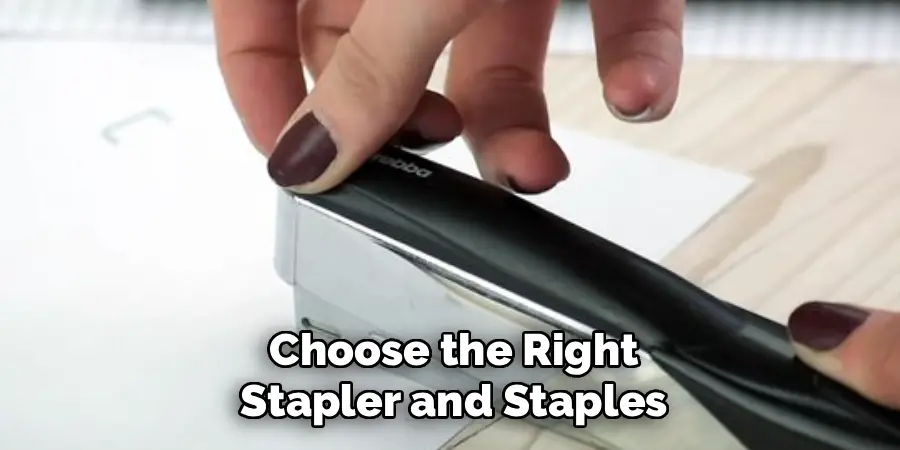
Start by matching your tools to the job. A regular desk stapler is fine for thin paper on a soft cork board. If your board is dense or you’re posting heavy, laminated sheets, reach for a heavy-duty stapler or a staple gun instead. Check that your staples are the right size for your stapler, since the wrong size can jam the device or fail to penetrate the surface. Load the staples fully and test the stapler on a scrap piece of paper. This quick check saves you from frustrating jams once you’re actually mounting your display. Taking a moment now sets you up for smooth, clean results later.
Step 2: Clean and Prepare the Board
Before posting anything, give your bulletin board a quick once-over. Remove old staples, leftover tape, and any forgotten notices using your staple remover. Wipe the surface gently to clear away dust. A clean board provides a better grip and a more attractive backdrop. If the board has a fabric cover, smooth out any wrinkles. Inspect the surface for damaged spots where staples might not hold well, and plan to avoid those areas. A tidy, well-prepared board makes your finished display look polished and professional, and it prevents new materials from sitting unevenly over old debris.
Step 3: Plan Your Layout
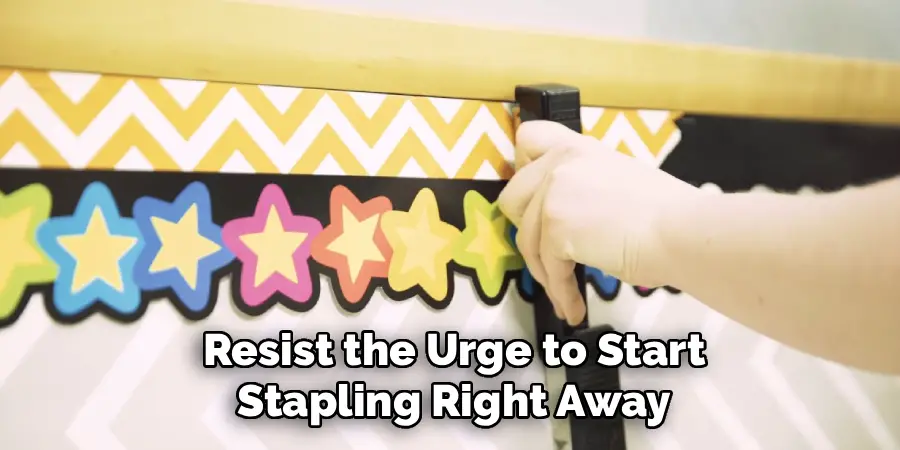
Resist the urge to start stapling right away. Lay your materials on a flat surface or hold them up to the board first. Decide where each item should go and how much space to leave between them. Think about balance, grouping related items, and leaving room to breathe around the edges. If you’re working on a themed display, sketch a rough plan on paper. Planning prevents crowding and helps you avoid the mistake of running out of space halfway through. A thoughtful layout turns a random collection of papers into a clear, eye-catching presentation.
Step 4: Measure and Mark
For a neat, professional look, measure before you staple. Use your measuring tape or ruler to space items evenly and keep rows aligned. Lightly mark the corners of each item with a pencil so you know exactly where it will sit. A level comes in handy here to make sure horizontal lines stay straight. These small marks act as a guide and take the guesswork out of placement. Straight, evenly spaced items signal care and attention, while crooked papers can make even great content look sloppy. A few extra minutes of measuring pays off in the final result.
Step 5: Position Your First Item
Hold your first piece of paper against the board, lining it up with the pencil marks you made. Press it flat so there are no bubbles or creases. If the item is large, ask a helper to hold one end, or use a small piece of tape to hold it in place temporarily while you staple. Double-check that it’s straight before you commit. Starting with one well-placed item gives you a reference point for everything that follows. Once this first piece looks right, the rest of your display will fall into place more easily.
Step 6: Staple the Corners First
Begin stapling at the top corners of your item. Hold the stapler firmly and press down with steady, even pressure so the staple drives fully into the board. Do the top two corners first, then move to the bottom corners. Stapling the corners keeps the paper flat and prevents it from flapping or curling. Make sure each staple sits flush against the paper, not sticking up at an angle. Corner-first stapling gives your item a secure anchor on all four sides and creates a clean, finished frame around the content.
Step 7: Add Support Along the Edges
For larger posters or papers that might sag, add a few extra staples along the edges between the corners. Space them evenly, roughly every six to eight inches, depending on the size and weight of the item. These support staples stop the middle of the paper from drooping and keep the whole piece taut. Don’t overdo it, though, since too many staples can look cluttered and make removal harder later. Aim for just enough to hold the item firmly in place. The goal is a smooth, flat surface that stays put.
Step 8: Check Your Work as You Go
After stapling each item, step back and look at it from a few feet away. Is it straight? Is it flat? Are the staples secure? Catching a crooked or loose item now is far easier than fixing it after you’ve finished the whole board. Gently tug a corner to confirm the staples are holding. If something looks off, use your staple remover and reposition. Reviewing your work piece by piece keeps the whole display consistent and prevents small errors from adding up across the board.
Step 9: Continue Building Your Display
Move on to your remaining items, following the same routine: position, check alignment, staple the corners, then add edge support. Keep referring to your layout plan and pencil marks to stay on track. Maintain even spacing between items so the board feels organized rather than crowded. Work in a logical order, such as left to right or top to bottom, so nothing gets missed. As your display fills in, the planning you did earlier will really pay off, and the finished arrangement will look balanced and intentional.
Step 10: Add Finishing Touches
Once all your main items are up, add the details that make a display shine. Staple borders, headers, decorative cutouts, or labels to tie everything together. Make sure these extras are also flat and secure. Take a final walk around to inspect every corner and edge, pressing down any staples that didn’t sit flush. Sweep up any stray staples that fell during the process. Step back one last time to admire your work and confirm that everything is straight, secure, and easy to read. Your bulletin board is now complete and ready to impress.
5 Things You Should Avoid
- Avoid using the wrong staple size. Staples that are too short won’t grip the board, and ones that are too long can jam your stapler or stick out dangerously. Always match the staple to your tool and surface.
- Avoid stapling without a plan. Jumping in without measuring or arranging your items often leads to crooked, crowded displays. A few minutes of planning saves a lot of rework.
- Avoid using too many staples. Over-stapling makes your display look messy and creates extra work when you take it down. Use only as many as you need to hold each item firmly.
- Avoid stapling over electrical or unsafe areas. Never staple near outlets, wires, or surfaces that aren’t meant for it. Stick to the cork or fabric board itself to stay safe.
- Avoid forcing a jammed stapler. If your stapler jams, stop and clear it properly. Forcing it can break the device or bend staples, leaving you with a frustrating mess.
Conclusion
How to use stapler on bulletin board is a simple skill that makes a big difference. With the right tools and a little planning, you can create displays that look neat, stay secure, and hold up over time. Stapling beats tape and pushpins for strength, speed, and a clean finish, making it the smart choice for classrooms, offices, and homes alike.
The key is preparation. Choose the correct stapler and staples, clean your board, and plan your layout before you begin. Measure and mark your placements, then staple the corners first and add support along the edges where needed.
Check your work as you go, and finish with borders and labels that bring the whole display together. Follow these ten steps, and you’ll get professional results every time.
