

There’s something timeless about a rocking chair. The gentle sway, the soft creak of wood, the way it invites you to slow down and relax. At the heart of every good rocking chair are the rockers, those curved wooden runners that make all the motion possible. While you can buy ready-made rockers, building your own gives you complete control over the look, balance, and feel of your chair.
Making rockers might sound intimidating if you’re new to woodworking, but the process is more approachable than you’d expect.
This guide on how to make rockers for a rocking chair walks you through everything from gathering materials to fitting your finished rockers onto the chair legs. Let’s get into it.

What are the Benefits?
Building your own rockers comes with plenty of advantages, and not just the satisfaction of a job well done.
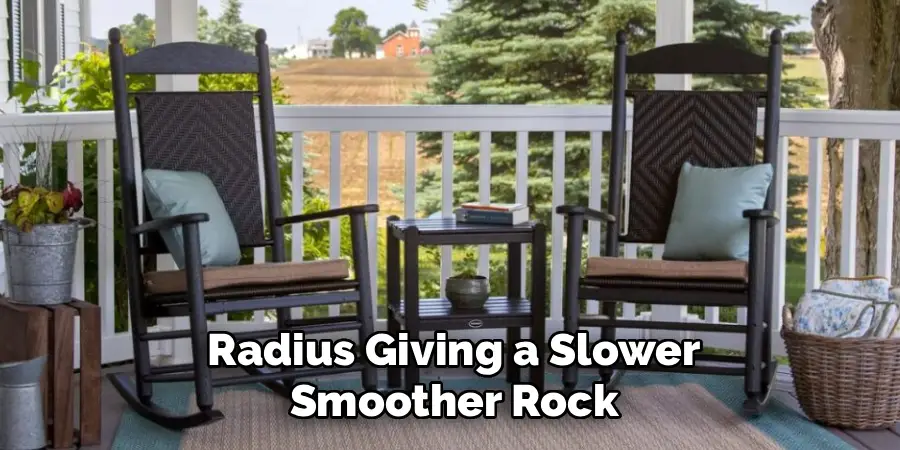
- Perfect customization. When you make your own rockers, you decide the curve, length, and thickness. A wider curve gives a slow, gentle rock, while a tighter curve offers a quicker motion. You control the experience.
- Better quality. Many mass-produced rockers use thin or weak wood. Crafting your own lets you choose strong, well-seasoned hardwood that will last for decades.
- Cost savings. Quality wooden rockers can be pricey at the store. Making them yourself often costs less, especially if you already have scrap hardwood on hand.
- A perfect match. Store-bought rockers don’t always line up with your chair’s leg spacing. Homemade rockers fit your exact chair, giving you better balance and stability.
- Skill building. Each project sharpens your woodworking abilities. Shaping curves and smoothing surfaces will improve your confidence for future builds.
- A personal touch. A handmade rocking chair carries character that factory pieces can’t match. It becomes a piece you’re proud to show off or pass down.
In short, making your own rockers means a chair that fits you, rocks the way you like, and lasts for years.
What Will You Need?
Before you start, gather your materials and tools. Having everything ready makes the whole process smoother.
Materials:
- Two pieces of hardwood (oak, maple, ash, or walnut work well), each about 36 inches long, 6 inches wide, and 1.5 inches thick
- Wood glue
- Wood screws or dowels
- Sandpaper (80, 120, and 220 grit)
- Wood finish, oil, or sealant
- Pencil and large paper for the template
Tools:
- Jigsaw or band saw
- Router (optional, for smoothing edges)
- Hand plane
- Clamps
- Measuring tape and straightedge
- Drill
- Chisel
- Safety glasses and dust mask
Pick straight-grained hardwood without knots or cracks. The strength of your rockers depends heavily on the quality of the wood you choose.
10 Easy Steps on How to Make Rockers for a Rocking Chair
Step 1: Create Your Template
Start by drawing a full-size template of the rocker curve on a large sheet of paper or thin plywood. A typical rocker is about 32 to 36 inches long with a gentle arc. The radius of the curve usually falls between 40 and 60 inches, with a larger radius giving a slower, smoother rock. Use a long flexible strip of wood or a pencil tied to a string to draw a clean, consistent arc. Take your time here, since this template controls the balance and motion of your finished chair. Cut out your template and check that both ends curve up evenly so the chair won’t tip too far forward or back.
Step 2: Transfer the Pattern to Your Wood
Lay your template on one of your hardwood boards and trace the outline with a pencil. Make sure the grain of the wood runs along the length of the rocker for maximum strength. Once you’ve traced the first rocker, flip the template and trace the second one. Tracing both from the same template guarantees a matched pair, which is key for smooth rocking. Double-check that your lines are crisp and complete before moving on. Any sloppiness here will show up later in the shaping.
Step 3: Cut Out the Rockers
Using a jigsaw or band saw, carefully cut along your traced lines. Cut just outside the line, leaving a small margin you can sand down later. Move slowly and let the saw do the work, keeping your blade steady through the curves. A band saw gives the cleanest results, but a jigsaw works fine with patience. Wear safety glasses and a dust mask throughout. Once both rockers are cut, set them side by side to compare. They should look like near-identical twins.
Step 4: Smooth the Curves
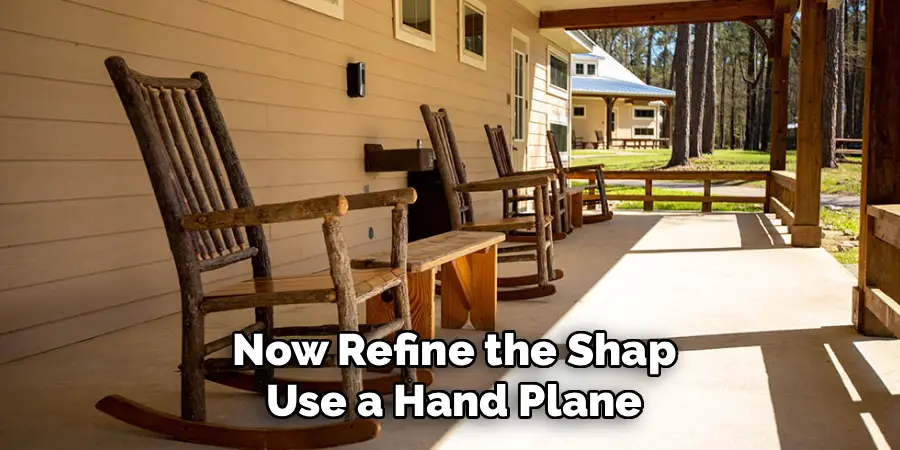
Now refine the shape. Use a hand plane, rasp, or sanding block to smooth the curved bottom edge down to your pencil line. The bottom of the rocker must be perfectly even, since any bumps or flat spots will cause the chair to rock unevenly or stutter. Run your hand along the curve to feel for high spots. Work methodically from one end to the other, checking your progress often. This is the step that separates a smooth, gliding rocker from a clunky one, so don’t rush it.
Step 5: Match the Pair
Clamp both rockers together and compare them closely. Place them bottom-to-bottom and look for any differences in the curve. If one is slightly off, sand it down until both match exactly. Even small differences can make a chair feel lopsided. With the rockers clamped together, you can sand both at once to keep them identical. Mark the centerline on each rocker too, as this helps when you fit them to the chair legs later.
Step 6: Mark the Leg Mortises
Set your chair frame on the rockers and figure out where the legs should sit. The back legs usually attach slightly closer to the rear curve, which keeps the chair from tipping backward. Mark the position of each leg on the top edge of the rockers. Make sure the spacing matches your chair’s leg width exactly. Measure twice here, since a mistake means a wobbly or crooked chair. Mark clear outlines for the mortises or holes where the legs will connect.

Step 7: Cut the Joints
Decide how you’ll attach the legs. The strongest method is a mortise-and-tenon joint, where the leg fits into a carved slot in the rocker. Use a chisel and drill to carve clean mortises at your marked spots. If you prefer a simpler approach, you can drill holes for dowels or use metal brackets. Whatever method you choose, make the joints snug. Loose joints will weaken over time and lead to squeaks or instability. Test-fit the legs before gluing anything.
Step 8: Dry Fit Everything
Before applying glue, assemble the whole chair on the rockers without fastening it. Set it on a flat floor and gently rock it. Check that it moves smoothly and sits level. Look for any wobble or uneven contact between the rockers and the floor. This is your last chance to make adjustments before committing. If something feels off, take the time to sand or recut now. A good dry fit saves you headaches later.
Step 9: Glue and Fasten
Once you’re happy with the fit, apply wood glue to the joints and assemble the chair onto the rockers. Insert tenons, dowels, or brackets and clamp everything firmly. Wipe away any squeezed-out glue with a damp cloth. For extra strength, add screws driven from underneath the rockers up into the legs, then cover the holes with wood plugs. Let the glue cure fully, usually 24 hours, before handling the chair. Patience during curing ensures a rock-solid bond.
Step 10: Sand and Finish
Give the entire rocker surface a final sanding, working from 80 grit up to 220 grit for a silky-smooth feel. Round over any sharp edges so they’re comfortable to touch. Wipe off all the dust, then apply your chosen finish, whether that’s oil, varnish, or sealant. Two or three thin coats protect the wood and bring out its natural grain. Let each coat dry before adding the next. Once the finish cures, your rockers are complete and ready for many hours of relaxing.

5 Things You Should Avoid
- Skipping the template. Eyeballing the curve almost always leads to mismatched rockers and an uneven rocker. Always work from a careful template.
- Using weak or knotty wood. Rockers carry your full weight under stress. Cheap or flawed wood can crack or break, so stick with solid hardwood.
- Ignoring grain direction. If the grain runs across the rocker instead of along it, the wood is far more likely to snap. Keep the grain running the length of the curve.
- Rushing the smoothing step. A bumpy bottom edge ruins the rocking motion. Take your time to make the curve perfectly even.
- Mismatched leg placement. Placing legs unevenly throws off the balance and makes the chair tip awkwardly. Measure carefully and match both sides.
Conclusion
How to make rockers for a rocking chair is a rewarding project that blends skill, patience, and a little creativity. By starting with a careful template, choosing strong hardwood, and taking your time with the shaping and fitting, you’ll end up with a smooth, balanced pair of rockers built to last.
Don’t be discouraged if your first attempt isn’t perfect. Every project teaches you something new, and woodworking is a craft that grows with practice. Once you settle into your finished chair and feel that gentle, even sway, you’ll know the effort was worth it.
So gather your tools, pick your wood, and start building. Your perfect rocking chair is waiting.
