
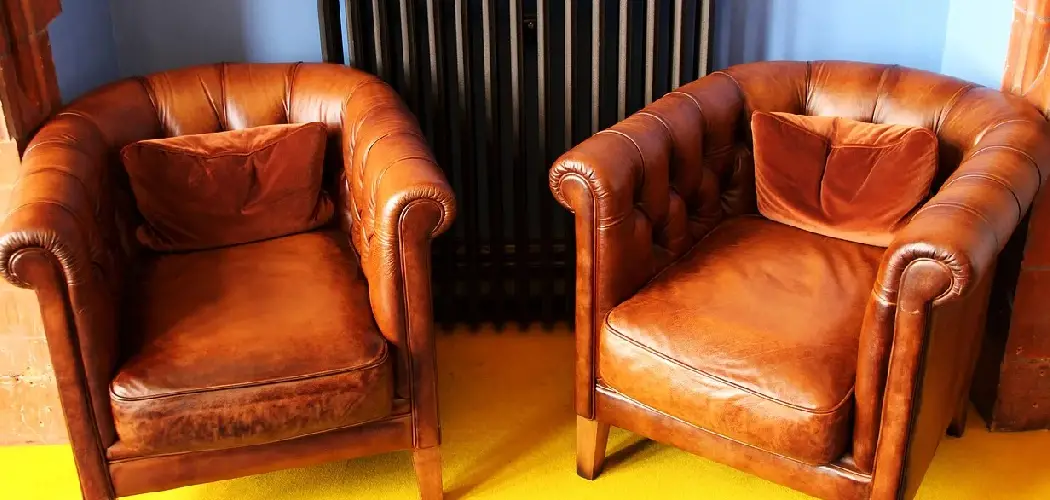
A leather chair that once looked rich and polished can start to feel tired after years of daily use. Fading, scuffs, and uneven color are all common signs that your chair needs more than a quick wipe-down. The good news is that restoring it yourself is entirely achievable, even if you’ve never worked with leather before.
Learning how to stain leather chair surfaces at home lets you transform worn furniture into something that looks almost new — without the cost of professional restoration or replacement. Whether you want to restore the original color or try something completely different, the process follows a clear set of steps that anyone can follow with the right materials and a little patience.
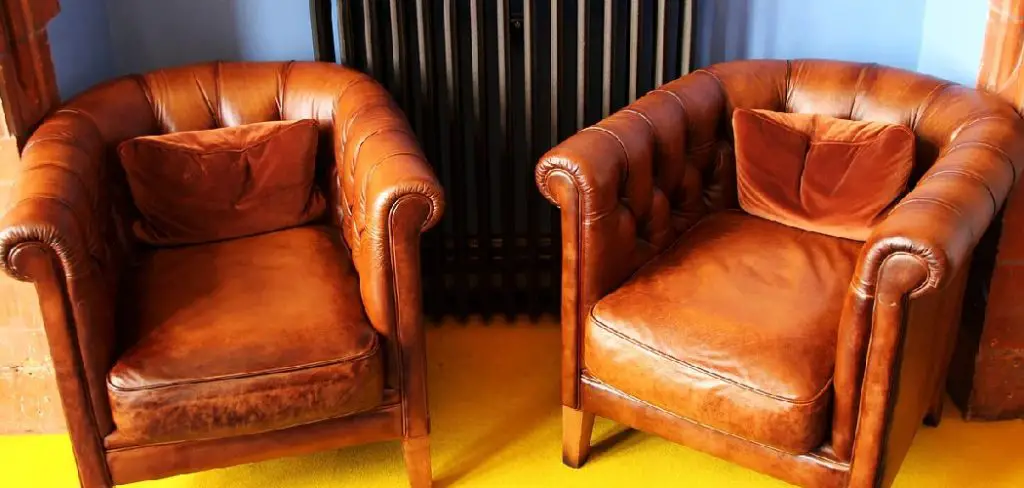
Why Refinishing A Leather Chair Matters
Leather is one of the most durable furniture materials available, but it doesn’t stay looking its best without some care. Over time, exposure to sunlight, body oils, and daily friction breaks down the surface color and protective coating, leaving the leather looking dull, cracked, or discolored.
Refinishing restores more than just appearance. Fresh stain and sealant protect the leather from moisture, cracking, and further wear, which extends the life of the chair significantly. It also gives you control over the final look — whether you’re matching the original tone or going bolder with a different color.
Step-By-Step Guide To How To Stain Leather Chair
Step 1: Gather Your Materials Before You Start
Before touching the chair, collect everything you’ll need so there are no interruptions mid-process. You’ll need leather preparer or deglazer, leather stain or dye, a leather finish or sealant, clean lint-free cloths, fine-grit sandpaper (400–600 grit), painter’s tape, and a soft applicator sponge or wool dauber. Having a leather filler on hand is also useful if the chair has any cracks or surface damage.
Working with all materials within reach makes the process smoother and reduces the chance of mistakes caused by rushing. If you’re unsure which stain color to choose, test a small amount on the back or underside of the chair before committing to the full application.

Step 2: Clean The Chair Thoroughly
A proper clean is non-negotiable before any stain is applied. Use a leather cleaner or a mild soap solution with a damp cloth to remove dirt, body oils, and any product buildup from the surface. Work in small sections and wipe gently with circular motions. Let the leather dry completely before moving on — this usually takes one to two hours depending on humidity.
Skipping this step leads to uneven stain absorption and a patchy finish that’s difficult to fix later. Pay particular attention to areas like armrests, headrests, and seat cushions where oils and grime tend to concentrate most heavily.
Step 3: Apply Leather Preparer Or Deglazer
Leather preparer strips away the factory finish, any remaining old dye, and surface sealants that would prevent new stain from bonding properly. Apply it to a cloth rather than directly to the leather, then rub it across the surface using firm, even strokes. The cloth will pick up color as the old finish lifts — this is normal and expected.
Work over the entire surface methodically so no area is missed. Some sections may need two passes with the preparer, particularly high-use areas like seat cushions and armrests where the old finish has built up more thickly. Allow the leather to dry fully after this step before proceeding.

Step 4: Fill Any Cracks Or Surface Damage
If the chair has any visible cracks, scuffs, or small areas of surface damage, address them now before applying any color. Leather filler is a flexible compound that you press into cracks with a palette knife or your fingertip, smoothing it flat with the surrounding surface. Let it dry fully, then lightly sand with 400-grit sandpaper until it blends seamlessly.
Filling imperfections before staining prevents them from becoming more visible once color is applied. Stain tends to settle more heavily into cracks, which can highlight damage rather than disguise it if the surface isn’t repaired beforehand. A smooth, even surface is the foundation of a clean finish.
Step 5: Apply The Leather Stain In Thin, Even Coats
This is the core stage of the process, and patience here determines the quality of your final result. Apply the stain using a soft sponge, wool dauber, or lint-free cloth, working it into the leather in small circular motions. Start with a thin coat and allow it to dry fully before applying the next. Most chairs need three to five coats to achieve full, even coverage.
Knowing how to stain leather chair surfaces correctly comes down to thin layers built gradually rather than one heavy application. Thick coats dry unevenly, crack over time, and sit on top of the leather rather than bonding with it. Take your time between coats, and assess the coverage in good lighting before deciding whether another layer is needed.
Step 6: Buff And Blend Between Coats
Once the first few coats have dried, lightly buff the surface with a clean, dry cloth to smooth out any texture left by the applicator. This step isn’t about removing the stain — it’s about ensuring each new layer has a smooth base to adhere to. If any area looks streaky or uneven after buffing, apply a targeted touch-up coat to that section before continuing with the full surface.
Understanding how to stain leather chair surfaces also means recognizing that edges, seams, and stitched areas absorb color differently than flat panels. Apply slightly less stain near seams to prevent buildup, and use a small, fine-tipped brush to work color into tight areas that a larger applicator can’t reach cleanly.
Step 7: Seal And Condition The Finished Surface
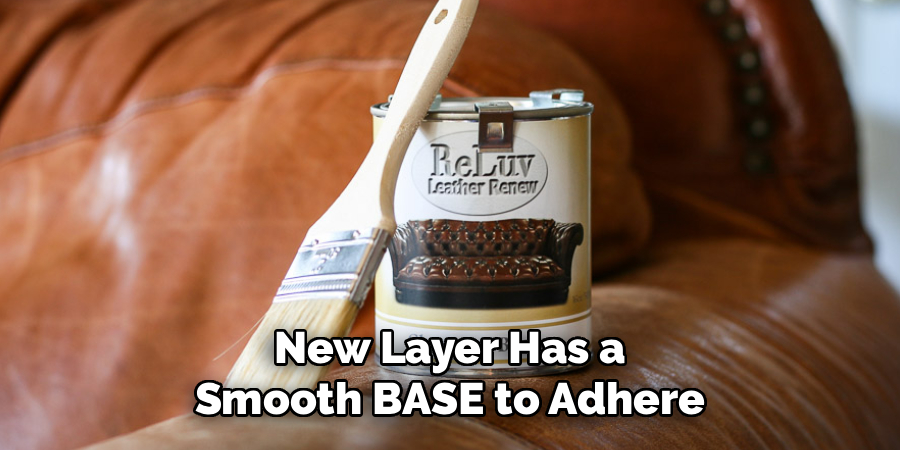
Once you’re satisfied with the color and coverage, apply a leather finish or sealant to protect the stain. This top coat locks in the color, adds the desired sheen level — matte, satin, or gloss — and creates a barrier against moisture, sweat, and daily wear. Apply it in the same way as the stain: thin, even coats allowed to dry fully between applications.
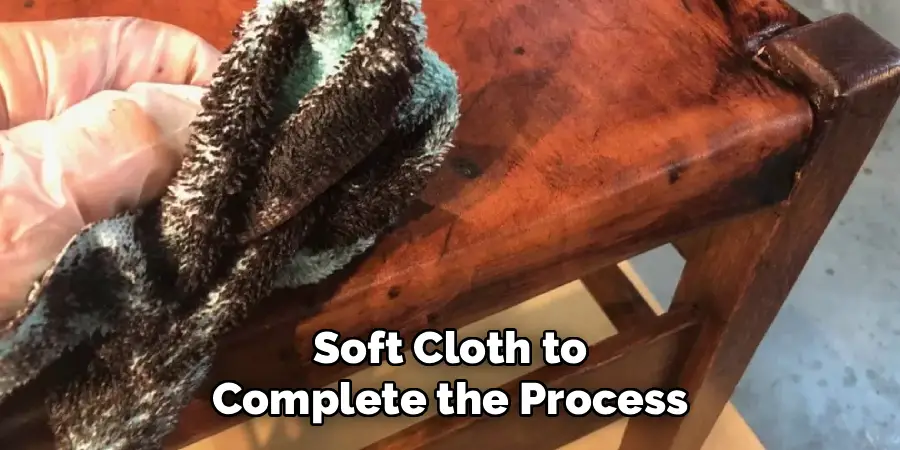
After the final coat of sealant has dried completely — usually 24 hours — apply a leather conditioner to restore suppleness and prevent the surface from drying out. Conditioning is often overlooked but makes a real difference to how the leather feels and how long the finish lasts. Buff gently with a soft cloth to complete the process.
Frequently Asked Questions
What Type Of Stain Works Best On Leather Chairs?
Alcohol-based leather dyes offer the deepest, most permanent color penetration and work well on natural or aniline leather. Water-based leather stains are easier to work with and better suited to beginners, as they dry more slowly and allow more control during application. For pigmented or coated leather, a dedicated leather paint or refinishing product typically bonds more reliably than a traditional dye.
Can I Change My Leather Chair To A Completely Different Color?
Yes, but going from a dark color to a lighter one is significantly more difficult. Lightening leather often requires a bleaching step before staining, and results can be inconsistent. Going from light to dark, or refreshing the existing color, gives the most predictable and professional-looking outcome. Always test your chosen color on a hidden area first to confirm it reads the way you expect.
How Long Does A Leather Stain Job Typically Last?
With proper preparation and a quality sealant applied on top, a leather stain can last three to five years or longer with routine care. High-use surfaces like seat cushions and armrests tend to show wear sooner. Regular conditioning every three to six months and prompt attention to any chips or scuffs keeps the finish in good condition and extends the time between full refinishing sessions.
Do I Need To Sand Leather Before Staining It?
Light sanding is helpful in specific situations — smoothing repaired cracks, evening out rough patches, or lightly abrading a very glossy factory finish to improve stain adhesion. Use 400–600 grit sandpaper and work gently. Sanding too aggressively can damage the leather grain and create an uneven texture that becomes visible once stain is applied. Most of the prep work is done with the deglazer rather than sandpaper.
Is It Possible To Stain Faux Or Bonded Leather?
Faux leather and bonded leather respond differently to traditional leather stains and dyes. These materials have a synthetic surface layer that doesn’t absorb dye the way genuine leather does. Specialized vinyl and faux leather paints are formulated for these surfaces and offer better adhesion and flexibility. Check what your chair is made from before purchasing any product, as using the wrong stain type can peel or crack quickly.
Conclusion
Refreshing a worn leather chair is a genuinely satisfying project that delivers visible results without a large investment. The key steps are thorough preparation, thin and patient stain application, and a proper sealant to protect the finished surface.
Start by gathering your materials and testing your chosen stain color on a hidden area before committing to the full chair. Once you’ve seen what’s possible, you’ll have the confidence to take on the full project. Learning how to stain leather chair surfaces correctly means you’ll have a piece of furniture that looks great, lasts longer, and reflects exactly the look you were going for.
