
Tangled cables, scratched earcups, and headphones buried under a pile of papers—sound familiar? If your favorite pair keeps ending up in the wrong place, a DIY headphone stand is the fix you need. It keeps your gear safe, organized, and within easy reach.
The best part? You don’t need fancy tools or expert woodworking skills to make one. With a few basic materials and an hour of your time, you can build a sturdy headphone stand that looks great on any desk or shelf. This guide on how to make a headphone stand walks you through every step, from gathering supplies to the finishing touches.
Let’s get started on building a headphone stand that fits your space and style.
What Are the Benefits?
Before we grab the tools, it helps to understand why a headphone stand is worth the effort. A good stand does more than just look nice—it protects your investment.
Here are the main benefits of making your own:
- Protects Your Headphones: Hanging them properly keeps the headband in shape and the earcups free from damage. No more sitting on them by accident.
- Saves Desk Space: A vertical stand clears clutter and gives your workspace a clean, organized feel.
- Extends Cable Life: Draping your cable over a stand prevents kinks and tangles that wear it down over time.
- Saves Money: Store-bought stands can cost $20 to $50. Building one yourself costs a fraction of that.
- Customizable Design: You choose the size, color, and style. Your stand matches your room exactly.
- A Fun Weekend Project: It’s a satisfying build that gives you a useful result in just a couple of hours.
A DIY stand turns a simple storage problem into a chance to add personality to your setup.
What Will You Need?
Gathering your materials first makes the whole process smoother. Most of these items are easy to find at a hardware store or around your home.
Here’s your basic supply list:
- Wood board (about 8 x 8 inches for the base; pine or plywood works well)
- Wooden dowel or PVC pipe (around 10 to 12 inches long for the vertical post)
- Curved wood piece or small bracket (for the top arm that holds the headphones)
- Wood glue (strong, all-purpose)
- Screws (1 to 2 inches long)
- Sandpaper (medium and fine grit)
- Drill and drill bits
- Saw (hand saw or power saw)
- Measuring tape and pencil
- Wood stain or paint (optional, for finishing)
- Felt pads or foam (optional, to protect the headband)
Feel free to swap materials based on what you have. Scrap wood, an old bracket, or even a sturdy metal rod can all work. The goal is a stable base and a comfortable arm to rest the headband on.
10 Easy Steps on How to Make a Headphone Stand
Now for the fun part. Follow these ten steps in order, and you’ll have a finished stand before you know it. Take your time with measurements—accuracy now saves headaches later.
Step 1: Plan and Measure Your Design
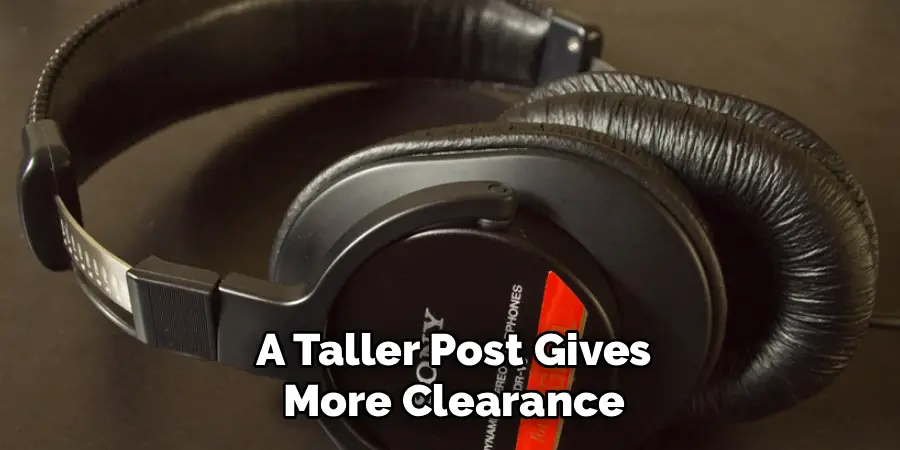
Start by sketching your stand on paper. Decide how tall you want it and how wide the base should be. A taller post gives more clearance for large headphones, while a wider base adds stability. Measure your headphones too, so the top arm sits at a comfortable height. Mark all your measurements on the wood with a pencil. A clear plan keeps the rest of the build on track.
Step 2: Cut the Base
Grab your wood board and cut it to your chosen base size, around 8 x 8 inches. A square or rectangular base both work well, so pick what suits your desk. Use a saw and follow your pencil lines closely for a clean edge. If you want a softer look, round the corners slightly. A solid, flat base is key to keeping your stand from tipping over.
Step 3: Cut the Vertical Post
Next, cut your dowel or PVC pipe to your planned height, usually 10 to 12 inches. This post is the backbone of your stand, so make sure the cut is straight and even. A wobbly post leads to a wobbly stand. Sand the ends lightly so they sit flush against the base and top arm. Double-check the length against your headphones before moving on.
Step 4: Shape the Top Arm
The top arm holds your headphones, so it needs a gentle curve to cradle the headband. If you have a curved wood piece, sand it smooth. No curve? A small bracket or a horizontally mounted dowel works fine. The goal is a surface wide enough to spread the headband’s weight evenly. This prevents stretching and keeps your headphones comfortable to wear.
Step 5: Sand All the Pieces
Before assembly, sand every piece thoroughly. Start with medium-grit sandpaper to remove rough spots, then switch to fine grit for a smooth finish. Pay special attention to edges and corners where splinters hide. Smooth wood not only feels better but also takes paint or stain more evenly. Wipe away the dust with a dry cloth when you’re done.

Step 6: Drill the Pilot Holes
Mark the center of your base where the post will attach. Drill a pilot hole there to guide your screw and prevent the wood from splitting. Do the same on the top arm where it meets the post. Choose a drill bit slightly smaller than your screws. Pilot holes make the next steps far easier and create a stronger joint.
Step 7: Attach the Post to the Base
Apply a generous bead of wood glue to the bottom of the post. Press it firmly onto the center of the base, lining it up with your pilot hole. Drive a screw up through the bottom of the base into the post for extra strength. Hold it in place for a minute to set. Make sure the post stands perfectly straight before the glue dries.
Step 8: Attach the Top Arm
Add wood glue to the top of the post, then position the curved arm on top. Line it up with your pilot hole and secure it with a screw. Check that the arm sits level and centered. A crooked arm will let your headphones slide off, so take a moment to get it right. Wipe away any glue that squeezes out.

Step 9: Let It Dry and Add Padding
Set your stand aside and let the glue cure fully, usually a few hours. Resist the urge to test it too early. Once dry, stick felt pads or a strip of foam along the top arm. This soft layer protects your headband from pressure marks. It’s a small touch that makes a big difference in comfort.
Step 10: Finish and Decorate
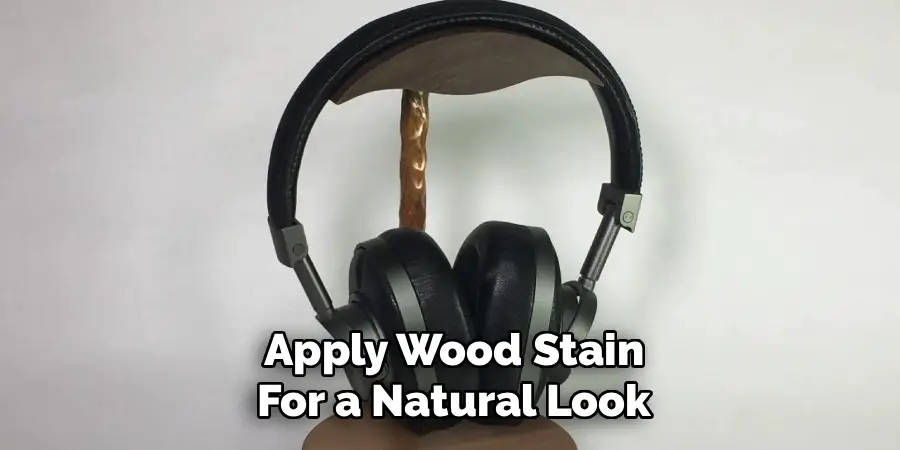
Now give your stand some style. Apply wood stain for a natural look or paint it to match your room. Let the finish dry completely, then add a second coat if needed. You can also attach felt pads to the bottom of the base to protect your desk. Once everything is dry, hang your headphones and admire your work.
5 Things You Should Avoid
Even simple projects have common pitfalls. Steer clear of these mistakes to get the best results.
- Skipping the Measurements: Eyeballing your cuts leads to a lopsided stand. Always measure twice before cutting once.
- Using a BASE That’s Too Small: A narrow base makes the stand top-heavy and likely to tip. Go wider than you think you need.
- Forgetting Pilot Holes: Driving screws straight into wood often splits it. Pilot holes keep your joints clean and strong.
- Rushing the Glue: Testing the stand before the glue cures can loosen your joints. Give it the full drying time.
- Ignoring the Headband Padding: A bare arm can dent or stretch your headband. Always add a soft layer on top.
Avoiding these slip-ups keeps your build sturdy and your headphones safe for the long haul.
Frequently Asked Questions
1. How Long Does It Take to Make a Headphone Stand?
Most beginners finish the build in about one to two hours of active work. Cutting and assembling go quickly once your materials are ready. The biggest wait is the drying time for glue and any paint or stain. If you add a finish, plan for a few extra hours of curing. Set it aside overnight to be safe before hanging your headphones.
2. What is the Best Material for a Headphone Stand?
Wood is the most popular choice because it’s sturdy, affordable, and easy to work with. Pine and plywood are great for beginners since they cut and sand easily. PVC pipe works well for the post if you want a lighter, modern look. Metal rods offer extra durability but are harder to shape. Pick the material that matches your tools and style.
3. Will a DIY Stand Fit Any Size Headphones?
Yes, the beauty of building your own is full control over the size. Just measure your headphones before cutting the post and top arm. Larger over-ear models need a taller post and wider arm for clearance. Smaller on-ear pairs work fine with a shorter design. Adjust your plan to fit the headphones you actually own.
Conclusion
How to make a headphone stand is one of those projects that pays off every single day. You get a clean desk, protected gear, and the pride of using something you made yourself. With just a few materials and the ten steps above, you can finish this build in an afternoon.
Remember the key points: measure carefully, use a wide base for stability, drill pilot holes, and let the glue dry fully. Add a soft pad on top, then finish it in a style you love. Avoid the common mistakes, and your stand will last for years.
Ready to clear the clutter? Gather your supplies this weekend and give it a try. Once you’ve built one, you might find yourself making a few extras for friends and family.
