
Setting up a wireless printer should feel simple, but it often turns into a guessing game of buttons, blinking lights, and confusing menus. If you’ve ever stood next to your Canon printer wondering why it won’t talk to your network, you’re not alone.
The good news? Connecting your Canon printer to WiFi is easier than it looks once you know the right steps. In this guide, you’ll learn exactly how to connect a Canon printer to WiFi, what you need before you start, and the common mistakes that trip people up.
Let’s dive into how to connect Canon printer to wifi.
What Are the Benefits?
Going wireless changes how you use your printer day to day. Instead of being tethered by a cable, you gain freedom and flexibility that makes printing far less of a chore.
Here are the main benefits of connecting your Canon printer to WiFi:
- Print from anywhere in your home or office. As long as a device is on the same network, you can send a print job from another room.
- Connect multiple devices. Laptops, phones, tablets, and desktops can all share one printer without swapping cables.
- Reduce clutter. No more USB cords stretched across a desk or floor.
- Print from mobile devices. Many Canon printers support printing straight from your phone using apps or built-in features.
- Easier placement. Put your printer wherever it fits best, not just next to your computer.
For most households and small offices, a wireless setup quickly pays off in convenience. Once it’s running, you’ll wonder why you waited.
What Will You Need?
Before you start, gather a few things. Having these ready saves time and prevents frustration halfway through setup.
- Your Canon printer, plugged in and powered on.
- Your WiFi network name (SSID) and password. Write them down so you can type them accurately.
- A working WiFi router with an active internet connection.
- A computer, smartphone, or tablet connected to the same WiFi network.
- The Canon PRINT app or Canon software, which you can download from Canon’s official website if needed.
Keep your printer within a reasonable distance of your router during setup. A weak signal is one of the most common reasons connections fail.
10 Easy Steps on How to Connect Canon Printer to WiFi
This is the heart of the guide. Follow these steps in order, and you’ll have your Canon printer connected to WiFi without the usual headaches. Each step includes simple troubleshooting tips in case something doesn’t go as planned.
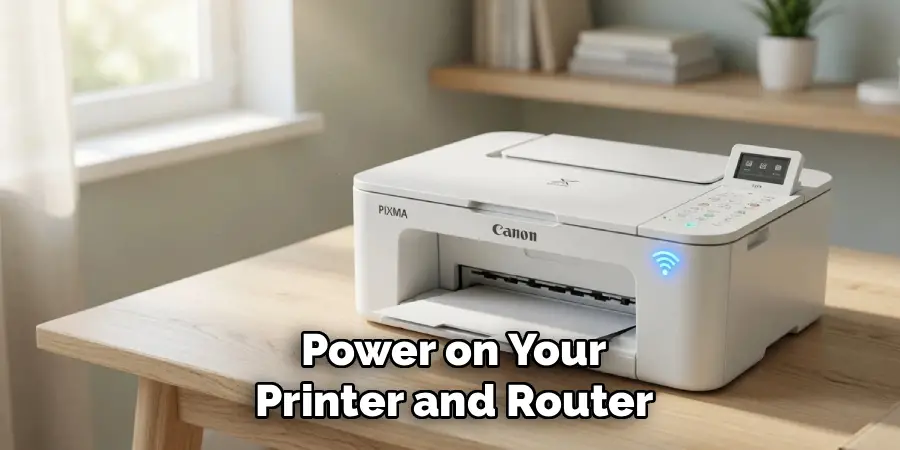
Step 1: Power On Your Printer and Router
Start by making sure both your printer and your WiFi router are turned on and fully booted. Give the printer a minute or two to warm up after switching it on.
If your router was recently restarted, wait until its lights are steady before continuing. A router that’s still connecting can cause your printer to fail the setup.
Troubleshooting Tip: If the printer screen stays blank, check that the power cable is firmly plugged in at both ends.
Step 2: Place the Printer Near the Router
Distance matters more than people expect. For the initial setup, move your printer close to the router, ideally in the same room.
A strong signal makes pairing faster and more reliable. Thick walls, metal objects, and large appliances can all weaken WiFi, so keep the path between devices clear.
Once setup is complete, you can move the printer back to its usual spot and confirm it still connects.
Step 3: Find the WiFi or Menu Button
Most Canon printers have a small LCD screen and a few buttons. Look for a WiFi button, a Settings option, or a wrench/menu icon on the control panel.
On printers with a touchscreen, tap the WiFi or network icon. On simpler models, press the dedicated WiFi button until the light begins to blink.
If you can’t find the button, check the quick-start sheet that came with your printer or search your model number on Canon’s site.

Step 4: Open the Network or WLAN Settings
Navigate to the network settings menu. This is usually labeled WLAN Setup, Wireless LAN Setup, or Network Settings.
Select it to begin searching for available wireless networks. Your printer will scan the area and list the WiFi networks it can detect.
Troubleshooting Tip: If no networks appear, make sure WiFi is enabled on the printer and that your router is broadcasting its name.
Step 5: Select Your WiFi Network
From the list of available networks, find and select your WiFi network name (SSID). This should match the name you use on your phone or computer.
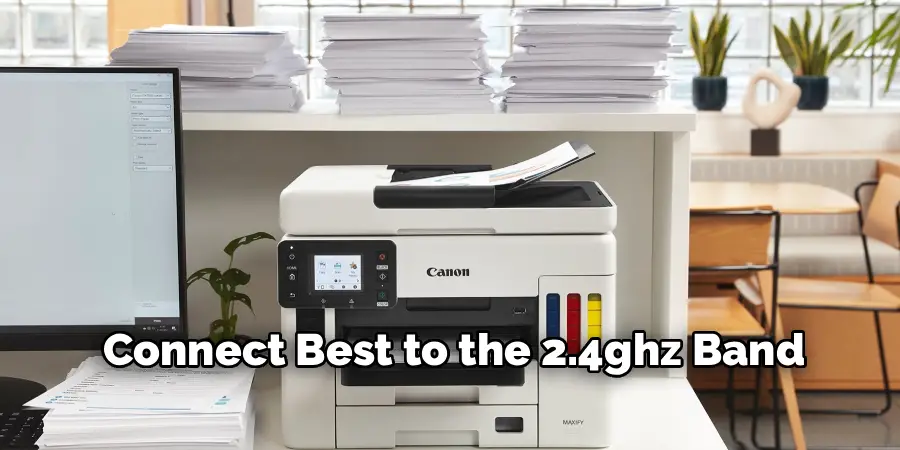
If you have multiple networks listed, double-check you’re choosing the right one. Many homes have both a 2.4GHz and a 5GHz band.
Troubleshooting Tip: Most Canon printers connect best to the 2.4GHz band. If setup fails on 5GHz, try the 2.4GHz network instead.
Step 6: Enter Your WiFi Password
Once you select your network, the printer will ask for your WiFi password. Enter it carefully using the on-screen keyboard or buttons.
Passwords are case-sensitive, so capital and lowercase letters must match exactly. Take your time here, since a single wrong character will block the connection.
Troubleshooting Tip: If you’re unsure of your password, check the label on your router or your network settings on another device.
Step 7: Confirm and Connect
After entering the password, select OK, Connect, or Apply. The printer will attempt to join your network.
You’ll usually see a confirmation message or a steady WiFi light once it succeeds. This process can take a few seconds, so be patient.
Troubleshooting Tip: If the connection fails, recheck the password and confirm you selected the correct network before trying again.
Step 8: Try the WPS Method
If typing the password feels tricky, many Canon printers support WPS (WiFi Protected Setup). This lets you connect with the push of a button instead.
Press the WPS button on your printer, then press the WPS button on your router within two minutes. The devices will pair automatically.
Troubleshooting Tip: Not all routers have WPS, and some have it disabled for security. If nothing happens, return to the manual method in Steps 5 and 6.
Step 9: Install the Canon Software or App
With the printer on your network, set up your devices to use it. Download the Canon PRINT app on your phone or the printer drivers on your computer from Canon’s official website.
Follow the on-screen prompts. The software will usually detect your printer automatically since it’s already on the same WiFi.
Troubleshooting Tip: If the software doesn’t find your printer, confirm your computer or phone is connected to the same network the printer joined.
Step 10: Print a Test Page
The final step is to confirm everything works. Open any document and send it to your Canon printer, or use the test-print option in the printer software.
If the page prints, congratulations, your Canon printer is connected to WiFi and ready to use. You can now print wirelessly from any connected device.
Troubleshooting Tip: If the test fails, restart both the printer and your device, then try printing again. A simple reboot fixes many last-minute glitches.
5 Things You Should Avoid
A few common mistakes cause most wireless printer problems. Steer clear of these to keep your setup smooth.
- Don’t ignore the WiFi band. Connecting to a 5GHz network when your printer only supports 2.4GHz is a frequent cause of failure.
- Don’t rush the password. Typos are the number one reason connections fail. Enter it slowly and double-check.
- Don’t place the printer too far from the router. A weak signal leads to dropped connections and failed print jobs.
- Don’t skip software updates. Outdated drivers or firmware can stop your printer from working properly.
- Don’t connect devices to different networks. Your printer and your computer or phone must be on the same WiFi network to communicate.
Avoiding these slip-ups will save you a lot of repeated setup attempts.

Frequently Asked Questions
- Why Won’t My Canon Printer Connect to WiFi?
The most common reasons are an incorrect password, choosing the wrong network, or a weak signal. Make sure your printer is close to the router during setup and that you’re using the 2.4GHz band if your model requires it. Restarting both the printer and router often clears temporary glitches. Double-check that your computer or phone is on the same network too. - Can I Connect My Canon Printer to WiFi Without a Computer?
Yes, you can. Most Canon printers let you set up WiFi directly from the printer’s control panel using its screen and buttons. You can also use the Canon PRINT app on a smartphone to guide the process. The WPS button method works without a computer as well, as long as your router supports it. - How Do I Find My WiFi Password for the Printer Setup?
Your WiFi password is usually printed on a label on the back or bottom of your router. You can also find it in your router’s settings or in the WiFi settings of a device already connected to the network. If you’ve changed the default password, use that new one. Enter it exactly, since passwords are case-sensitive.
Conclusion
How to connect Canon printer to WiFi doesn’t have to be complicated. With your network details ready, the right WiFi band selected, and the printer placed near your router, the whole process takes just a few minutes.
Follow the 10 steps above, avoid the common mistakes, and run a test print to confirm everything works. Once connected, you’ll enjoy the freedom of printing from any device in your home or office without a single cable.
If you ever run into trouble later, start with the basics: check the network, restart your devices, and confirm your password. Those simple fixes solve most issues. Now you’re ready to print wirelessly with confidence.
